

 Tweet
Tweet
Get a 10x10 tent and keep working! *whip crack*
-
- Brian Meissen
Owner, MiFBody.com
Administrator, LTxTech.com

1994 Camaro LT1 Transplant - 357ci LT1, cammed, stalled, and driven.
2022 Camaro LT1 - "Cherry Bomb 2"Michigan FBody Meet & Greet Car Show 2022
June 4th, 2022 - 9am to 3pm!!!
The HUB Stadium, Auburn Hills, MI -
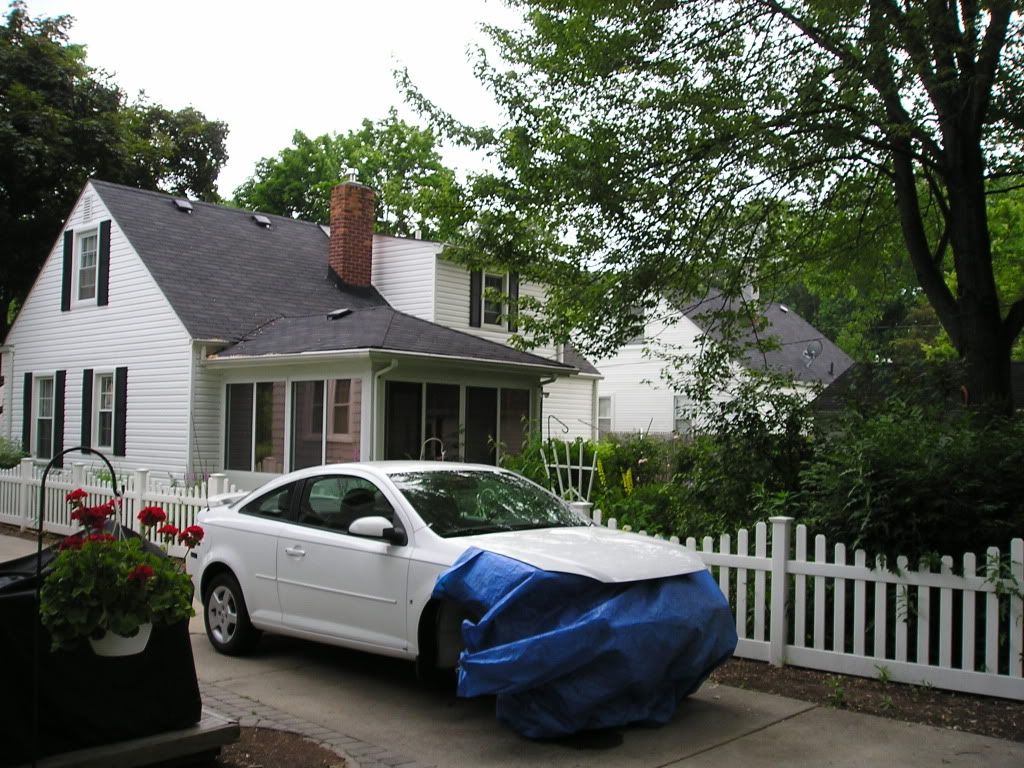
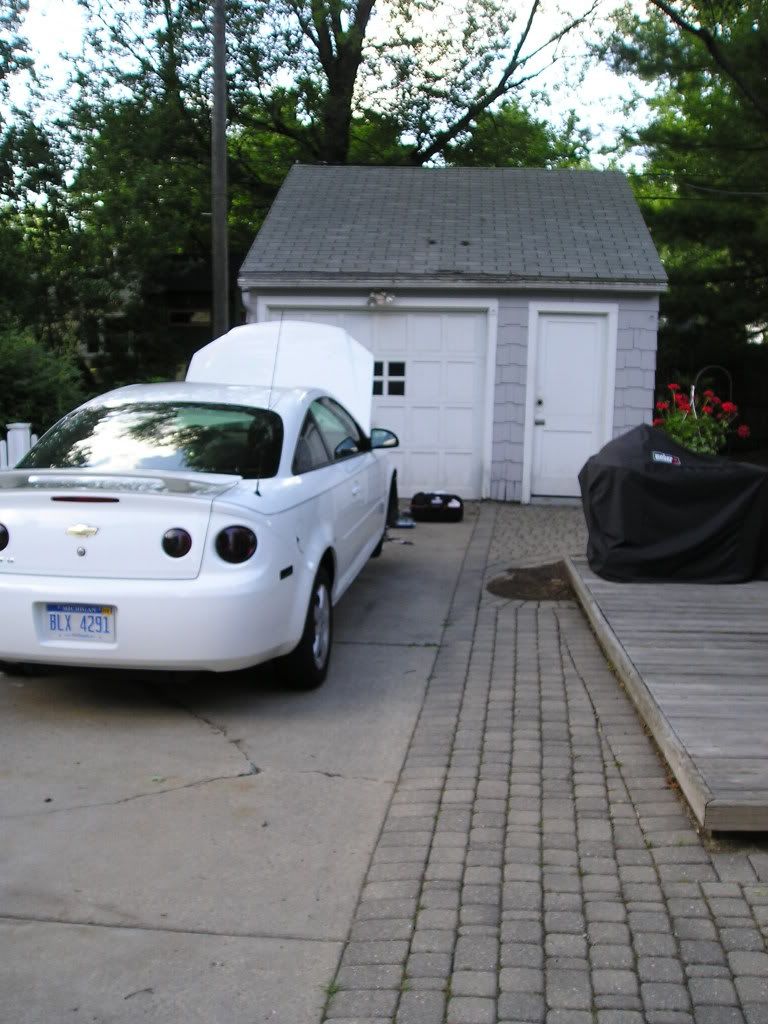
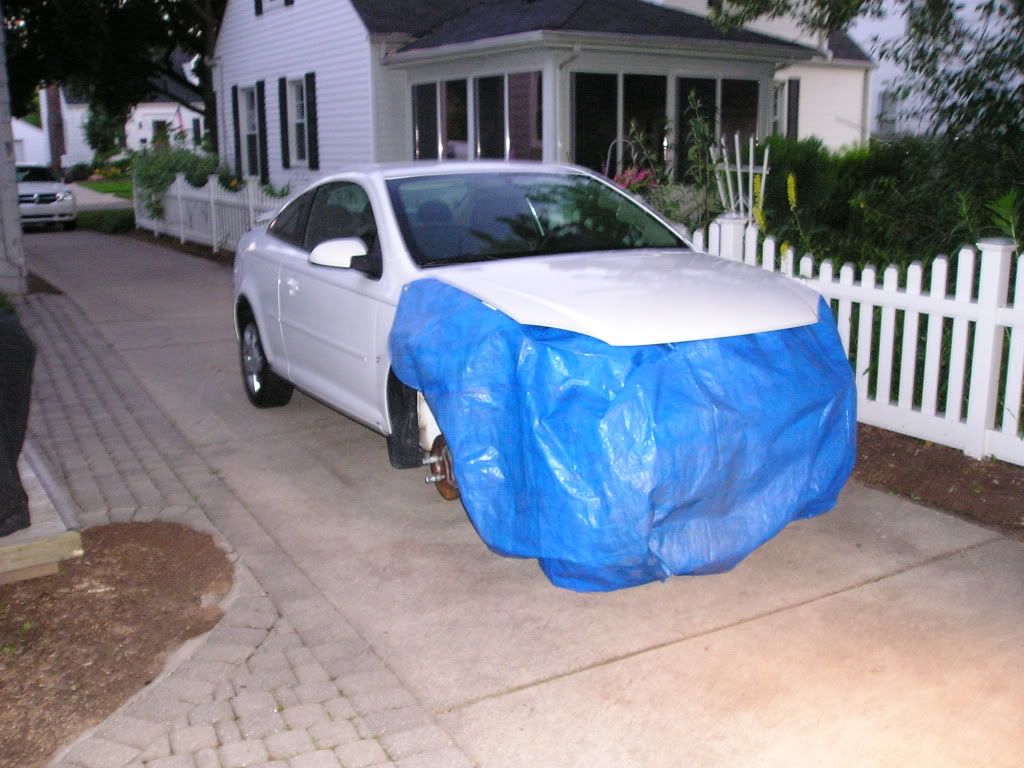
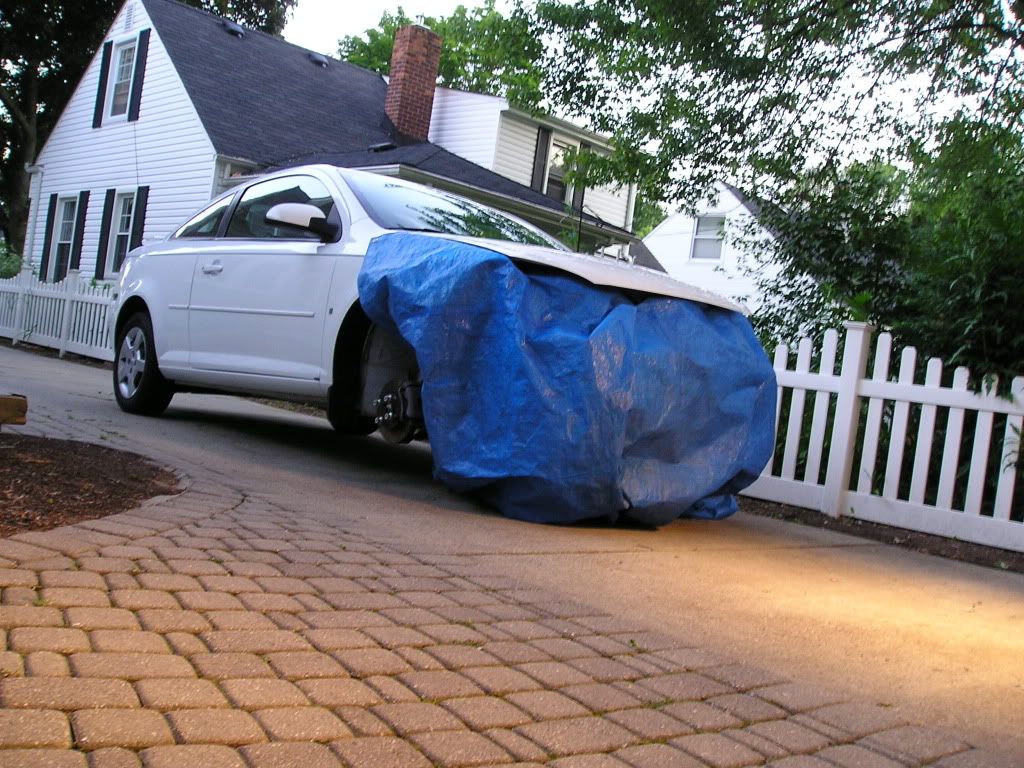
Yeah, I'm just gonna work with the minimal tools outside and what not, in case it starts to get really dark, or starts raining, I can throw the tarp on, and get my shit in the garage and get inside...
Just ate breakfast, so out I go!Gone but not forgotten: 1986 Chevrolet Camaro IROC-Z
"You shall ride eternal. Shiny and chrome."Comment
-
Drive Belt Tensioner Replacement
Removal Procedure
- Remove the drive belt. Refer to Drive Belt Replacement .


Important: To remove the tensioner bolt, an access hole has been provided through the inner and outer engine rail. - Remove the drive belt tensioner bolt.
- Remove the drive belt tensioner.
Installation Procedure
- Install the drive belt tensioner. Notice: Use the correct fastener in the correct location. Replacement fasteners must be the correct part number for that application. Fasteners requiring replacement or fasteners requiring the use of thread locking compound or sealant are identified in the service procedure. Do not use paints, lubricants, or corrosion inhibitors on fasteners or fastener joint surfaces unless specified. These coatings affect fastener torque and joint clamping force and may damage the fastener. Use the correct tightening sequence and specifications when installing fasteners in order to avoid damage to parts and systems.
- Install the drive belt tensioner bolt. Tighten
Tighten the drive belt tensioner bolt to 45 N·m (33 lb ft). - Install the drive belt. Refer to Drive Belt Replacement .
13th!!! Annual Michigan FBody Meet & Greet Car Show 2017
June 10th, 2017 - 9am to 3pm!!!
Bakers of Milford, Milford, MI

Classics only cost alot if you add up what you spend!
sigpic
"The winner ain't the one with the fastest car, it's the one who refuses to lose."- Dale Earnhardt -
Comment
- Remove the drive belt. Refer to Drive Belt Replacement .
-
Thanks again, Todd!
Let see...
Here's the progress (or lack of it... )
)
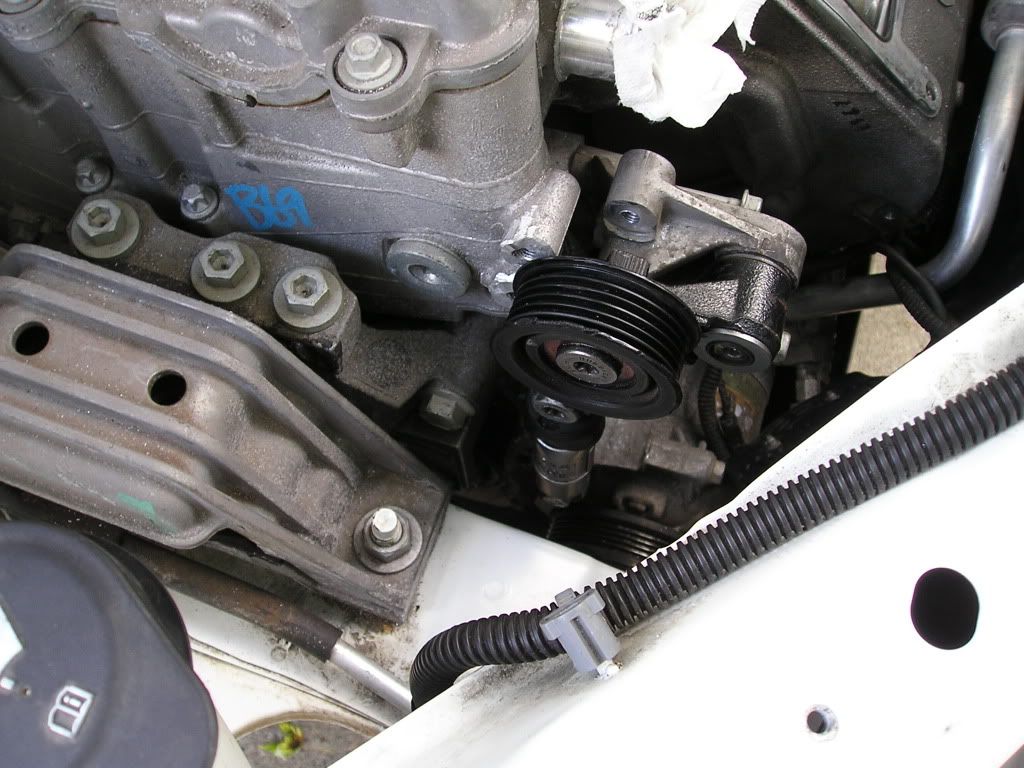
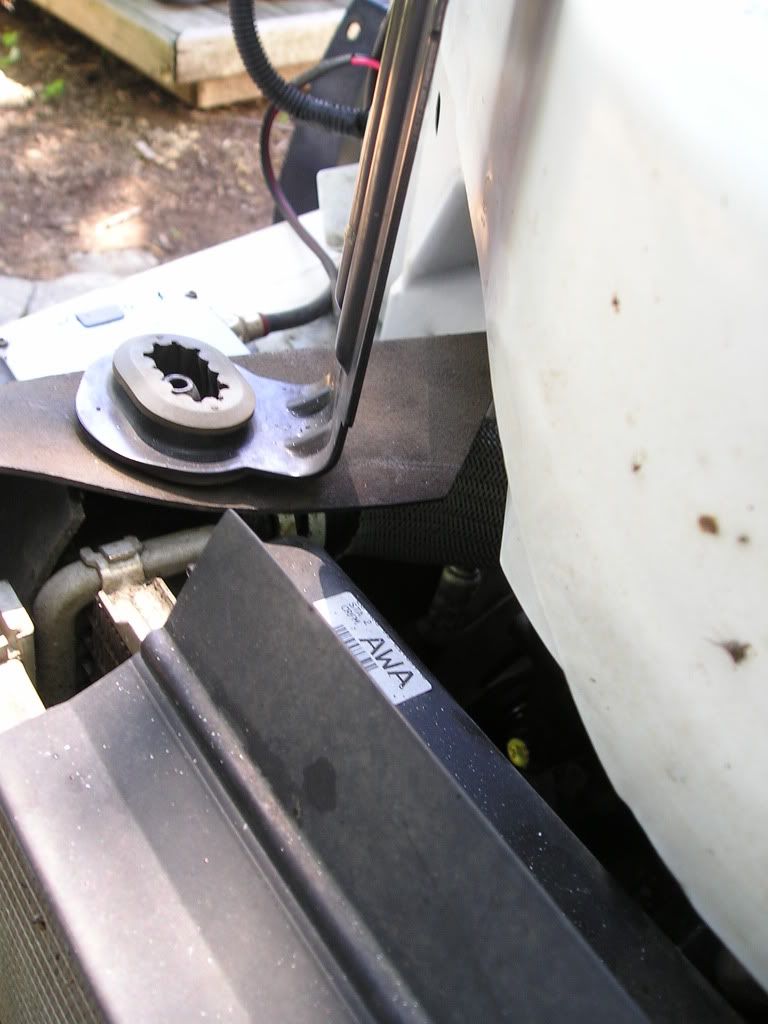
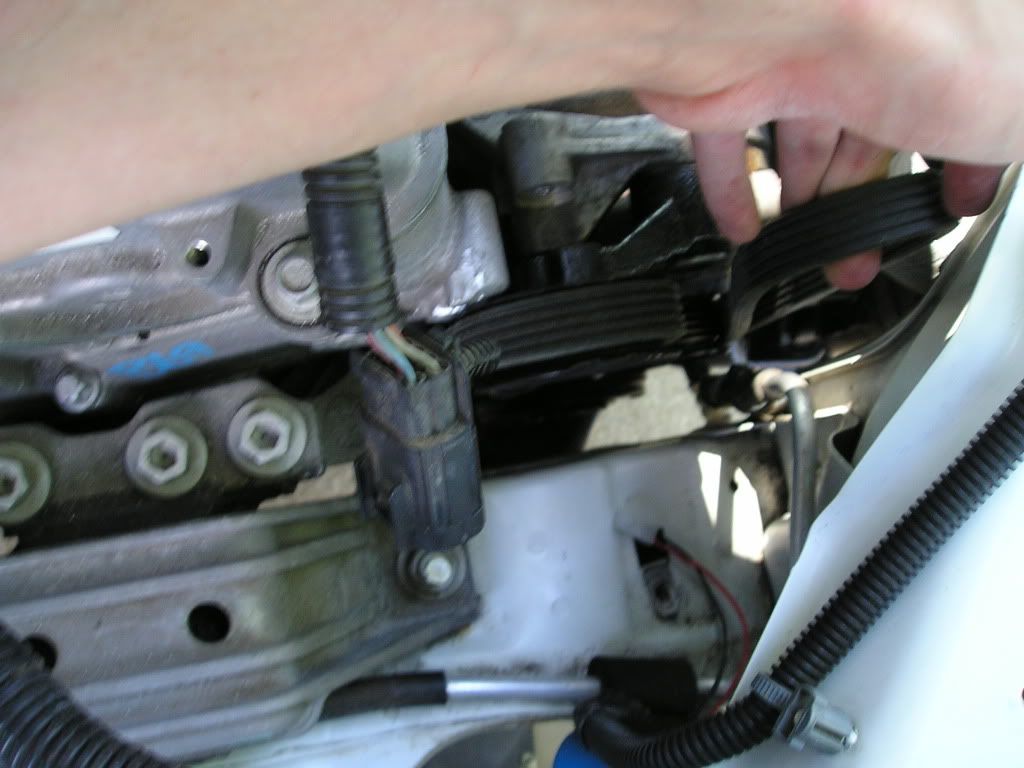
I went to tighten down the tensioner to see if it clears what I ground down - and the ****ing torx bit snapped in half, so it took me a little while to get it out of the tensioner bolt - and now I need to go buy another. I also need to get a metal rasp to file down that engine hoist bracket mount more, just to be safe.
I was trying to be careful when emptying the stock washer fluid reservoir...obviously I missed...
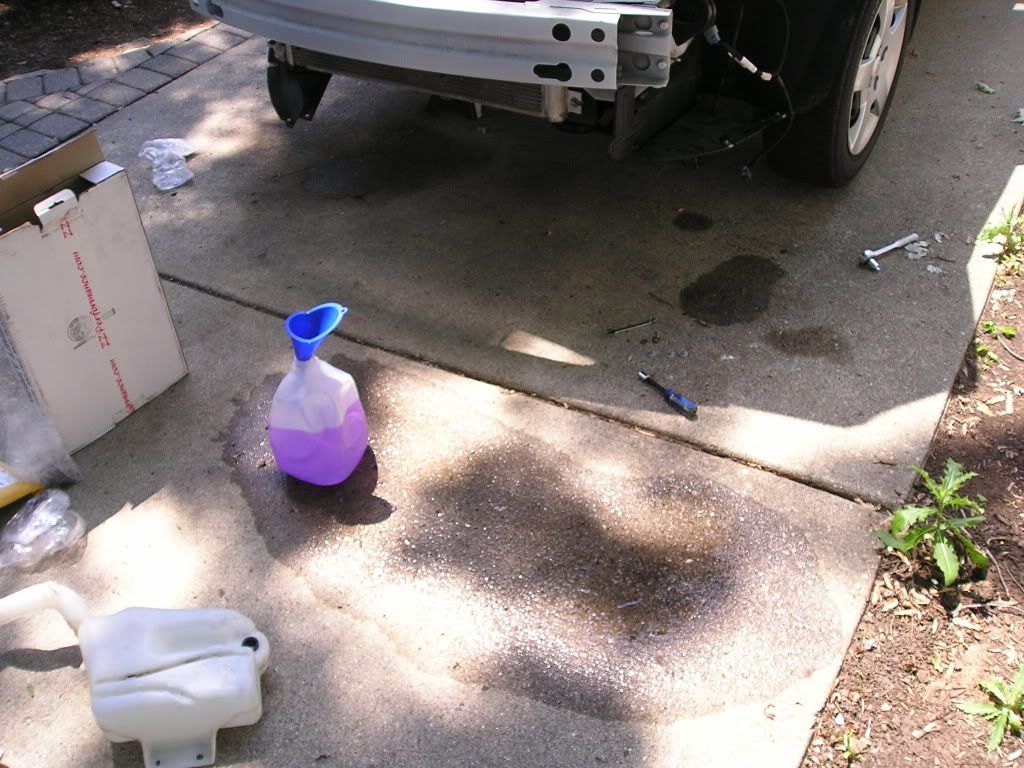
Old one out:
New one in:
 Gone but not forgotten: 1986 Chevrolet Camaro IROC-Z
"You shall ride eternal. Shiny and chrome."Comment
-
Throttle Actuator Control (TAC) Module

Connector Part Information
- OEM: 15326836
- Service: 88986255
- Description: 8-Way F GT 150 Series Sealed (BK)
Terminal Part Information
- Terminal/Tray: 12191819/8
- Core/Insulation Crimp: E/A
- Release Tool/Test Probe: 15315247/J-35616-2A (GY)
Throttle Actuator Control (TAC) Module
Pin
Wire Color
Circuit No.
Function
A
D-GN
485
TP Sensor 1 Signal
B
L-BU/BK
1688
5-Volt Reference - 2
C
BK
2752
Low Reference
D
PU
486
TP Sensor 2 Signal
E
YE
581
TAC Motor Control - 1
F
BN
582
TAC Motor Control - 2
G
GY
2701
5-Volt Reference - 1
H
BK/WH
1704
Low Reference
13th!!! Annual Michigan FBody Meet & Greet Car Show 2017
June 10th, 2017 - 9am to 3pm!!!
Bakers of Milford, Milford, MI
Classics only cost alot if you add up what you spend!
sigpic
"The winner ain't the one with the fastest car, it's the one who refuses to lose."- Dale Earnhardt -
Comment
-
Thanks Todd!
Well, it started to sprinkle a little bit, so I cleaned my shit up and went inside, and it started raining harder - now it looks like it's not raining - but it's still very gusty and dark...
It's taunting me.
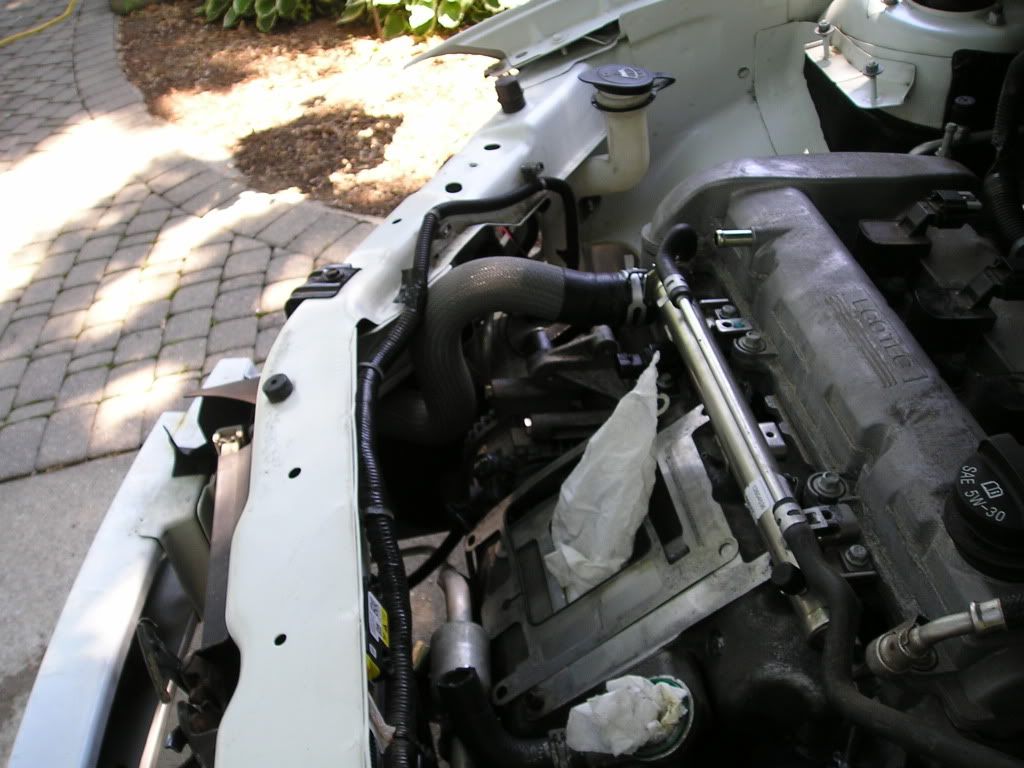
Well, I made a little bit of progress since the lunch update - enough to make me happy, anyway.
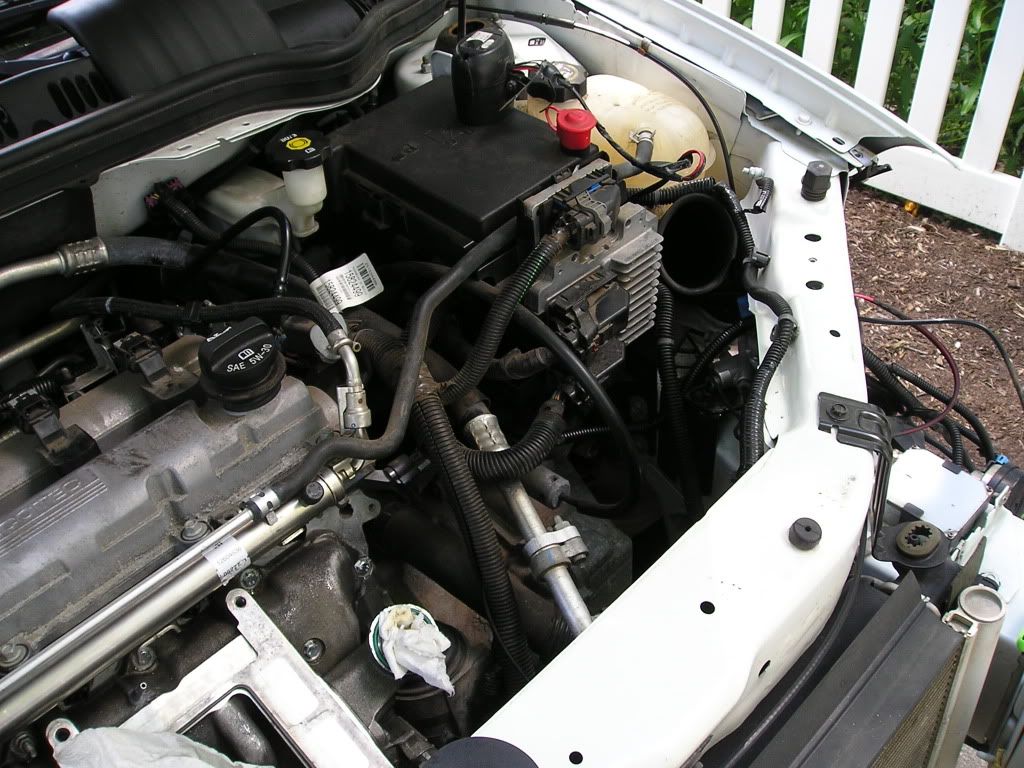
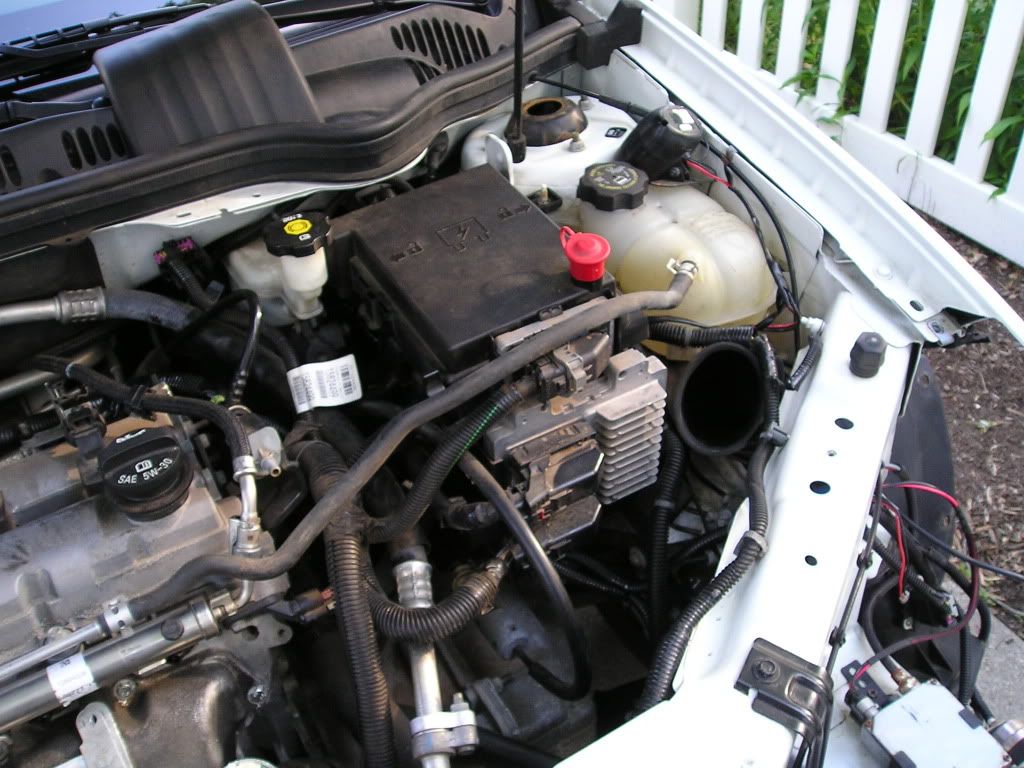
Got the belt tensioner on and torqued down - it just clears my grinding, so it should be good, I tried pushing it as far back as it'll go, and it seemed fine.
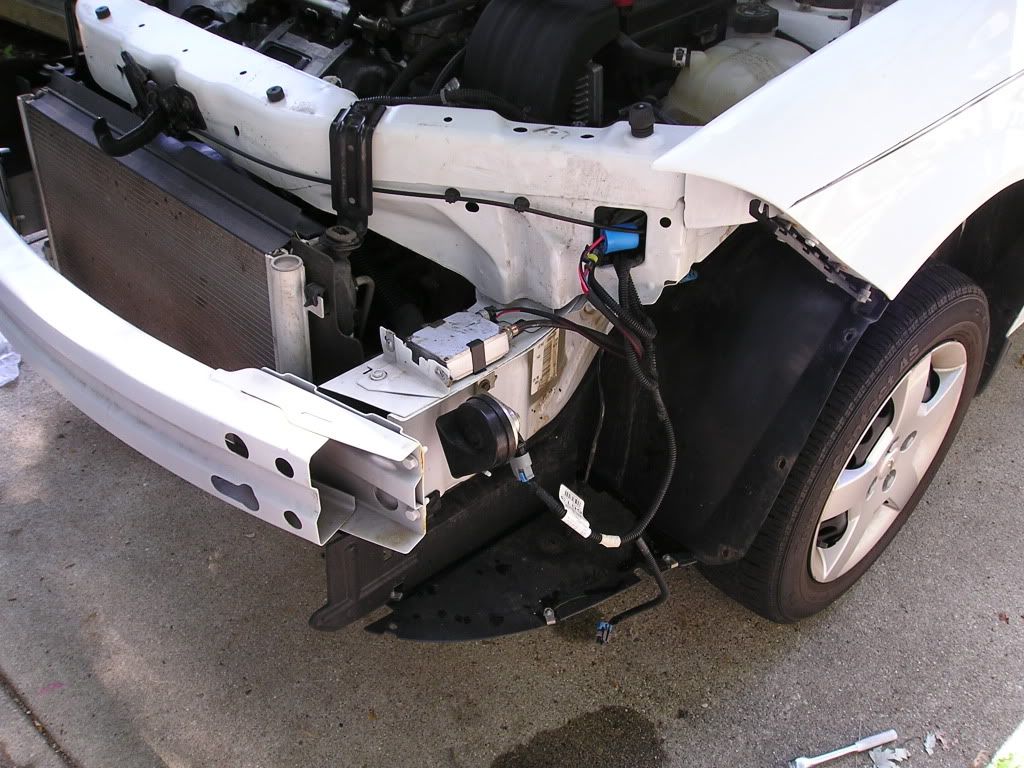
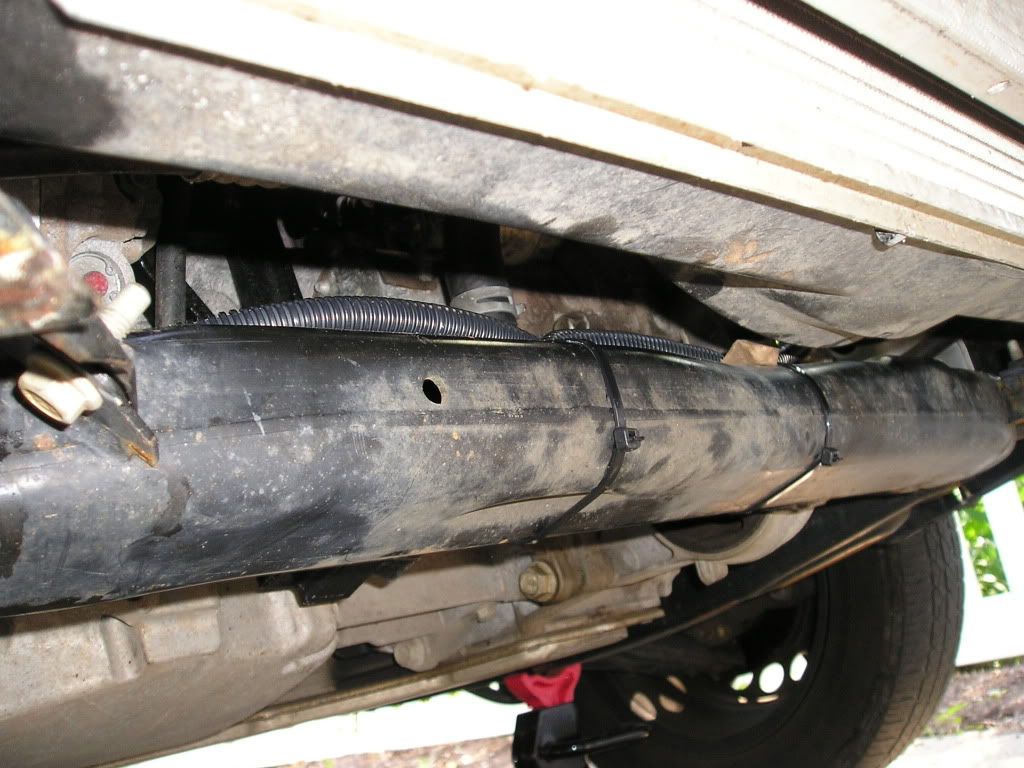
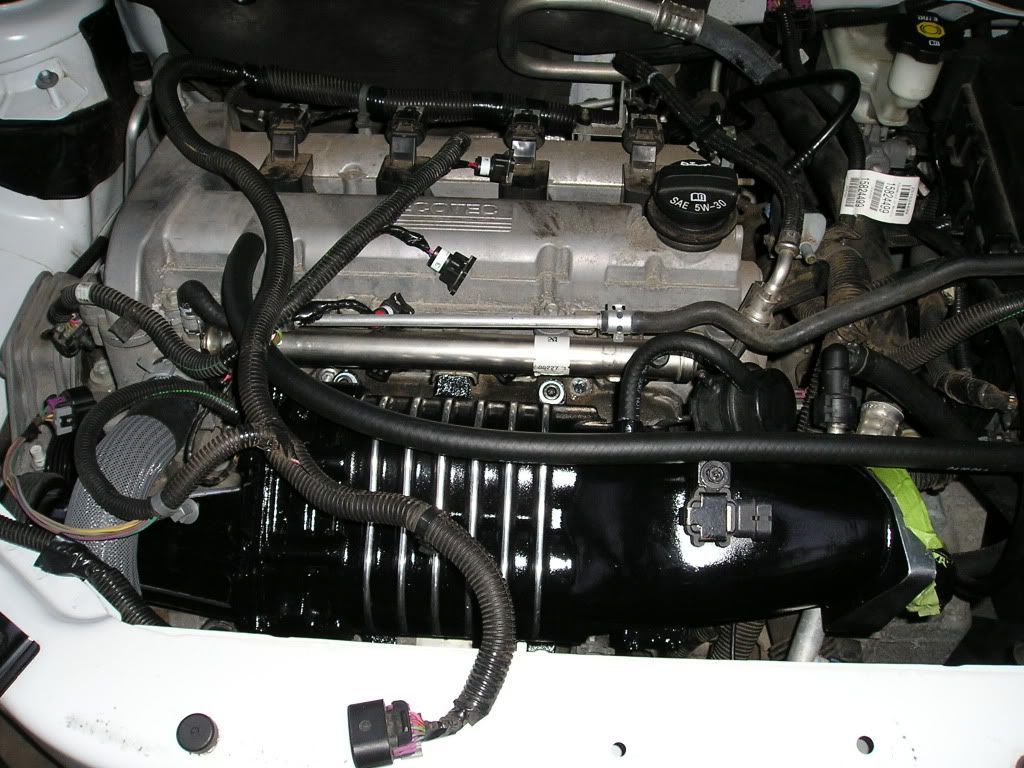
Fender pipe for the air intake is on:
Lower part is connected

It's a really tight fit, but it fits...barely.

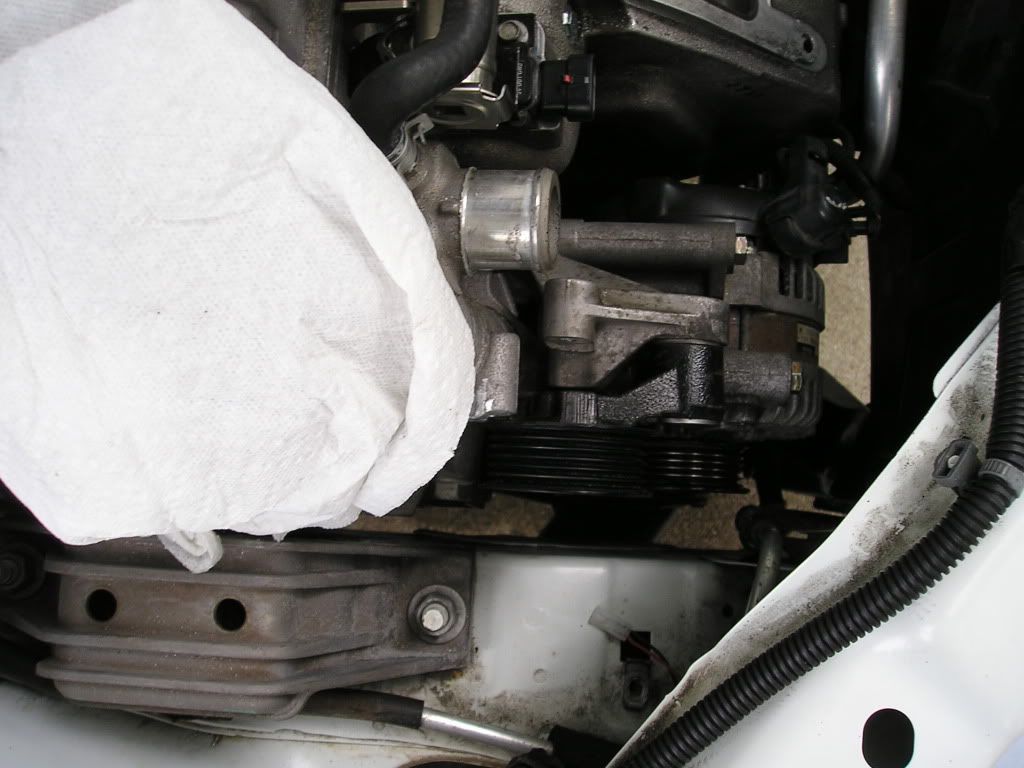
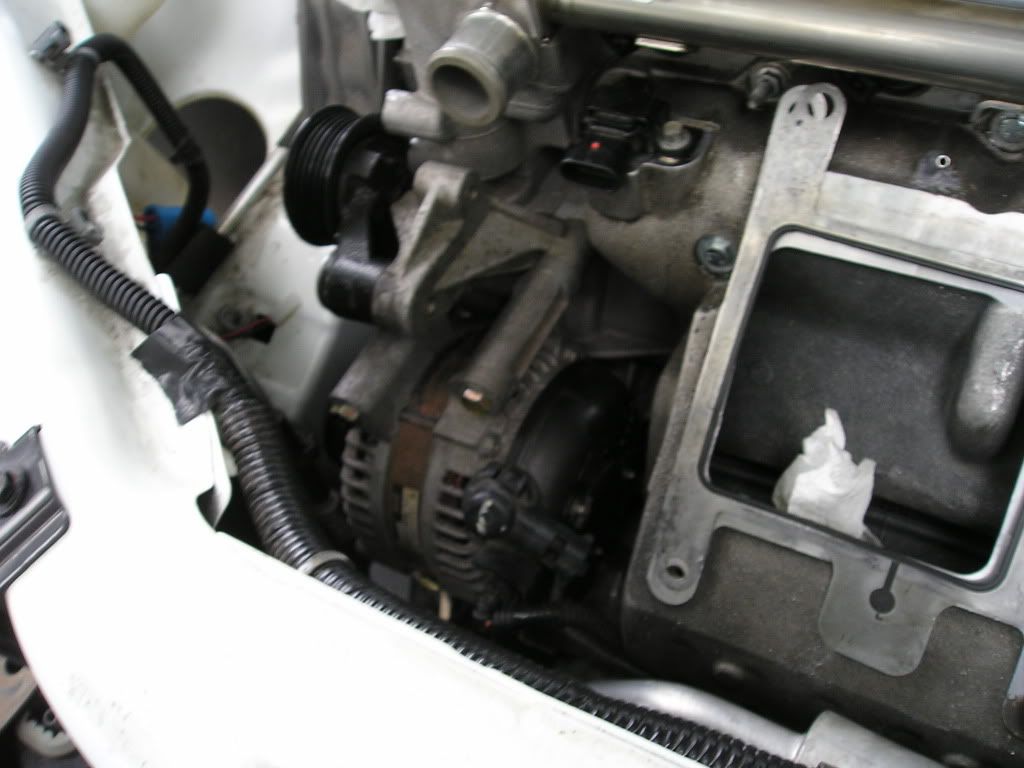
Alternator is on:
It went from blue sky and sunny to this in about 30 minutes...time to clean up.

Was sprinkling at this point, picked up a little after...
I think I'll go ahead and solder my injector harness up now...Gone but not forgotten: 1986 Chevrolet Camaro IROC-Z
"You shall ride eternal. Shiny and chrome."Comment
-
Well, tune just shipped from Washington State today - so if I'm lucky, I can have it on Saturday, but it looks like a no go for dynoing. Gone but not forgotten: 1986 Chevrolet Camaro IROC-Z
"You shall ride eternal. Shiny and chrome."Comment
-
Ugh...I was able to solder one out of the 8 nessecary connections on the injector harness...stupid piece of shit soldering iron - it never works. I did get it to work, and soldered that one connection, and then it ran out of butane. I went and got more, loaded it up - and then it went back to it's old shit and wouldn't heat up.
Stupid shitty soldering iron...Gone but not forgotten: 1986 Chevrolet Camaro IROC-Z
"You shall ride eternal. Shiny and chrome."Comment
-
You don't have an electric soldering iron? - Brian Meissen
Owner, MiFBody.com
Administrator, LTxTech.com
1994 Camaro LT1 Transplant - 357ci LT1, cammed, stalled, and driven.
2022 Camaro LT1 - "Cherry Bomb 2"Michigan FBody Meet & Greet Car Show 2022
June 4th, 2022 - 9am to 3pm!!!
The HUB Stadium, Auburn Hills, MIComment
-
Nope.Gone but not forgotten: 1986 Chevrolet Camaro IROC-Z
"You shall ride eternal. Shiny and chrome."Comment
-
looking good Kyle, too bad for the rain today that has to suck! Good news about the tune tho, keep up the good work and Balto will be back on the road ASAP!sigpic
1992 Chevy Camaro 25th Anniversary-SOLD
1992 Chevy Camaro 25th Anniversary
1997 Chevrolet Corvette
The Original
Originally posted by meissenOriginally posted by 81DaytonaPaceCar
Comment
-
Will do. Heading outside to work on it in a few.Gone but not forgotten: 1986 Chevrolet Camaro IROC-Z
"You shall ride eternal. Shiny and chrome."Comment
-
Ugh...my dad's old electric soldering gun was dead, too.
He's going to Home Depot to get a new one now.Gone but not forgotten: 1986 Chevrolet Camaro IROC-Z
"You shall ride eternal. Shiny and chrome."Comment
-
Ahh - late update, cause I went to see Transformers 2 (I really should be sleeping, but I had caffine, so I'll just wake up later... ). AWESOME movie, by the way.
Started off the morning searching for a soldering iron/gun - my dad remembered he had an electric soldering gun buried in his truck. I dug it out - and it too, was dead. (either that or, we're too impatient for it to heat up). He went out to buy a new one, and I started on the car.
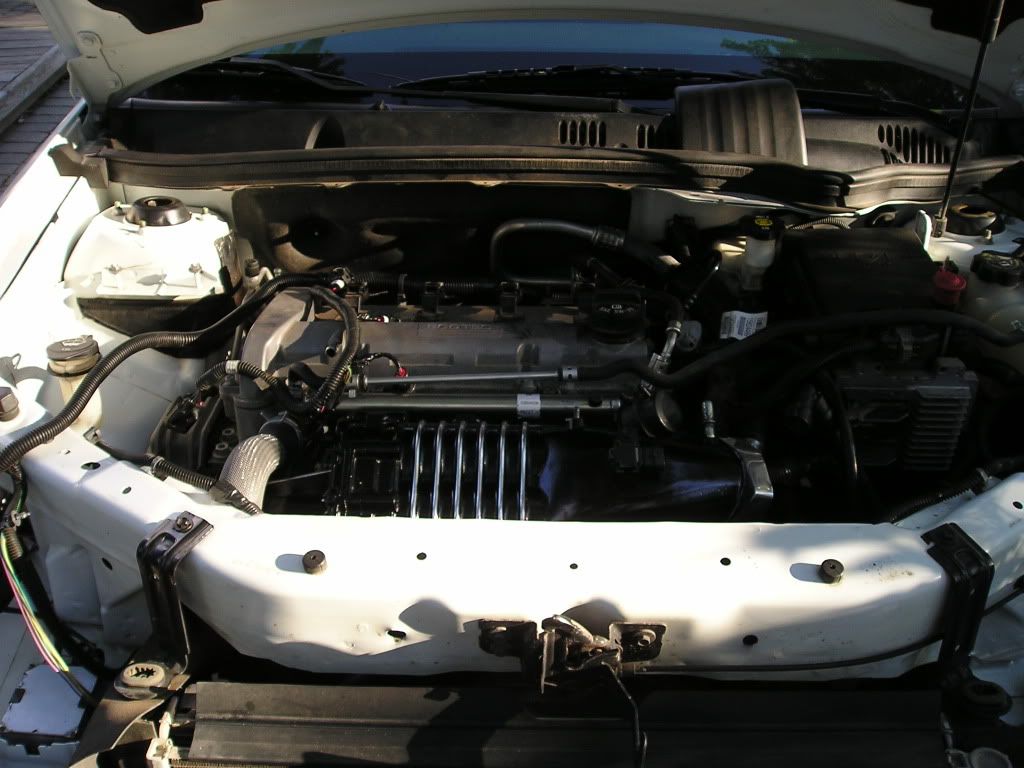
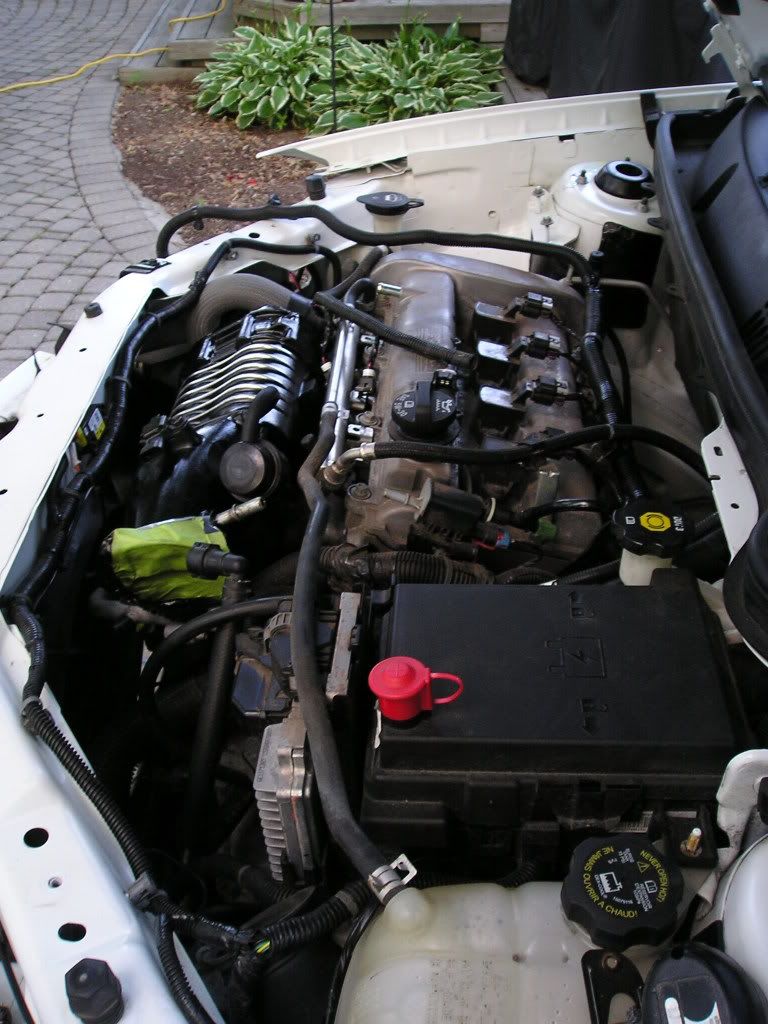
I got the new upper radiator hose on:
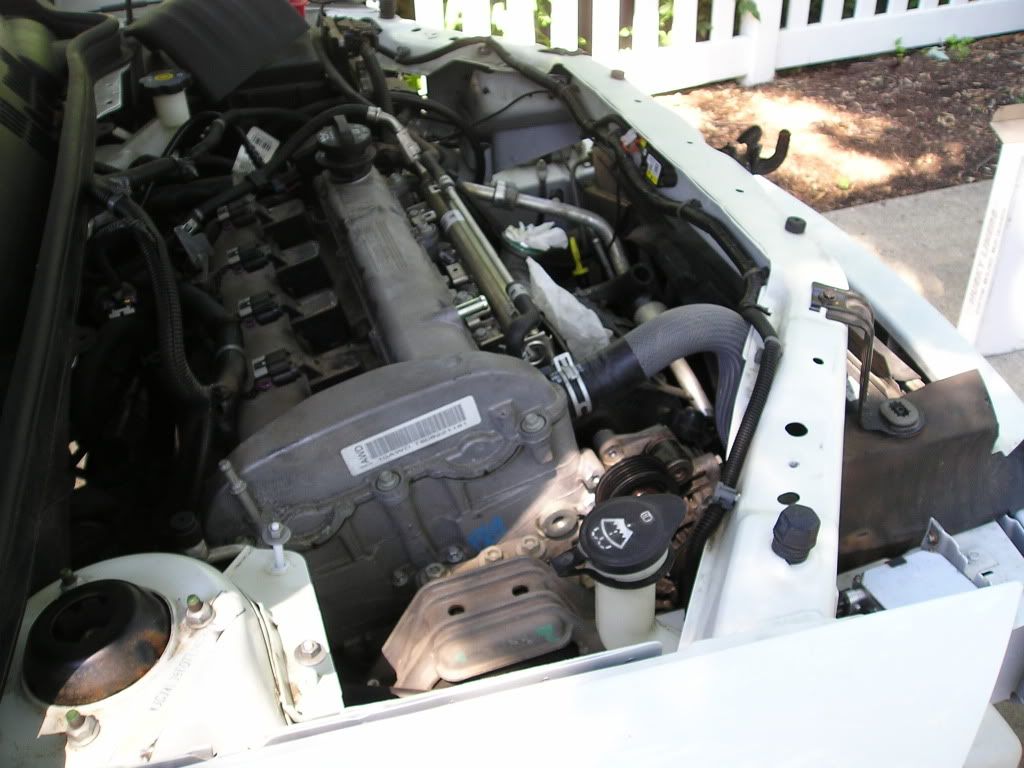
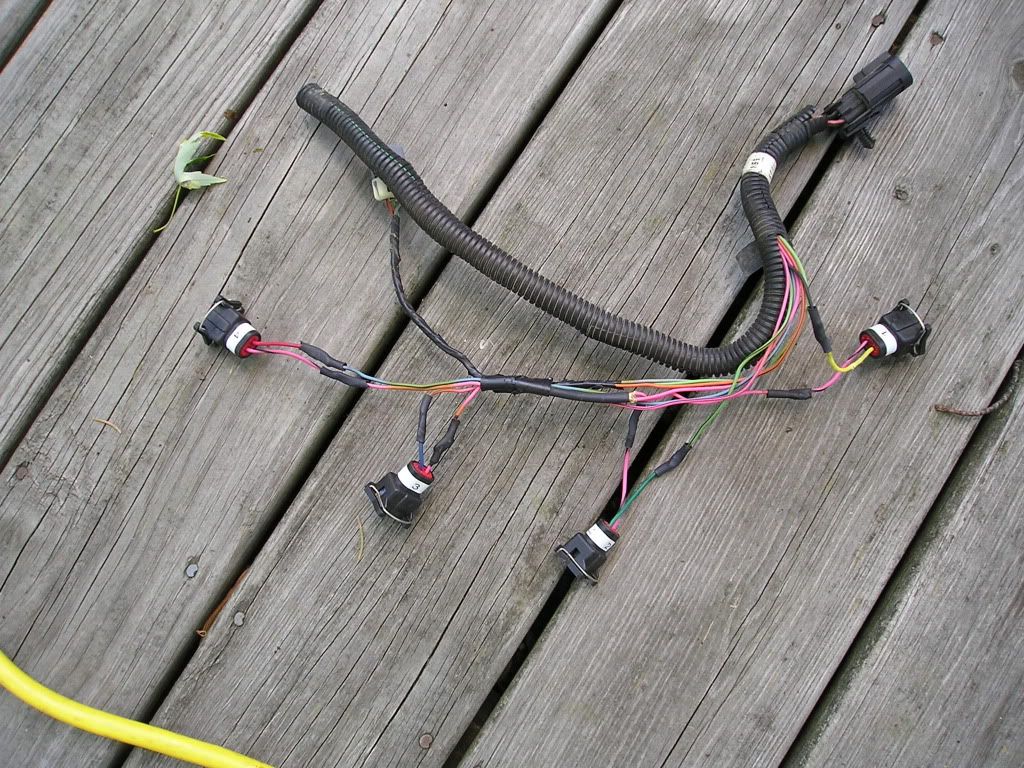
Here's the soldered up injector harness with the new connectors for the Lucas #42s I'm running:
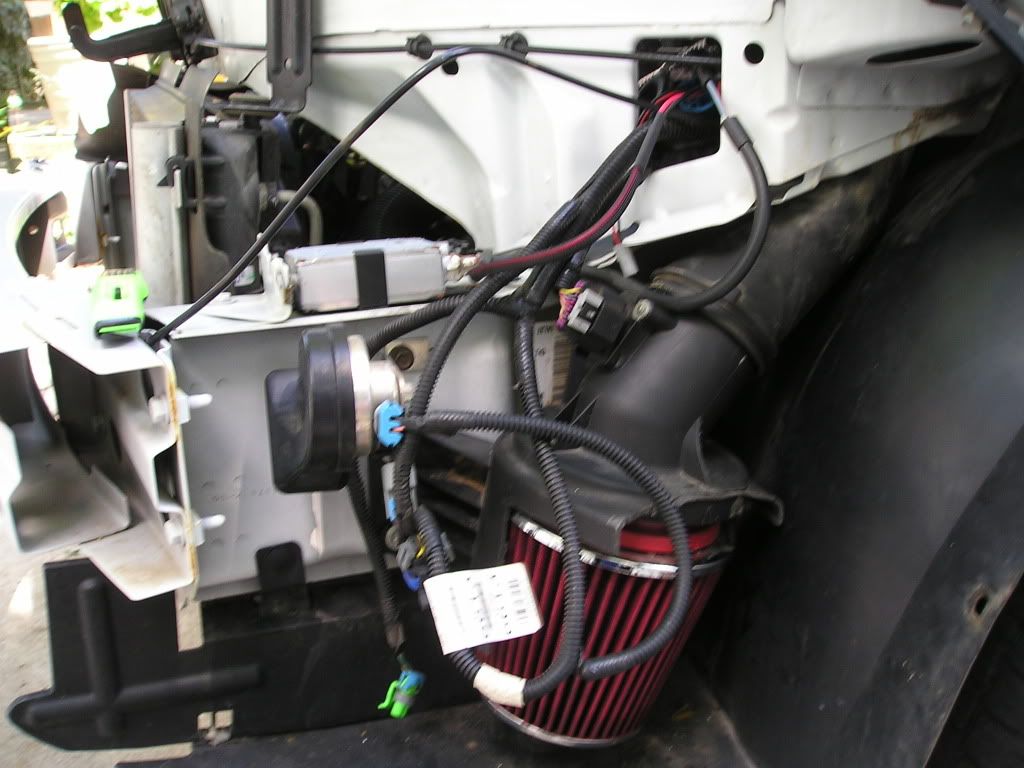
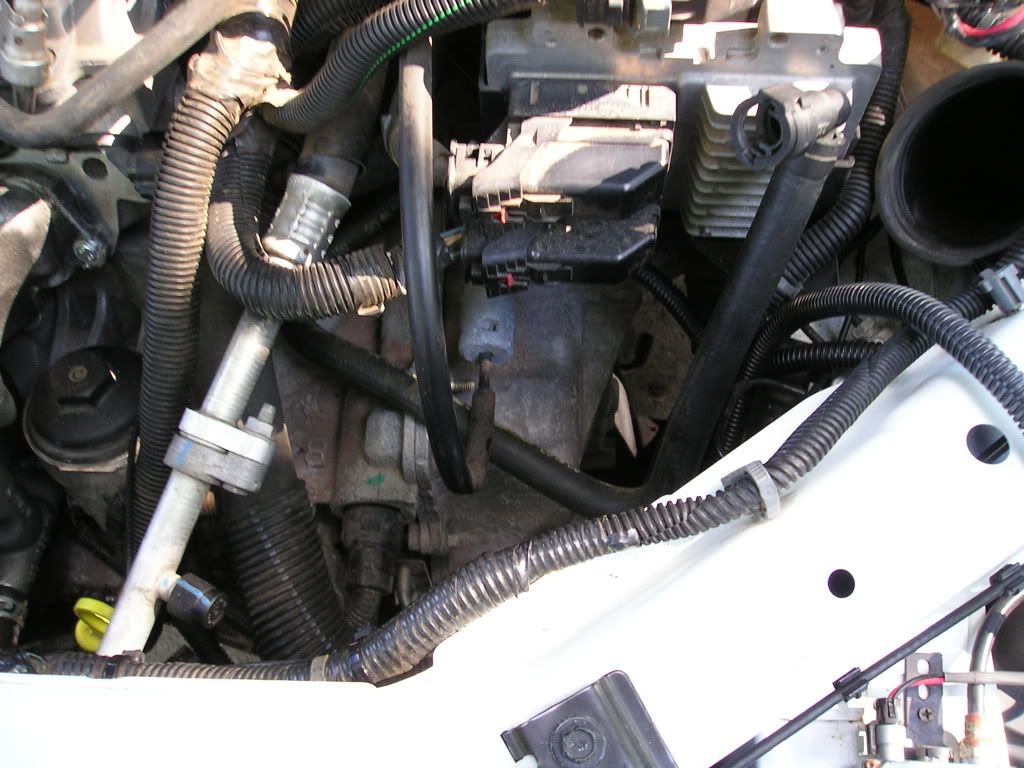
Undid all the loom to move the MAF over to the driver side of the car (which is where the new MAF location is):

Bought some wire loom and put it over the MAF wires:
Can't even tell:
Cut one rib off my Stage 2 belt (so it can fit the Crank, AC and alternator pulleys):
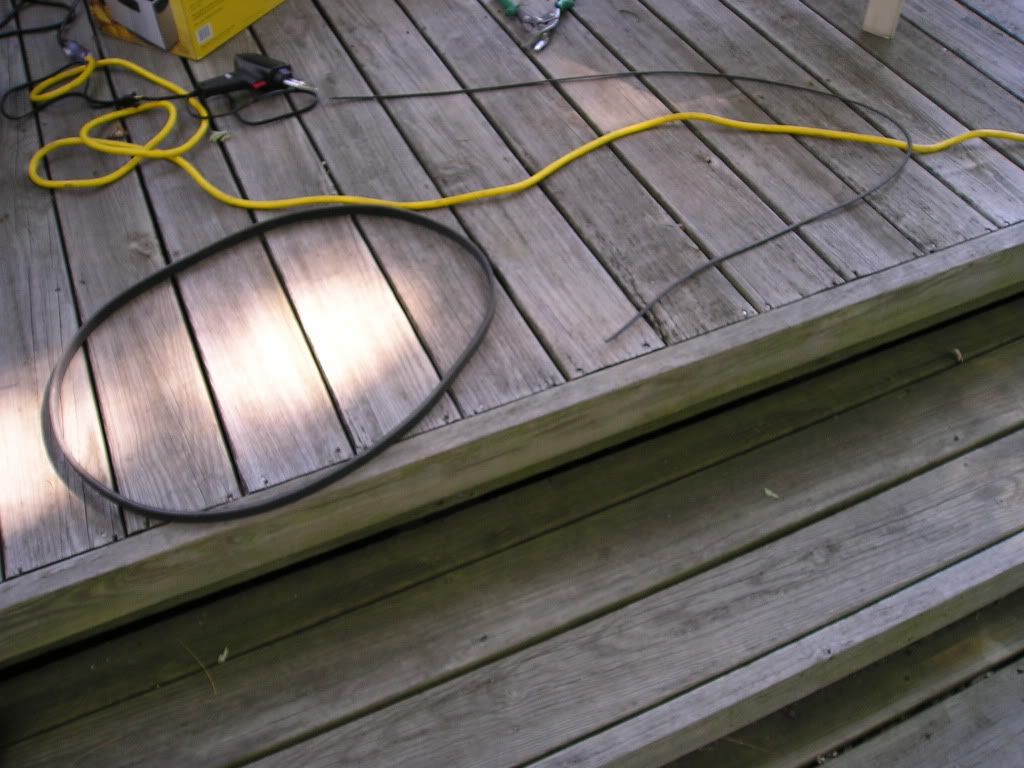
Belt "installed":
Wired up the Heat Exchanger Pump:
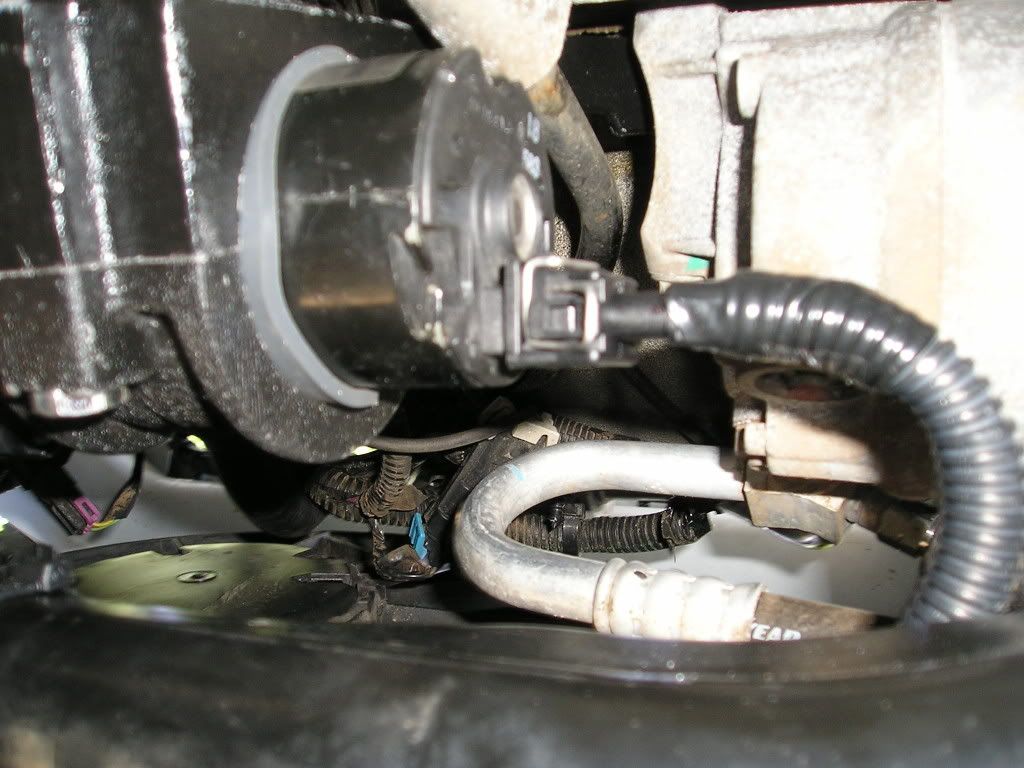
LSJ Brake Booster Hose:
Wiring in the fuse box for the Heat Exchanger Pump - Add a Fuse, turns on with the fuel pump:
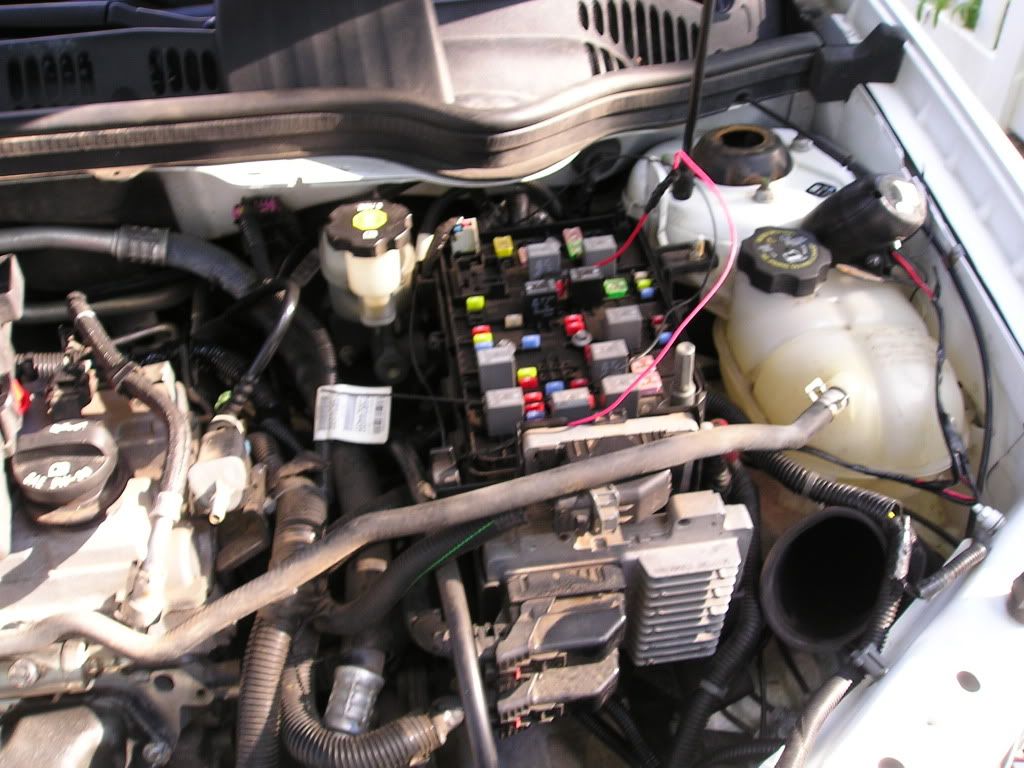
All closed up - once again, very clean, I must say:

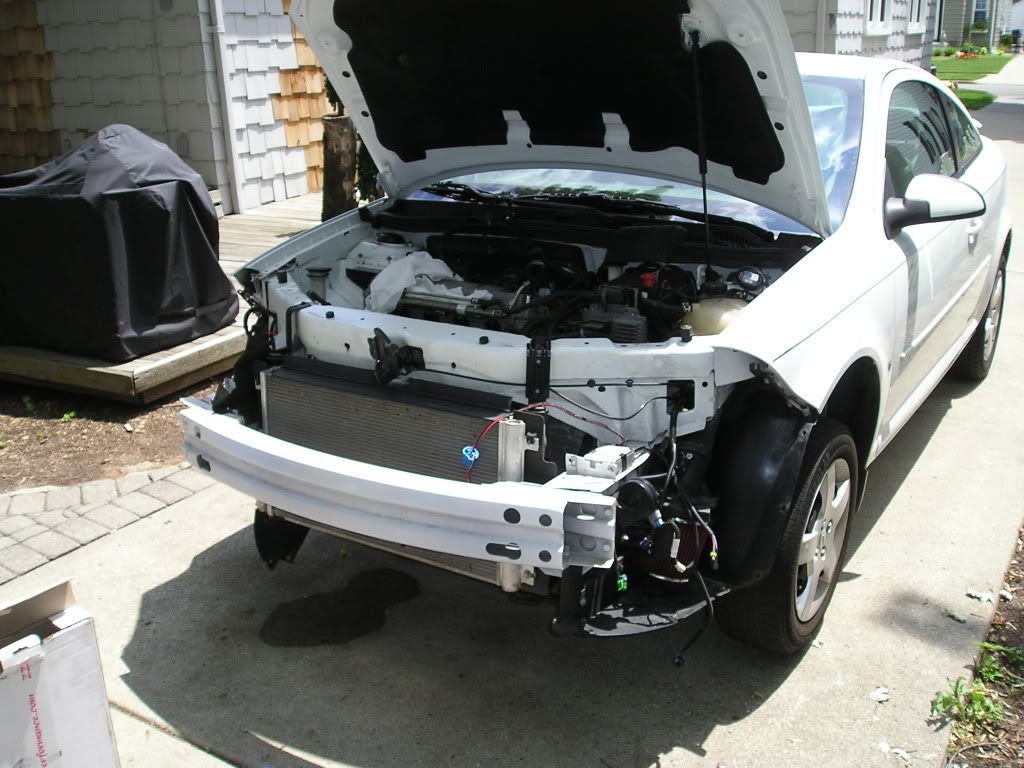
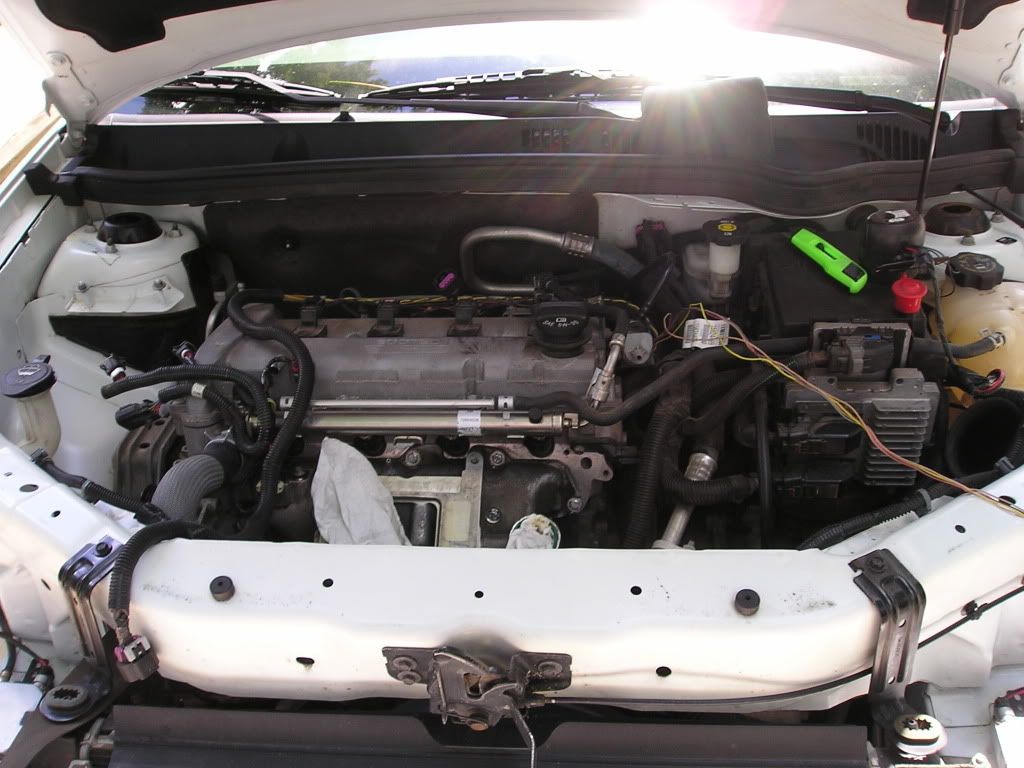
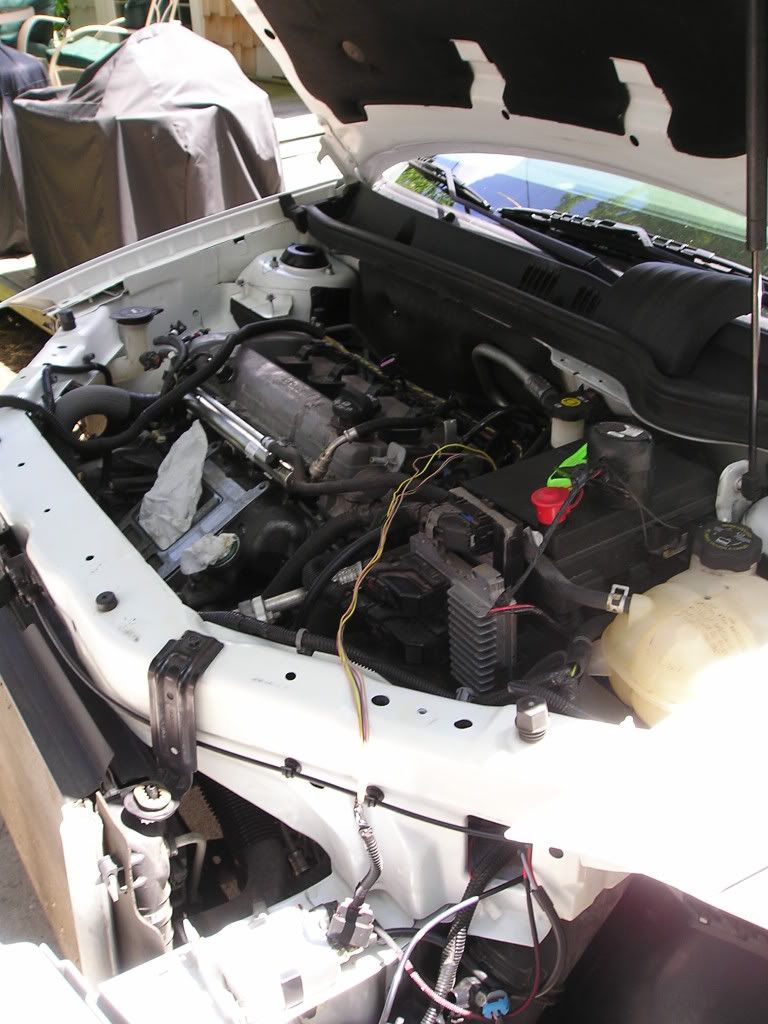
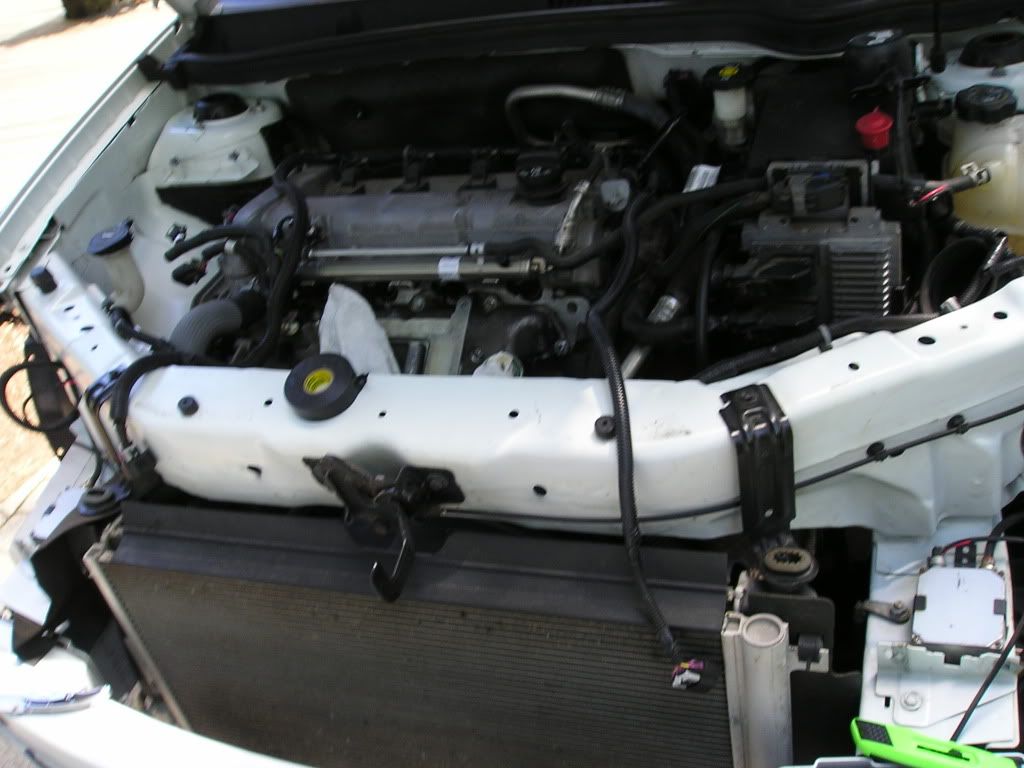
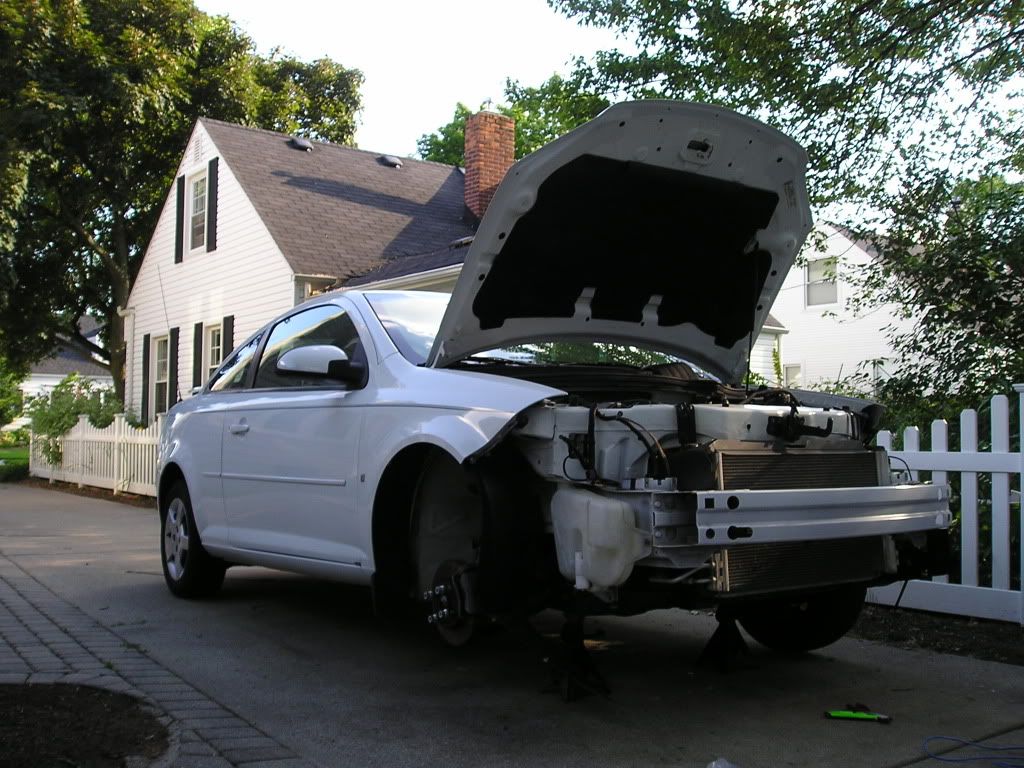
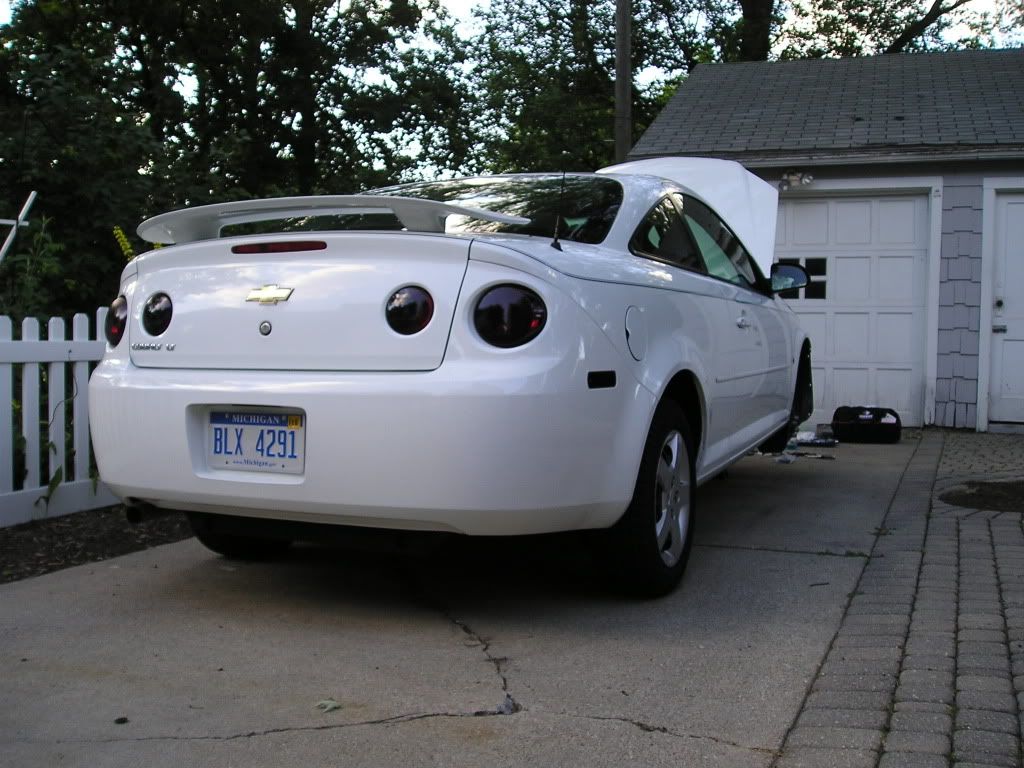
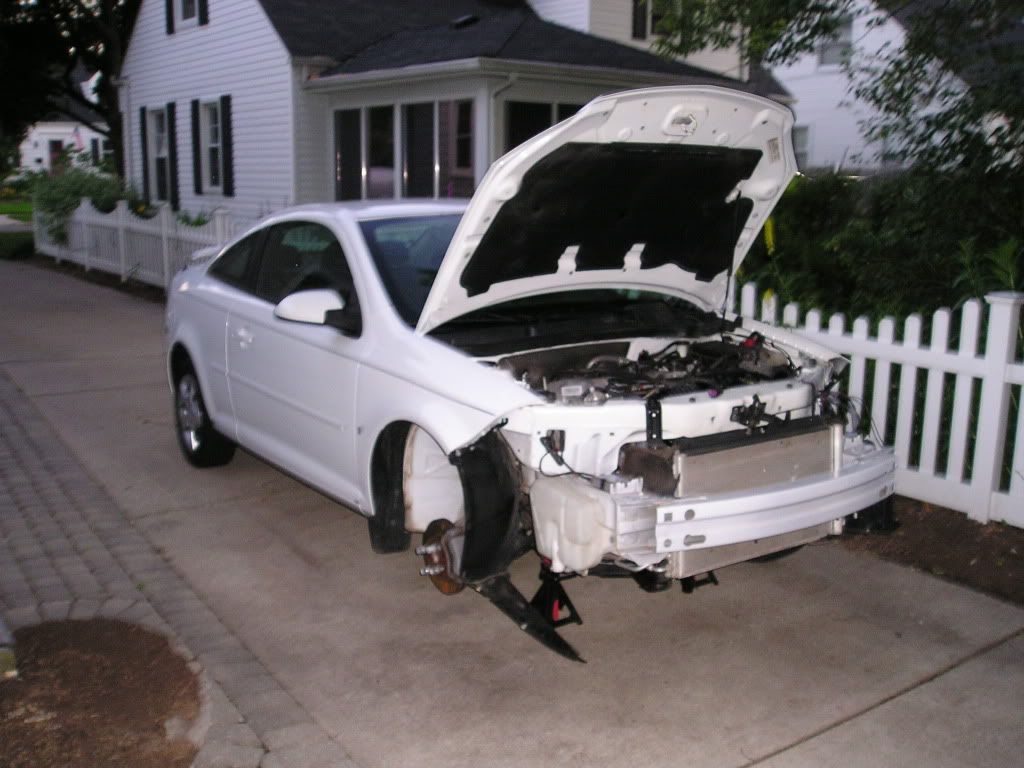
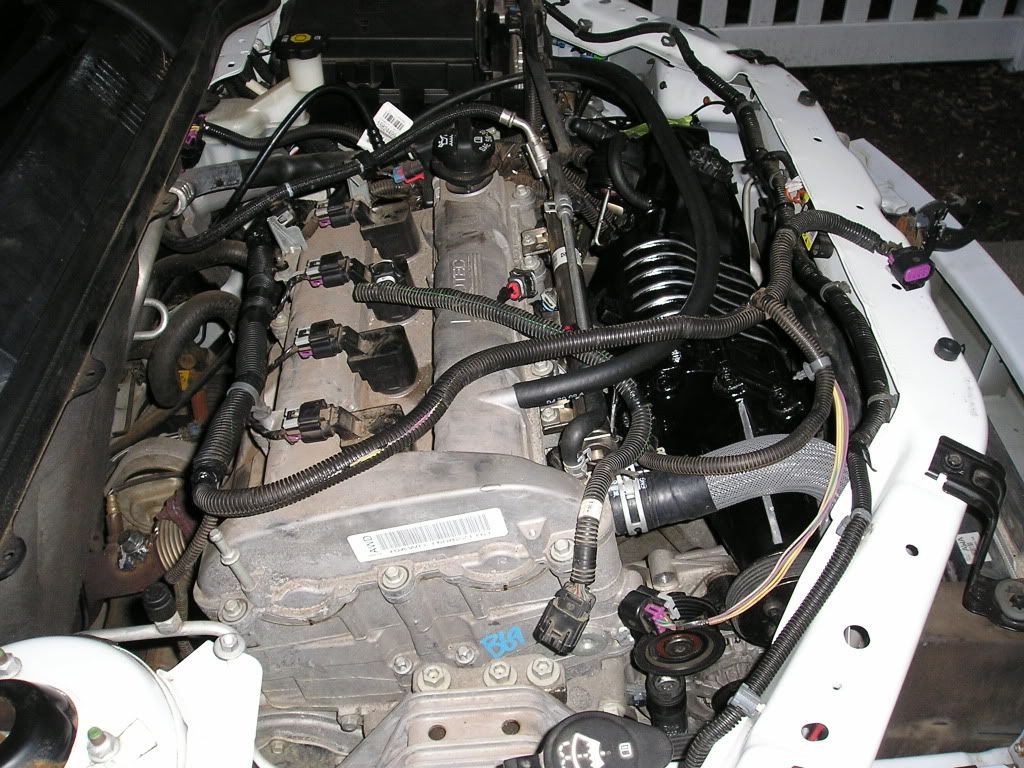
Misc pictures of the car:

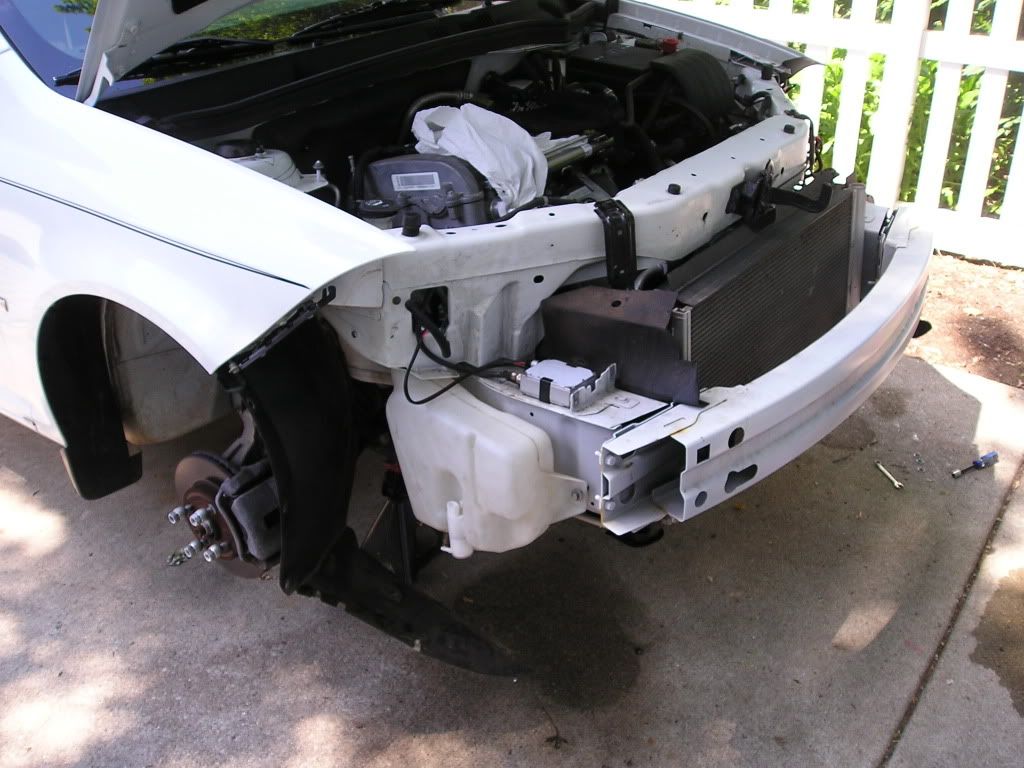
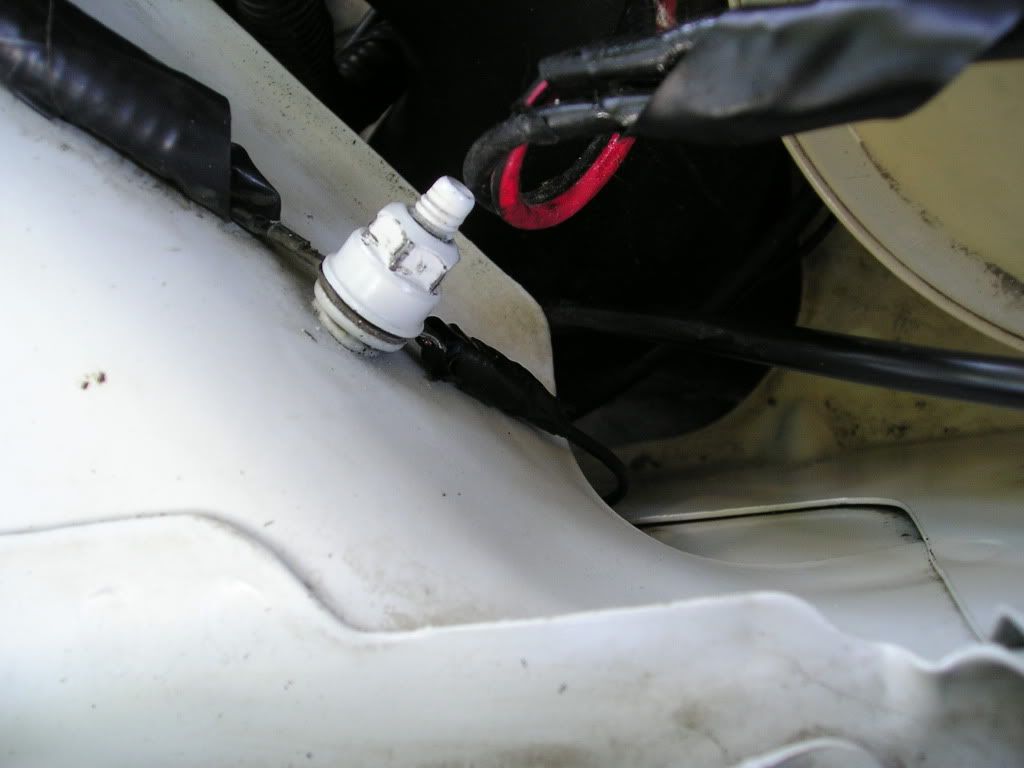
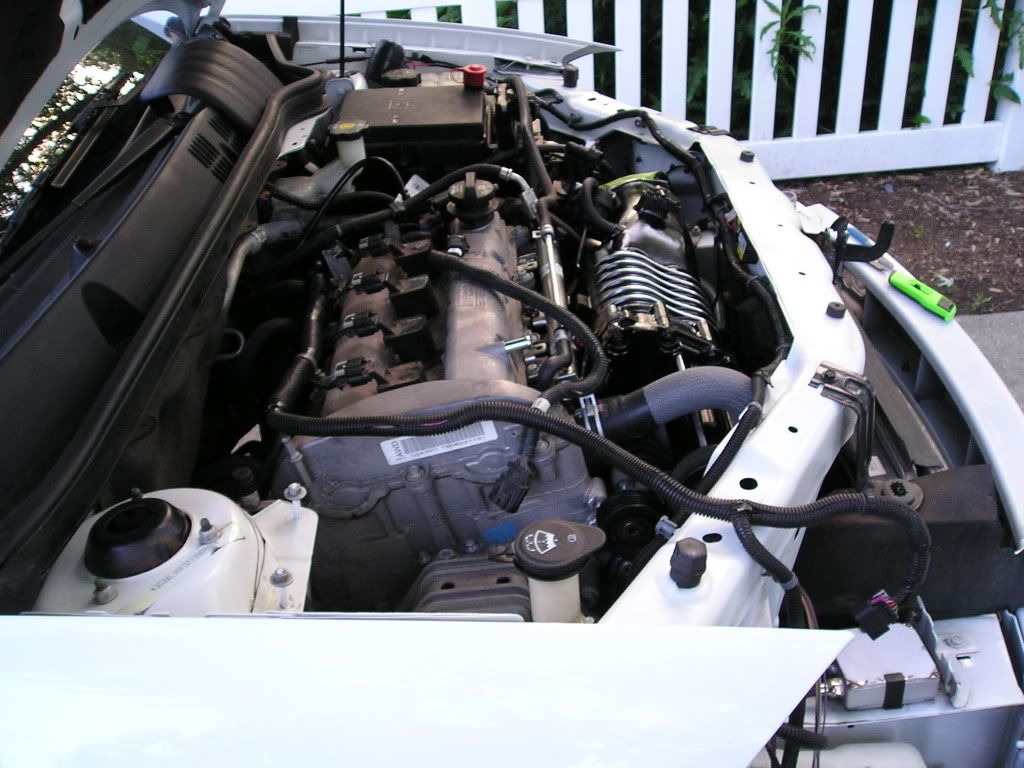
Installed the Supercharger...and noticed this...
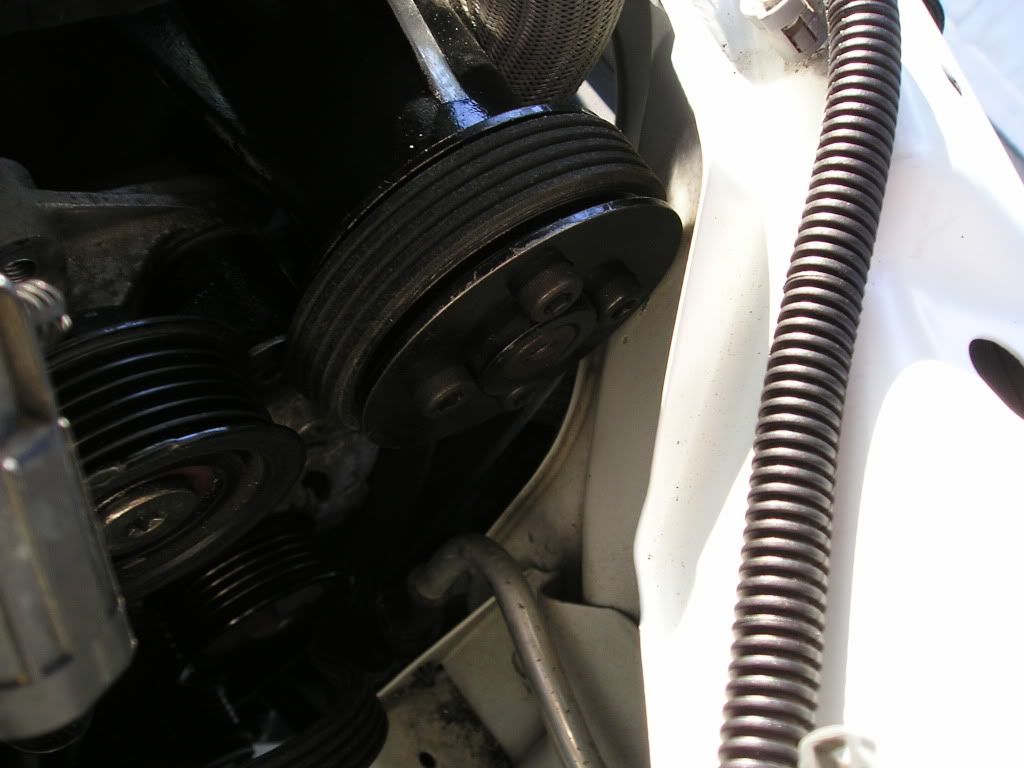
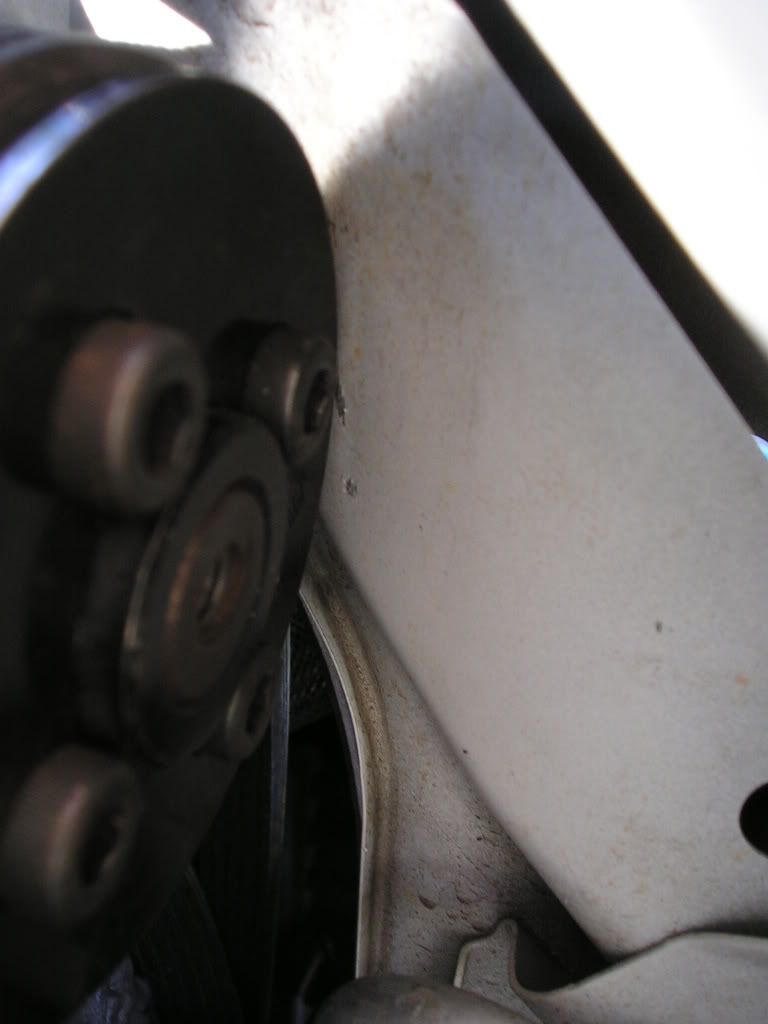

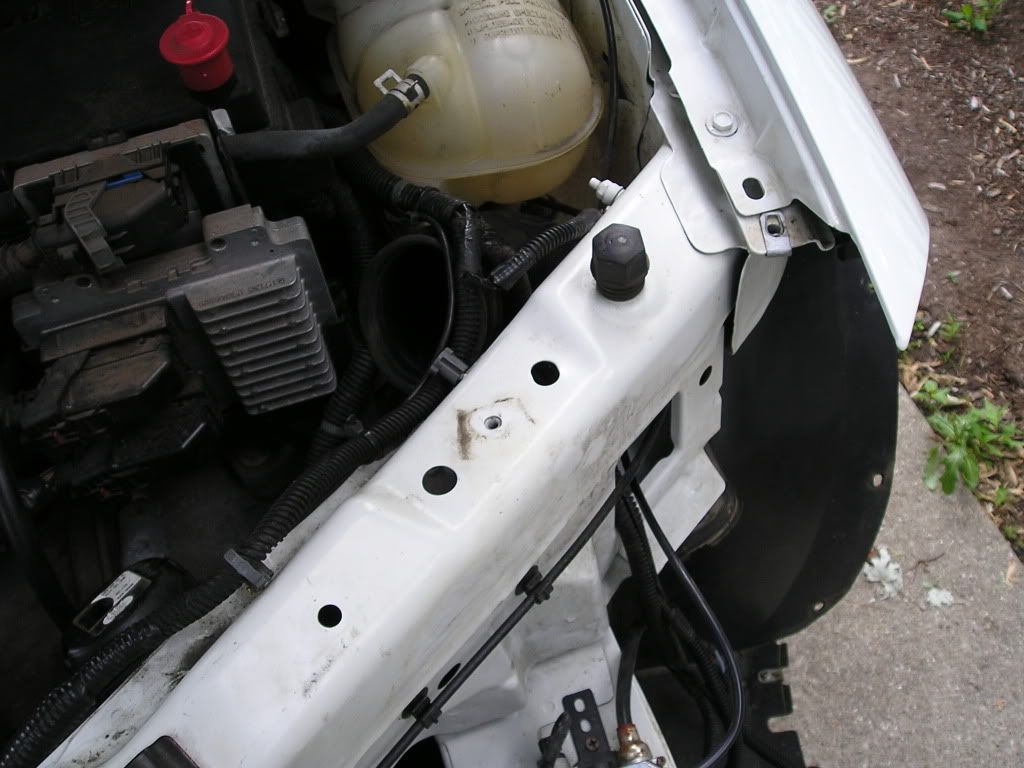
There's about 1mm of clearance between the pulley and the "core support". I should be able to wrap my hand around the STOCK pulley - and this one is smaller than stock. We theorized that, perhaps, the car was in an accident - but I could find NO traces of a repair, anywhere. Talking to Todd (TSTONE), he told me to check the front bumper, and we confirmed that it was the original - as the build date was 10 days before my car (built, shipped, installed - makes sense)...So, I'm really not sure what the hell to believe. Tomorrow, the area meets my ball-peen.
Ignoring the clearance issue, it looks really nice:
Getting dark, cleaning up early to go see Transformers 2:
Big thanks to TSTONE for returning my call and trying to help me figure out what the hell is wrong with my car - and for having me check the bumper tag. I really appreciate all the help so far, Todd!
Last edited by MP81; June 27th, 2009, 01:05 AM.Gone but not forgotten: 1986 Chevrolet Camaro IROC-Z
"You shall ride eternal. Shiny and chrome."Comment
-
damn kyle, good progress! might stop by to see it or something today.2000 Trans Am l 1967 Firebird
sigpic
Comment
Comment