Announcement

Collapse
No announcement yet.

Converting 93-96 Gauge Cluster Bulbs to LED

Collapse
X
Collapse
Who has read this thread:
 
  • Filter
  • Time
  • Show
Clear All
new posts

  • Converting 93-96 Gauge Cluster Bulbs to LED

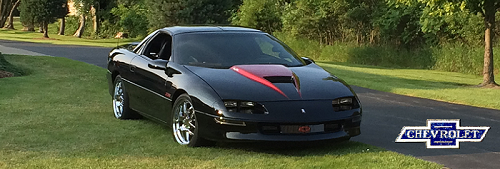
    I didn't know exactly how to title this because there's more to it than a fancy name. Basically, this is a writeup if you have a 93-96 Camaro and you want to convert the "main bulbs" to LED (IE: The tach, speedo, and gauges, not the secondary "light up icons") Likewise, this may not work with stock gauges, as the stock gauges have a blue plastic backing on them which means red LEDs won't shine through.

    Materials Needed:
    194 wedge-style Inverted-Cone Wide Angle LEDs [I purchased from Superbrightleds.com]

    Taking the gauges out is the most time consuming part of it. You'll have to remove the radio bezel, the knee bolster, the A-pillar, and the dash pad all just to gain access to the bolts to remove the gauge cluster bezel. The bolts are all 10mm as I recall. Once the cluster bezel is removed, there's 4 bolts that hold the cluster in place. Unplug the cluster, and take the gauges to your workbench or kitchen counter. You'll need a small torx tip to remove all the little screws from the black plastic cover that protects the circuit board on the back of the gauge cluster. Once that's removed, the real conversion begins.

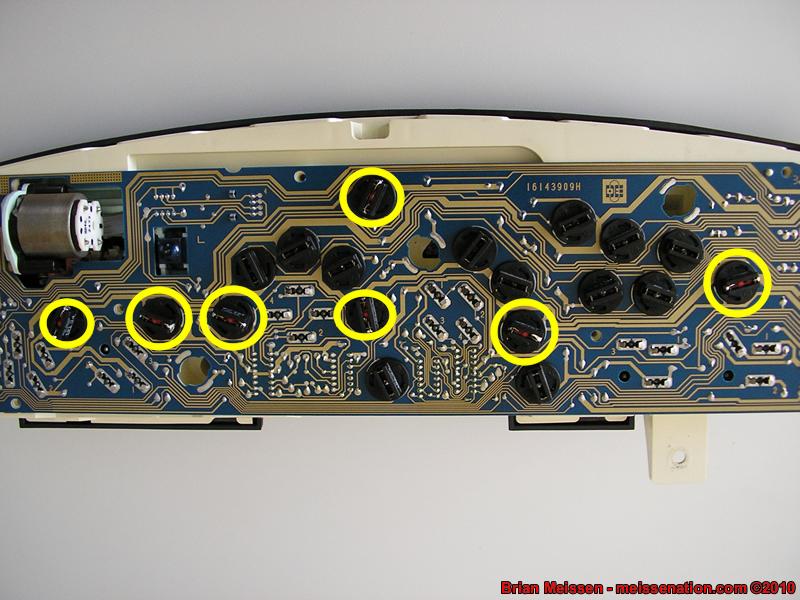
    Once you have the black plastic cover off, you have perfect access to all the bulbs. These bulbs are meant to be replaced socket and all. Well, you only ordered 194 base LEDs [that's all you need], so here's the trick. Slip on a pair of rubber dish gloves, they'll not only give you extra grip, but protect you from bits of glass. With the gloves on, grib the base of the glass bulb and the plastic socket, and pull them apart. It doesn't take too much to break the bulb loose. Once you have removed the bulb, you now have a perfect socket for a 194 wedge bulb. Take your LED and bend the leads on them so they point down, instead of being against the base as they come. With the leads pointed down, insert the 194 wedge LED into the socket. Bend the leads to make contact with the metal strips on the sides of the socket. You'll need a soldering iron and solder to ensure a strong, secure connection between the lead and the metal. I tried just bending it, but that wasn't enough when I tested it.

    Once your bulbs are soldered into place, simply plug them back in and go out to your car and test. Make sure you test first, before putting the black cover back on. The bulbs are polarized, so if a bulb doesn't turn on when you test the lights, twist the socket back out from the gauges and turn the socket 180 degrees and then try it again and it should light up. If not, check your solder joints. If everything lights up ok, then you've just gotten a great new LED-lit gauge cluster! Put it all back together and enjoy the new lights.

    Bulbs to replace with the 194 wedge LEDs:
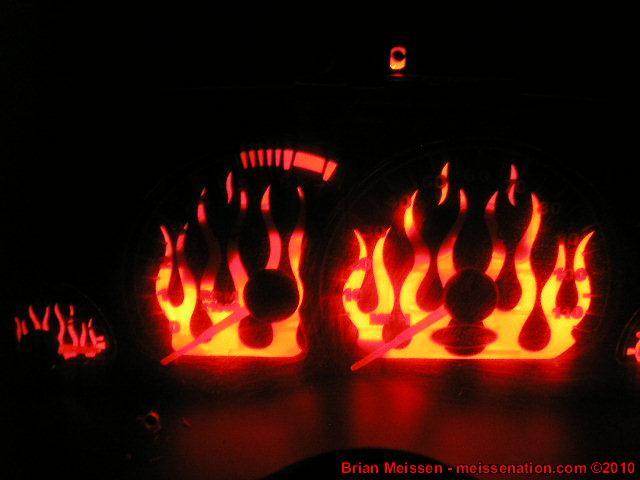
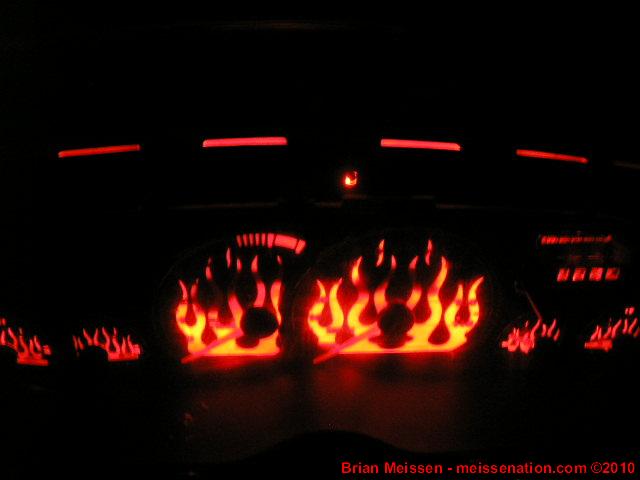
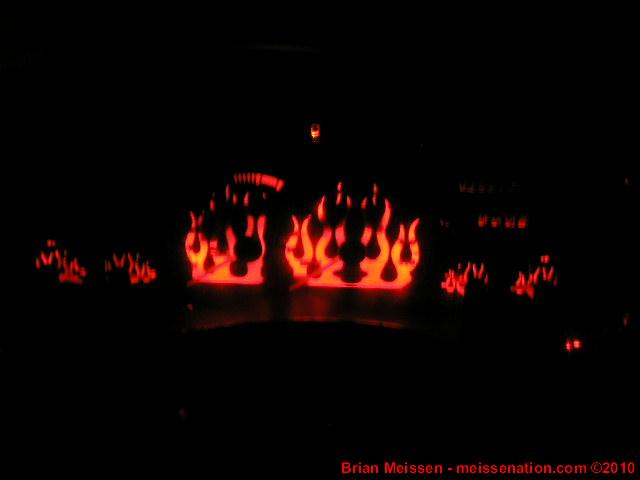
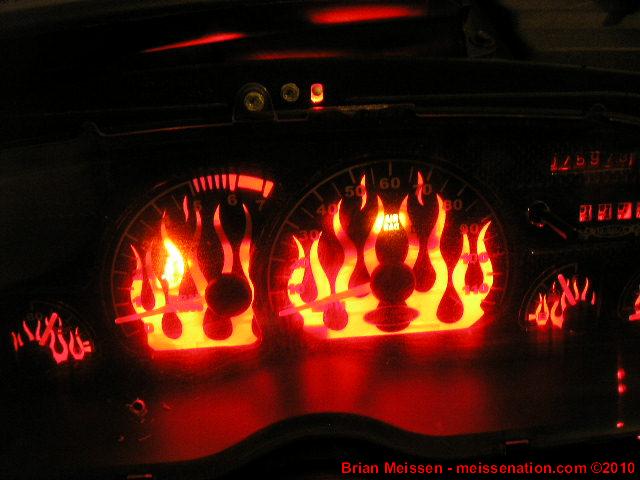


    The results:


    Last edited by meissen; February 10th, 2008, 08:49 PM.
    - Brian Meissen
    Owner, MiFBody.com
    Administrator, LTxTech.com


    1994 Camaro LT1 Transplant - 357ci LT1, cammed, stalled, and driven.
    2022 Camaro LT1 - "Cherry Bomb 2"
    Michigan FBody Meet & Greet Car Show 2022
    June 4th, 2022 - 9am to 3pm!!!
    The HUB Stadium, Auburn Hills, MI

  • #2
    that really is cool all lit up, but can you see your speed at night like that? maybe it's just the glare.......

    Comment


    • #3
      I've been having a horrible time capturing what it looks like in person. My camera absorbs too much light, so it comes out looking hella bright like that. Here's some images from my dad's camera which makes it look dimmer than they really are, but the last picture I edited with Firefox to try and make it look like it does in person.


      And the edited one. I brightened it and did more contrast. The color is about right, but it's a tad brighter than these pics. Also, you can clearly see the difference between the red LEDs and the regular bulbs (the seatbelt icon)
      Last edited by meissen; February 1st, 2006, 08:17 PM.
      - Brian Meissen
      Owner, MiFBody.com
      Administrator, LTxTech.com


      1994 Camaro LT1 Transplant - 357ci LT1, cammed, stalled, and driven.
      2022 Camaro LT1 - "Cherry Bomb 2"
      Michigan FBody Meet & Greet Car Show 2022
      June 4th, 2022 - 9am to 3pm!!!
      The HUB Stadium, Auburn Hills, MI

      Comment


      • #4
        um, your speedo is on fire, might want to put that out. cool transformation
        ------------------------------------------
        2004 GMC Envoy - Tuned, Airraid Intake, rest stock
        2005 Malibu - Stock, anyone have a ecotec factory gm supercharger for me? lol

        5th gen Camaro V6 Forums
        http://www.bowtiev6.com

        Comment


        • #5
          Here's a cool "before and after" (I forgot I had this pic)


          - Brian Meissen
          Owner, MiFBody.com
          Administrator, LTxTech.com


          1994 Camaro LT1 Transplant - 357ci LT1, cammed, stalled, and driven.
          2022 Camaro LT1 - "Cherry Bomb 2"
          Michigan FBody Meet & Greet Car Show 2022
          June 4th, 2022 - 9am to 3pm!!!
          The HUB Stadium, Auburn Hills, MI

          Comment


          • #6
            That looks pretty bright!!!
            i want to make all my gauges glow red...but i still want the factory gauge overlay. maybe i'll just have to get like a "platinum" or "white" faced gauge overlay to put red lights behind it?
            1998 Camaro SS Bullseye Turbo
            2002 F-250 7.3 Leveled on 20s with 35's
            2006 Yamaha R6 50th Anniversary
            http://www.mifbody.com/vbulletin/sho...-Update/page11

            Comment


            • #7
              I'm thinking of buying one of those stainless steel guage overlays and painting it Orange to match the car color exactly, but I'm not sure. Great job, B!
              Nick H.
              Current MIFC Vice President

              sigpic

              Comment


              • #8
                Is there any way to get at the back of the guage face? I would just remove the tape and install Orange LED's, but I want it to look kinda stock lol. Any suggestions?
                Nick H.
                Current MIFC Vice President

                sigpic

                Comment


                • #9
                  nada. it's glued on, so if you remove it you'd have to like glue it back on.
                  - Brian Meissen
                  Owner, MiFBody.com
                  Administrator, LTxTech.com


                  1994 Camaro LT1 Transplant - 357ci LT1, cammed, stalled, and driven.
                  2022 Camaro LT1 - "Cherry Bomb 2"
                  Michigan FBody Meet & Greet Car Show 2022
                  June 4th, 2022 - 9am to 3pm!!!
                  The HUB Stadium, Auburn Hills, MI

                  Comment


                  • #10
                    How about a reverse glow gauge kit? They sell cheap on ebay all the time, are they as bright? I really want my dash to pop out. I think I'll just get that and a lighted gauge needle kit from EBay. Really cheap, and i think it would look pretty cool. And a stainless steel surround painted Orange as I mentioned above would look awesome with that.
                    Nick H.
                    Current MIFC Vice President

                    sigpic

                    Comment


                    • #11
                      Bringing this back from the dead because this is such a sweet write up! I'm going to the junkyard to rip out a AC control cluster to see if it's possible to change those ones too!

                      1999 Pontiac Trans Am - LS1 - M6 - ITSSLOW - 12.998@109.59 - SOLD
                      1994 Chevrolet Camaro
                      - 3.4L - M5 - ITSSLWR - 16.558@85.38
                      2003 Chevrolet Blazer
                      2005 Yamaha R6
                      2001 Yamaha YZ426F

                      Comment


                      • #12
                        That would be sweet...but time consuming, ill leave this as a wishful mod
                        2011 Ford Raptor SuperCrew
                        SVT Beadlock Wheels
                        Roush Intake, Corsa Exhaust
                        20" and 40" Light Bars

                        2000 Camaro Z28
                        Stripped Down Drag Car Build

                        Project 1999 Camaro Z28


                        2009 G8 GT Stryker Blue Metallic-SHEGONE
                        Crate LS3, LS9 Cam, LSA Supercharger, Metco Solid Isolator
                        RotoFab Intake, HSRK, Camaro Trans Pan
                        ZL1 HX, ZL1 Fuel Pump, CTS-V Lid, LSA Injectors
                        Pat G - 93 Octane Tune
                        Kooks 1-7/8" Longtubes, High Flow Cats, X Pipe, Solo AxleBacks
                        CTS-V Calipers, Brembo Pads
                        H&R Lowering Springs, Whiteline Bushings, FE3 Struts/Shocks, Camaro 20" Wheels
                        HIDs, LED Conversion, Atari Gauges, Tint, Roof Carbon Fiber Wrapped, Innovative Wideband

                        2.55 Lingenfelter Pulley and Injectors waiting to go on!
                        sigpic

                        Comment


                        • #13
                          I got some white overlays that still glow stock red... Ill be putting in led's here in about a month heres a crappy cell phone pic and yes I a bulb is burned out, I found that out after i was finished and with it being so cold i dont feel like fixing it just yet
                          Attached Files
                          99 Grand Prix GT - Winter Ride

                          ___M&R Electronics ___
                          .MECP & ASE Certified.

                          Comment


                          • #14
                            I also have the HVAC and Headlight overlay, just no pics yet
                            99 Grand Prix GT - Winter Ride

                            ___M&R Electronics ___
                            .MECP & ASE Certified.

                            Comment


                            • #15
                              Originally posted by s.reef View Post
                              That would be sweet...but time consuming, ill leave this as a wishful mod
                              yea id do it if it was as easy as my truck... which is plug and play.
                              -Joel
                              1995 Z28 M6 - AI226/234 - autocross ricer
                              1984 Scottsdale K10 - 305/4bbl/4spd


                              WTB List:Midwest Chasis DS Loop

                              Comment

                              Working...
                              X