

 Tweet
Tweet
This is going to be a compiled version of my LT1 Project. I am going to close the thread so that no one can post. Then I will update the thread periodically with my updates. That way if anyone ever wants to see the project from start to finish they'll be able to read this thread and not have to jump through so many random posts.
-
- Brian Meissen
Owner, MiFBody.com
Administrator, LTxTech.com

1994 Camaro LT1 Transplant - 357ci LT1, cammed, stalled, and driven.
2022 Camaro LT1 - "Cherry Bomb 2"Michigan FBody Meet & Greet Car Show 2022
June 4th, 2022 - 9am to 3pm!!!
The HUB Stadium, Auburn Hills, MI -
October 15 2008
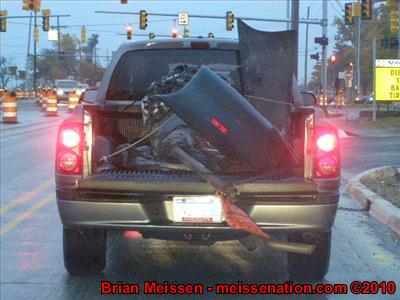
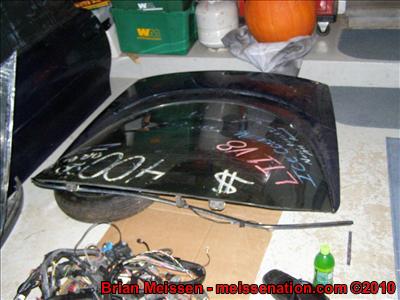
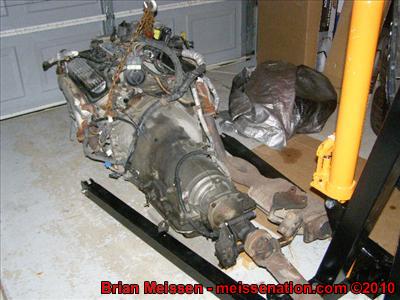
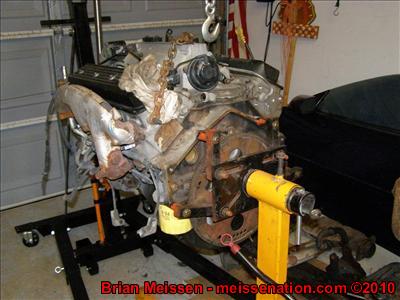
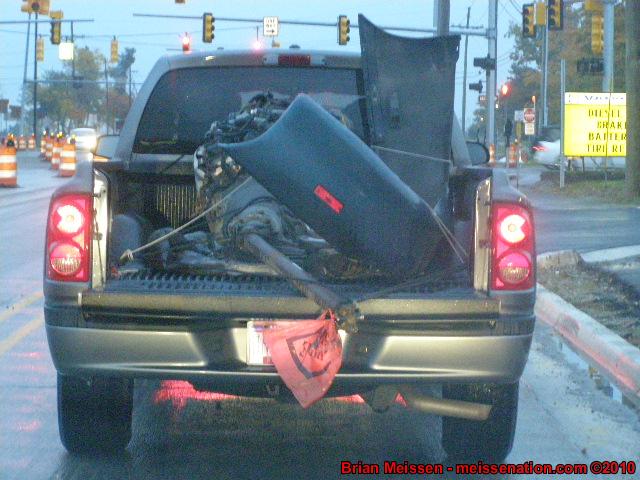
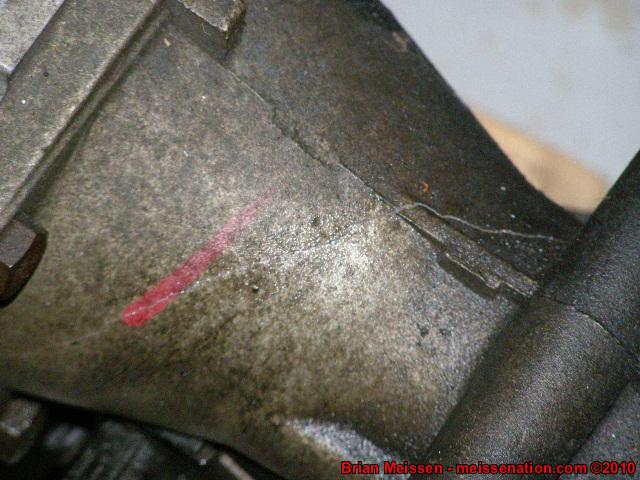
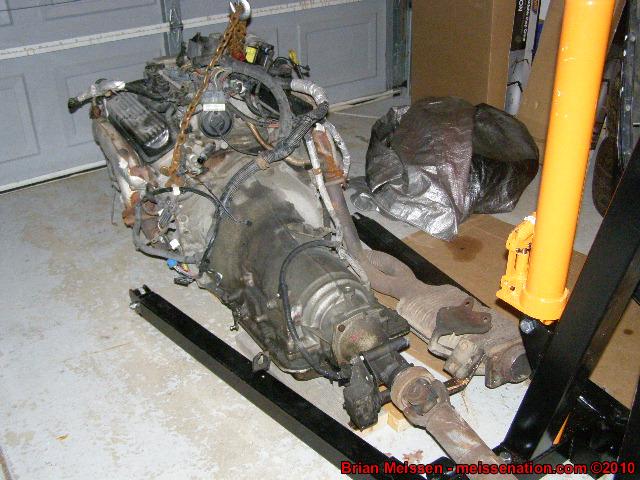
BIG THANKS to Dan - mcssmostwanted - for meeting me at work and helping with getting all this home. A buddy of mine from work also borrowed his dad's F-150 to help transport because we couldn't fit everything in the Dakota and Jimmy. I still can't get over how much I walked away with for $1,000.
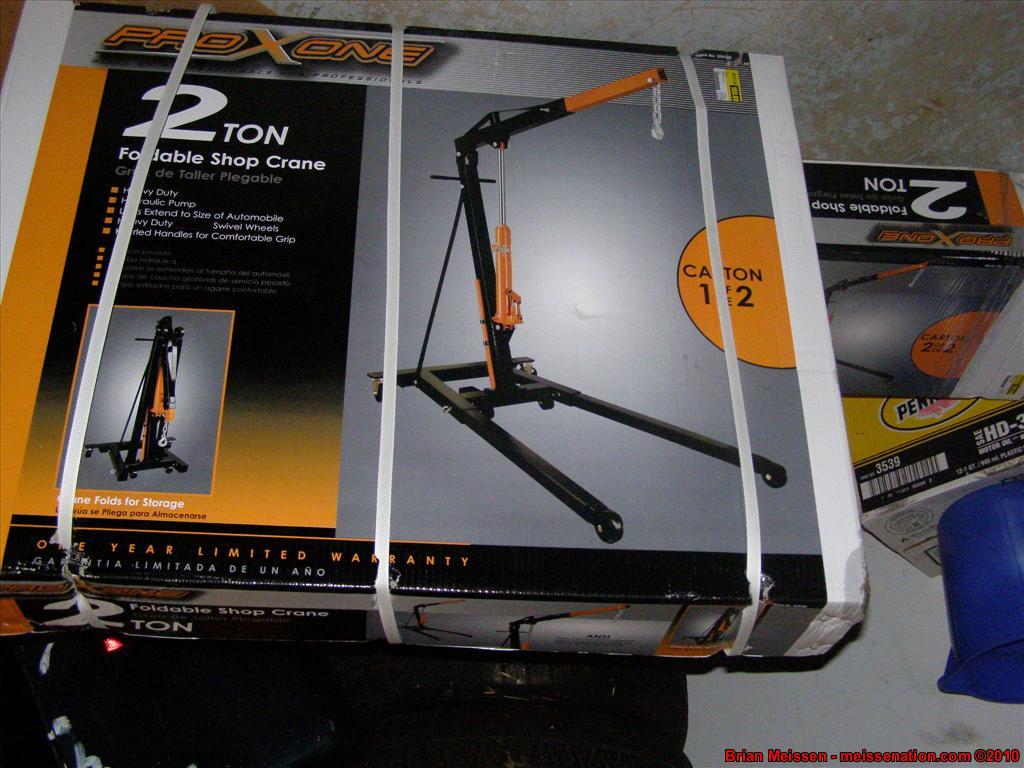
First thing I did was go buy an engine hoist from Murrays -- it was on sale for $129 and I figured between getting the engine out of the car, getting the v6 out of the car, and then putting the v8 back in, I don't know how long I'm going to take with this project so I just bought the engine hoist and will sell it afterwards.


 Last edited by meissen; February 26th, 2009, 10:10 AM.- Brian Meissen
Owner, MiFBody.com
Administrator, LTxTech.com
1994 Camaro LT1 Transplant - 357ci LT1, cammed, stalled, and driven.
2022 Camaro LT1 - "Cherry Bomb 2"Michigan FBody Meet & Greet Car Show 2022
June 4th, 2022 - 9am to 3pm!!!
The HUB Stadium, Auburn Hills, MI -
October 16 2008
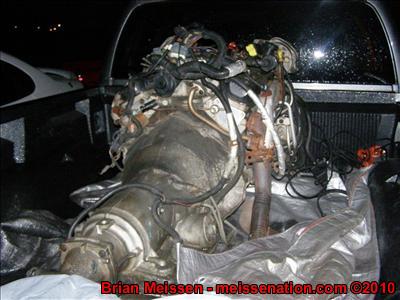
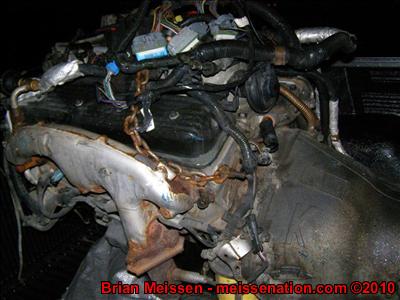
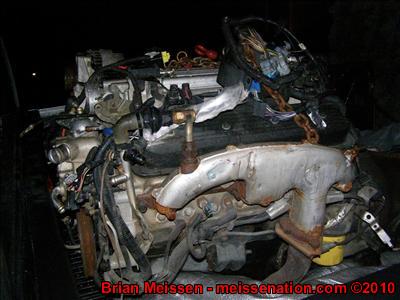
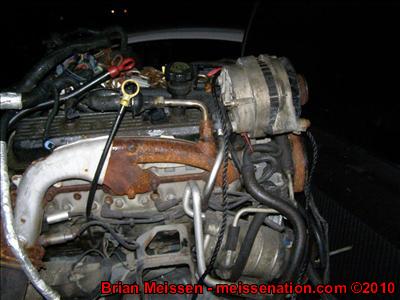
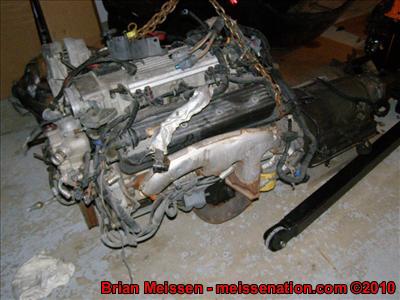
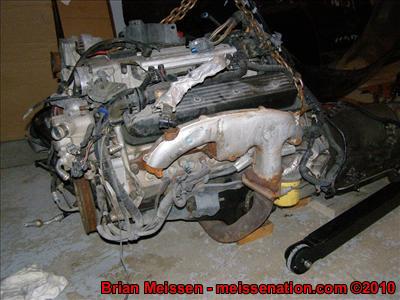
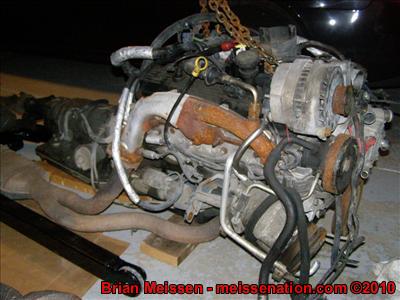
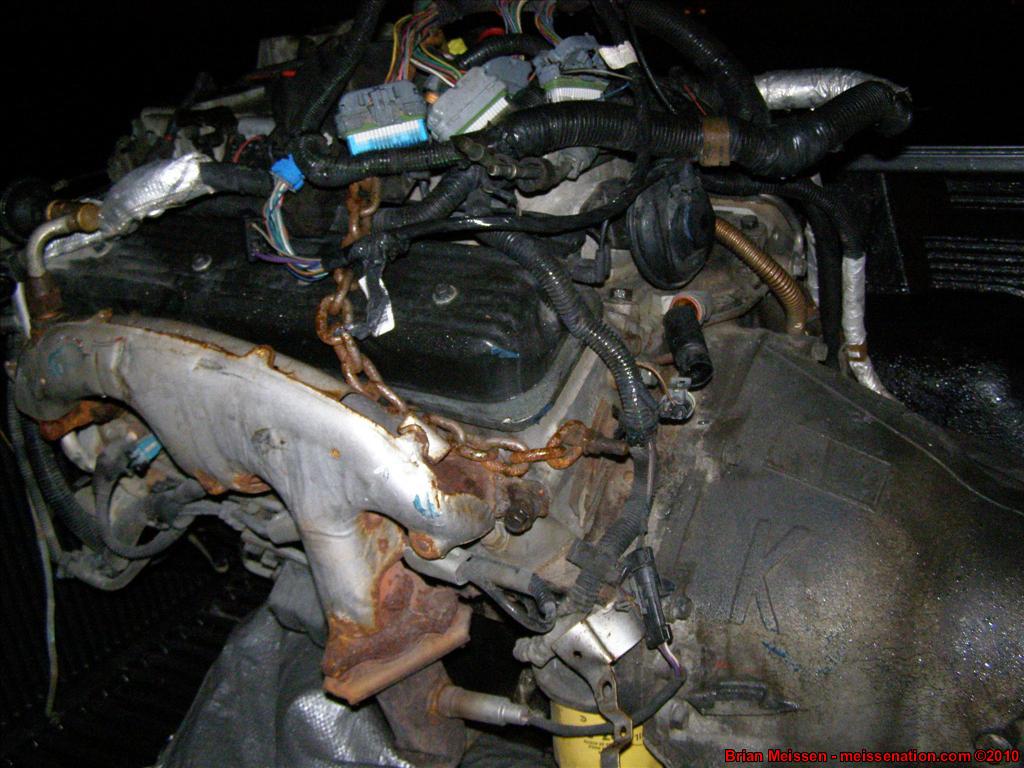
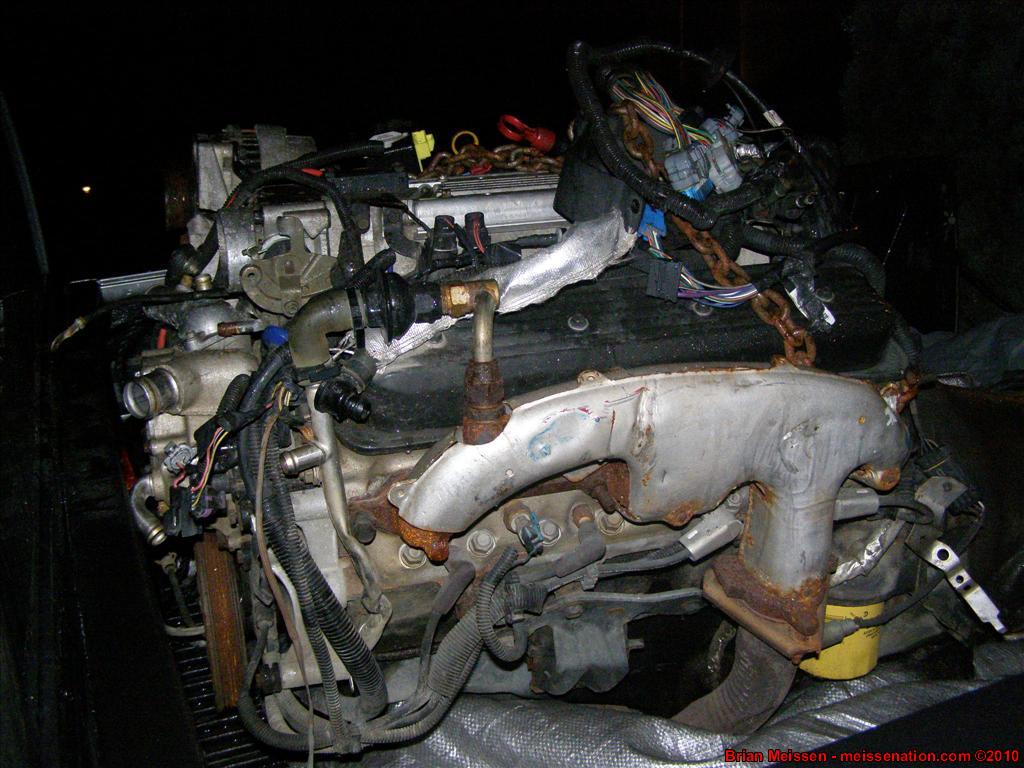
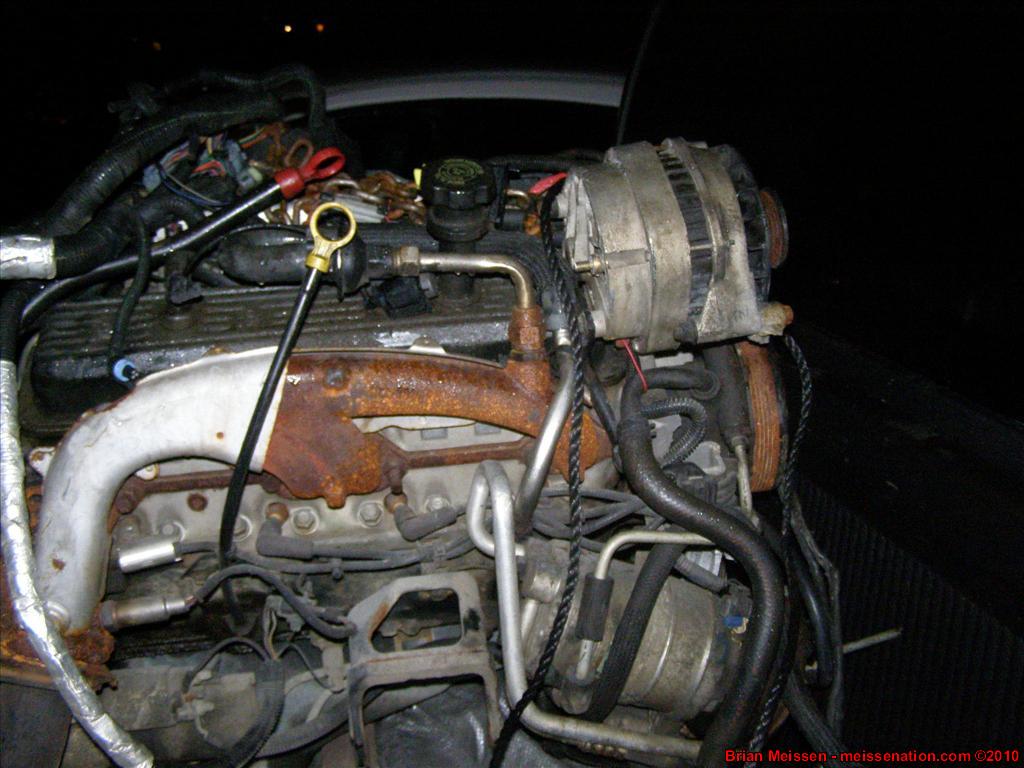
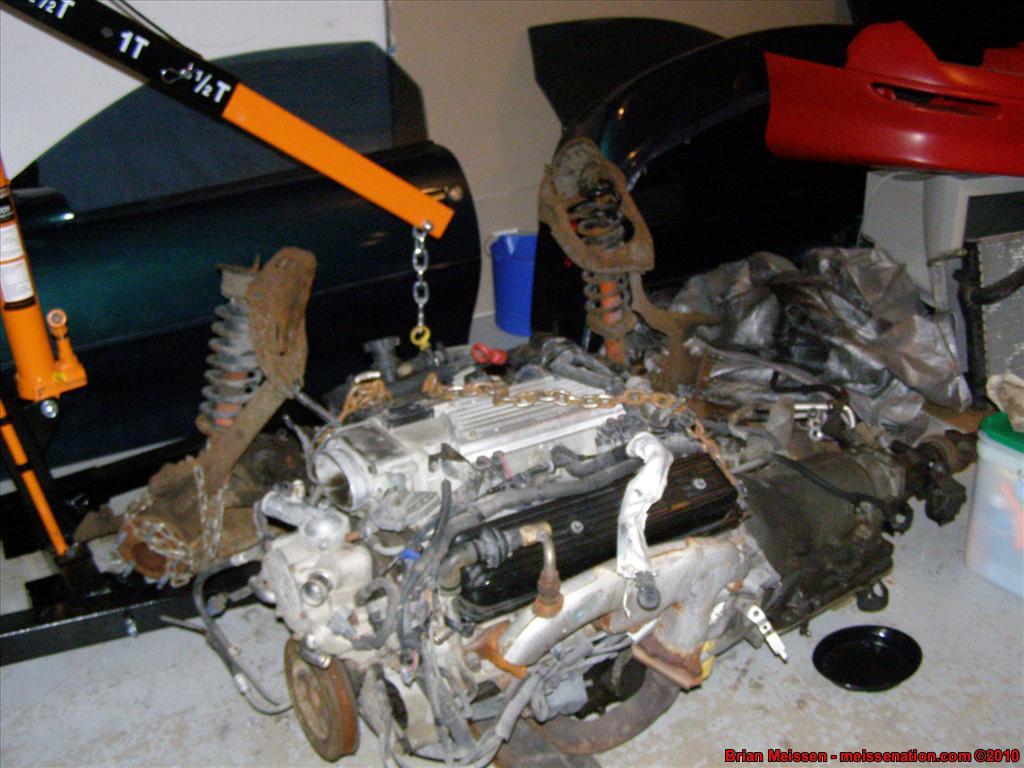
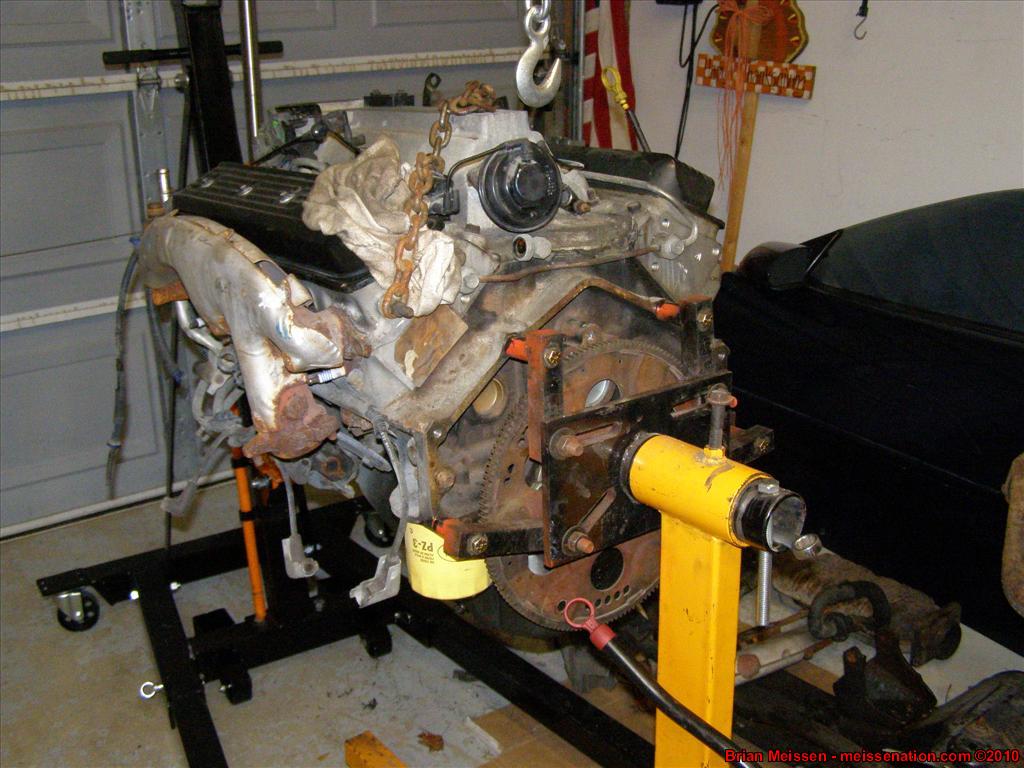
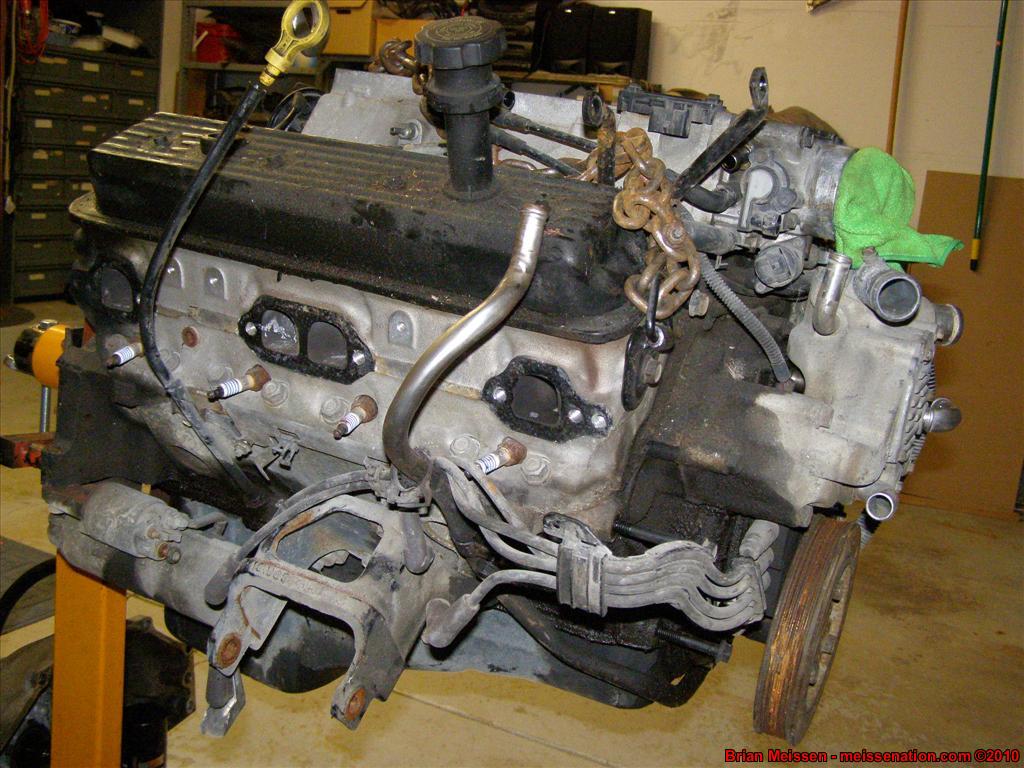
And here's the pics of today's progress -- just getting it out of the Dakota. My dad built the hoist today. The engine was too far into the bed of the truck for the hoist's chain to reach, so my dad took a 2x4 beam and then wrapped a chain around the beam and hoist so he could reach the engine and try and move it from the bed of the truck. He said he started cranking the hoist up and the 2x4 beam snapped in half!!!! He had it on end so it cracked vertically through 4 inches of wood Anyway, I got home and helped him get it closer to the hoist and then we got it off. Here's some better pics of it now that it's in the garage.


 Last edited by meissen; February 26th, 2009, 10:59 AM.- Brian Meissen
Owner, MiFBody.com
Administrator, LTxTech.com
1994 Camaro LT1 Transplant - 357ci LT1, cammed, stalled, and driven.
2022 Camaro LT1 - "Cherry Bomb 2"Michigan FBody Meet & Greet Car Show 2022
June 4th, 2022 - 9am to 3pm!!!
The HUB Stadium, Auburn Hills, MIComment
-
October 21 2008
Haha, I don't think words could really formulate how anxious I am. As long as it's done in time for the M&G I'll be happy.Originally posted by Formula Z View Post
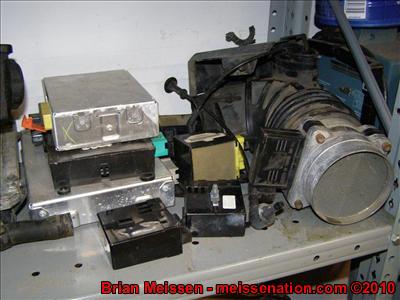
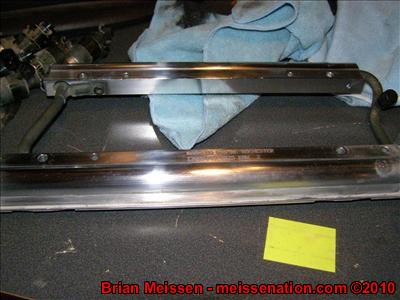
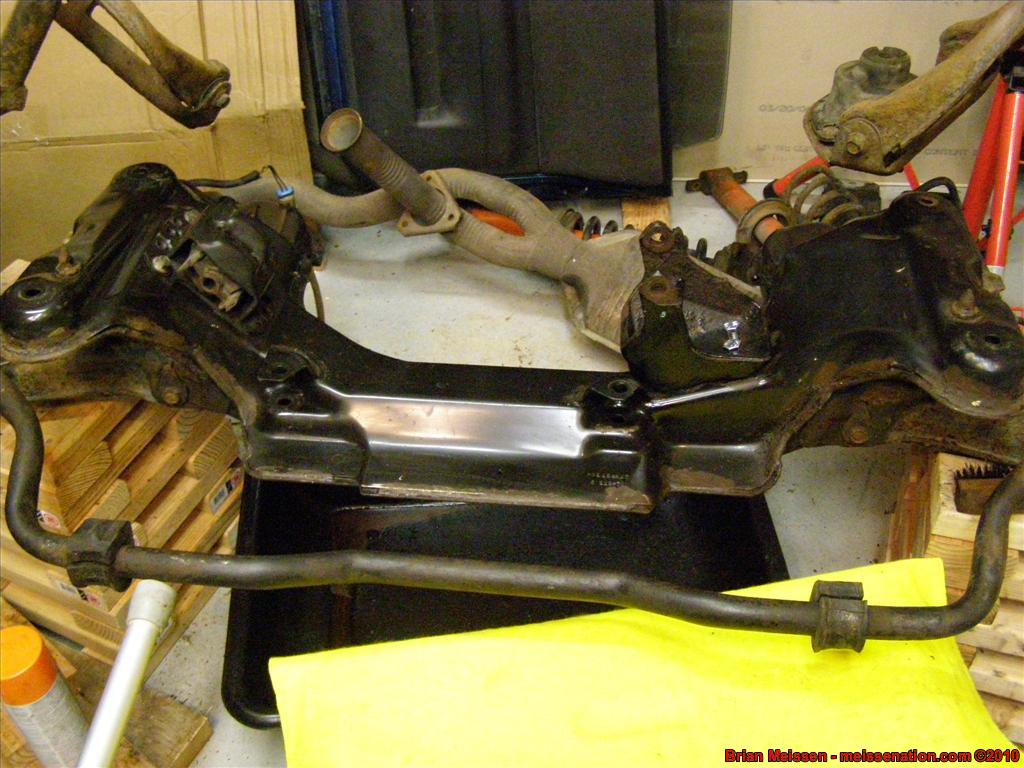
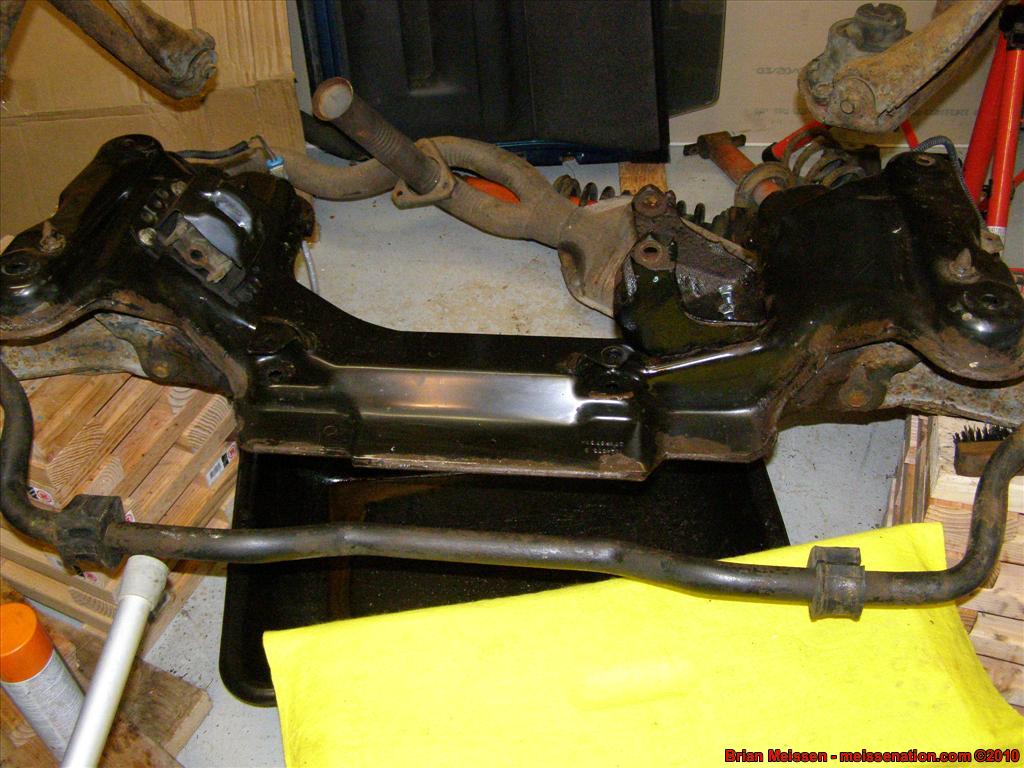
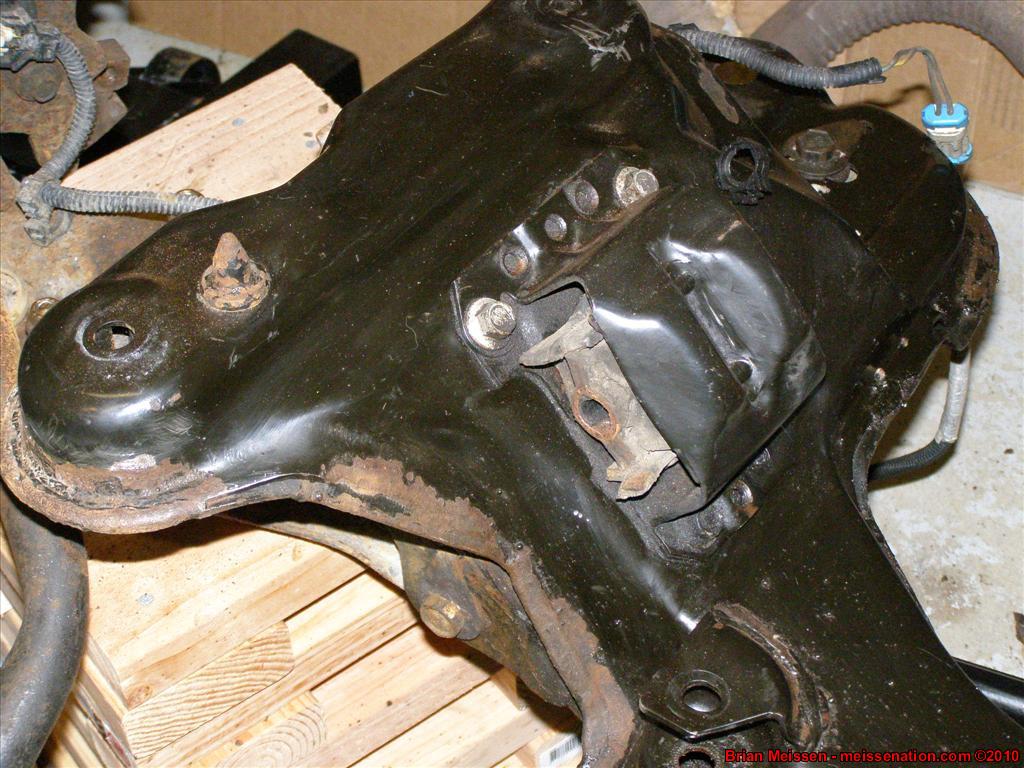
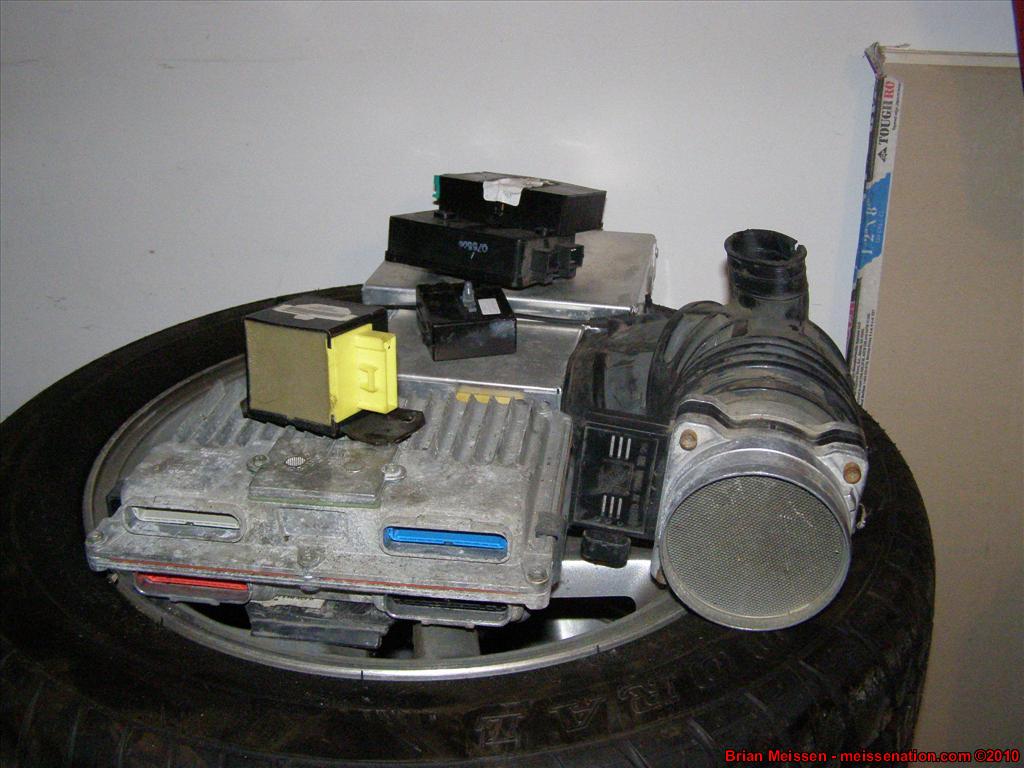
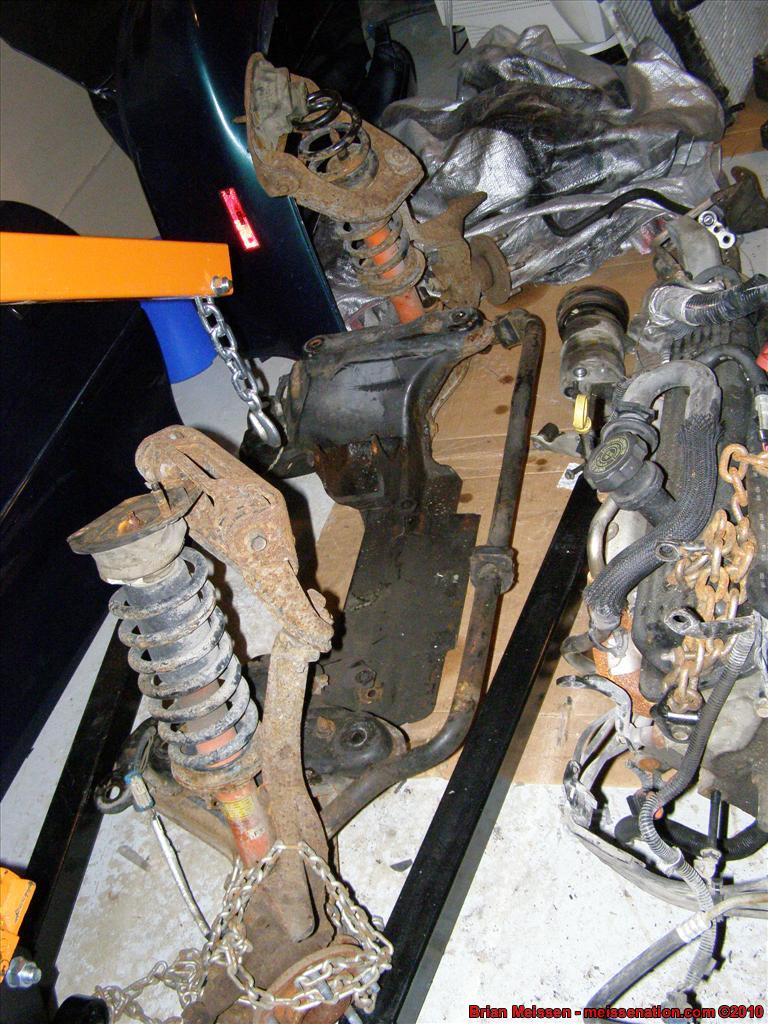
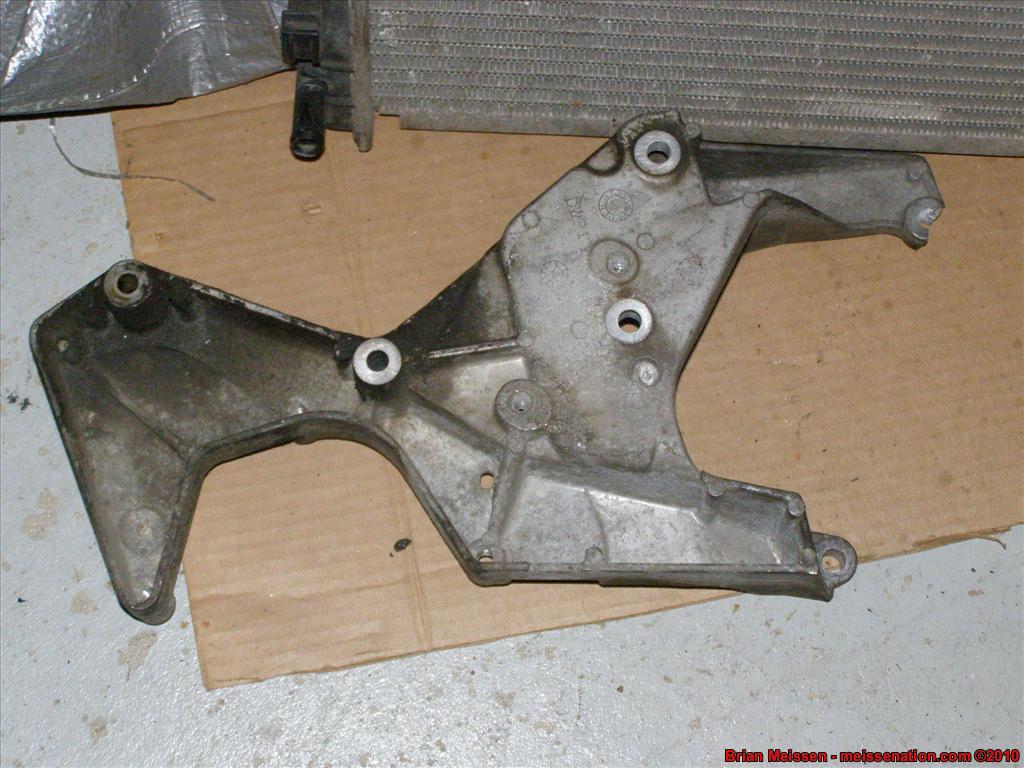
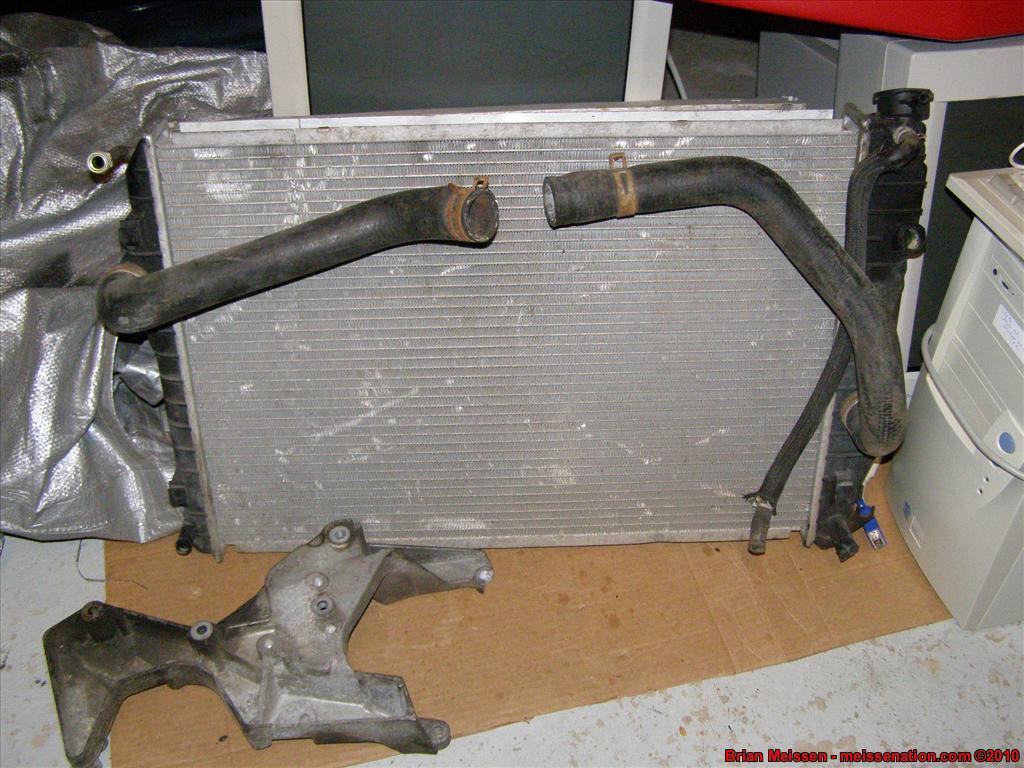
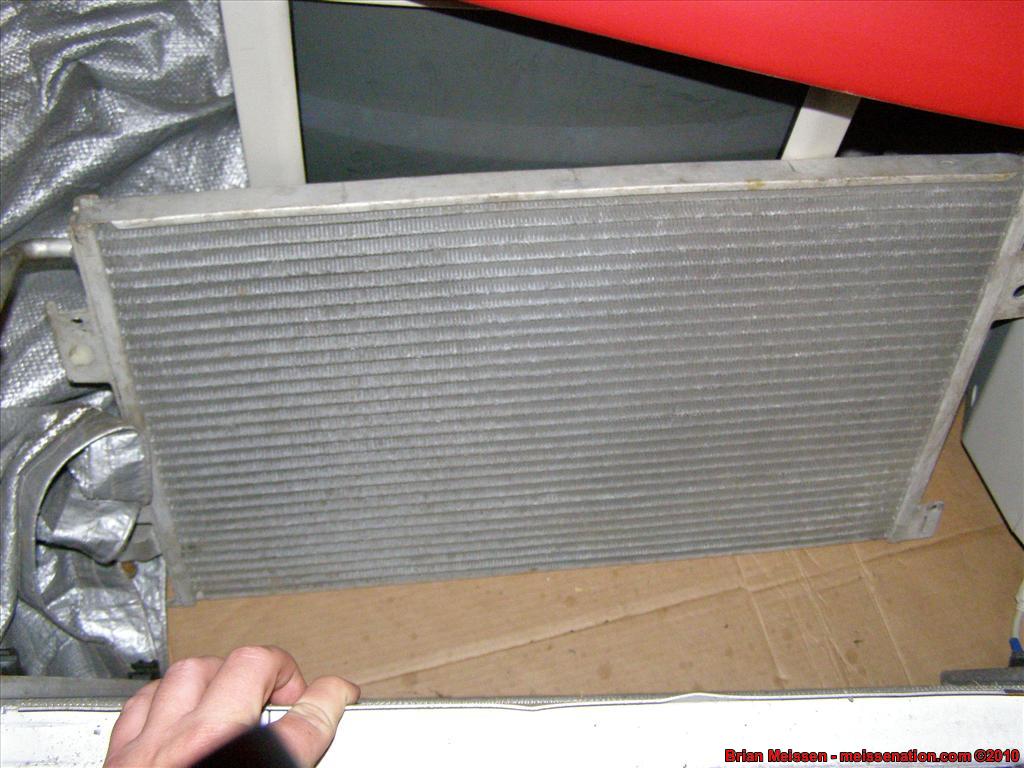
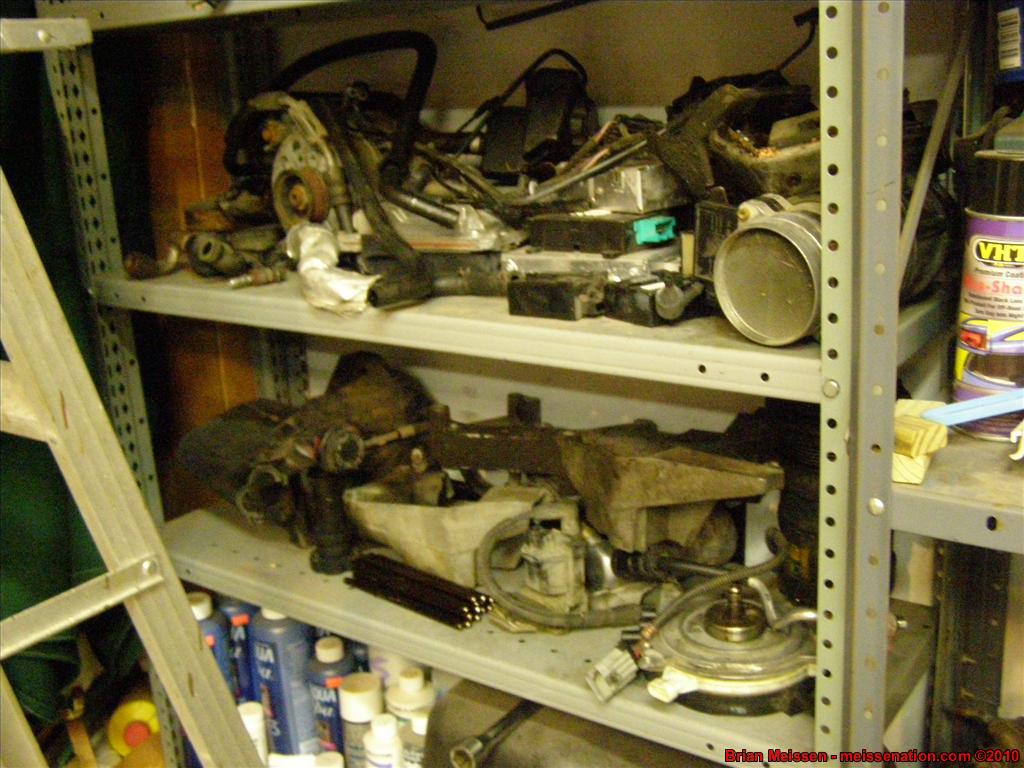
And here's the latest purchase today -- LT1 kframe assembly, LT1 radiator, and LT1 accessory bracket. Pretty good deal, got it all for only $150. It turns out that it was John Glister's son, Dave. He had an LT1 WS6 and an LT1 Z28 and the Z28 had a Street Lethal sticker on it so I mentioned the sticker and we got to talking - REALLY nice guy. Gave him a card to our site, not sure if he'll sign up or not.
If I only had the money, too. He had a set of gold roller rocker arms (1.6) but I'm not sure what brand... he also had a full set of intrex (i think?) 2" drop springs and brand new rear struts.. said he'd give me the RRs, springs, and struts for $300 which is like buying the RR's and getting the other two for free. Just didn't have the money to get it.
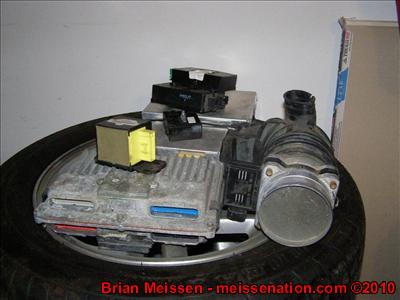
Anyway, here's the pics of the latest additions to the parts for the swap:
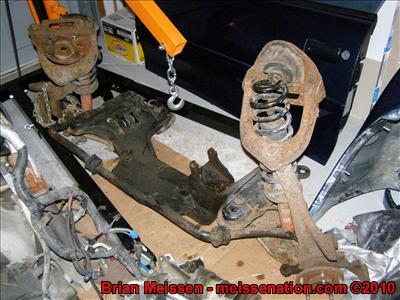
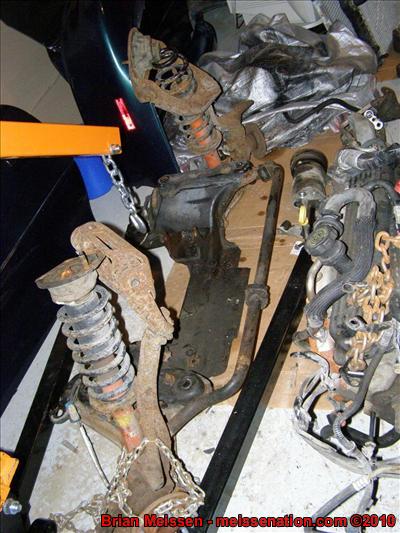


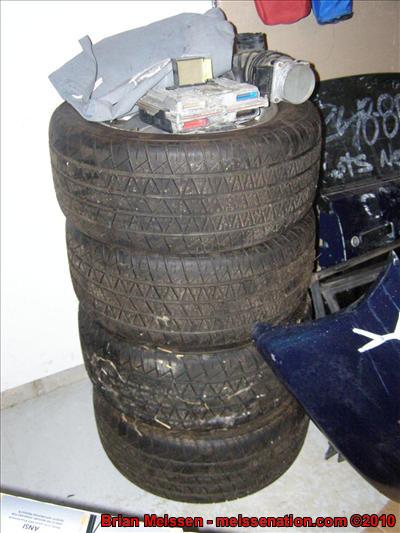
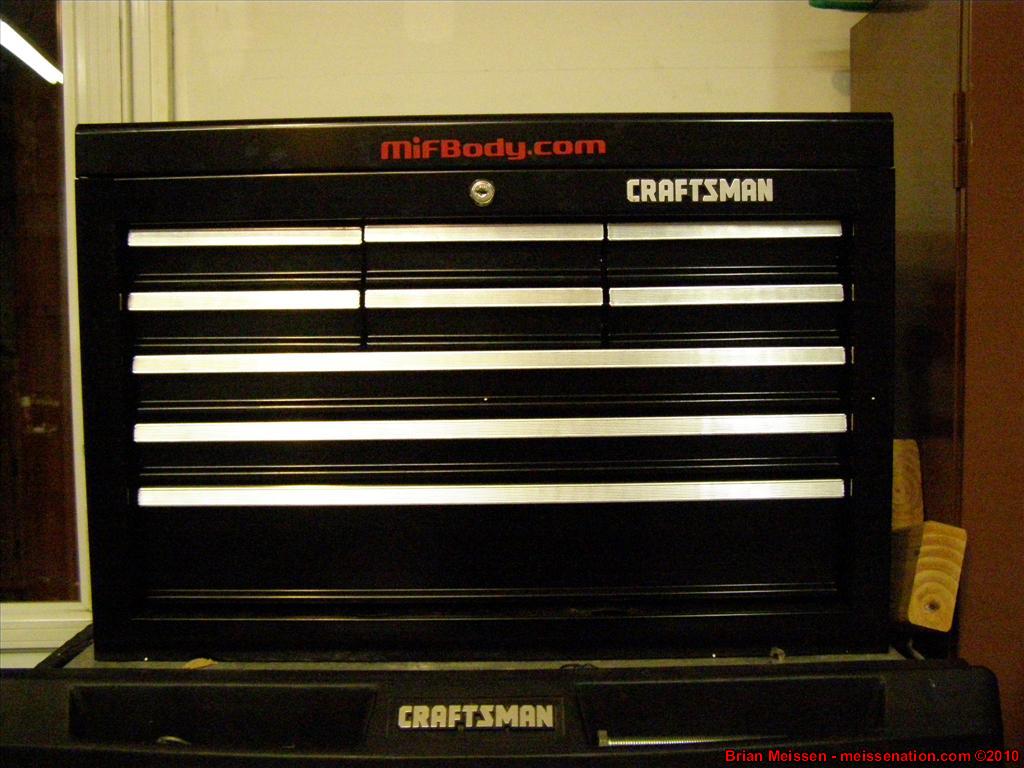
Enough parts in the garage?

 Last edited by meissen; February 26th, 2009, 11:01 AM.- Brian Meissen
Owner, MiFBody.com
Administrator, LTxTech.com
1994 Camaro LT1 Transplant - 357ci LT1, cammed, stalled, and driven.
2022 Camaro LT1 - "Cherry Bomb 2"Michigan FBody Meet & Greet Car Show 2022
June 4th, 2022 - 9am to 3pm!!!
The HUB Stadium, Auburn Hills, MIComment
-
October 25 2008
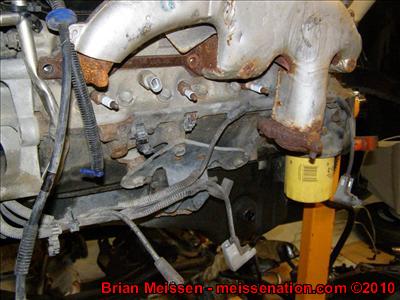
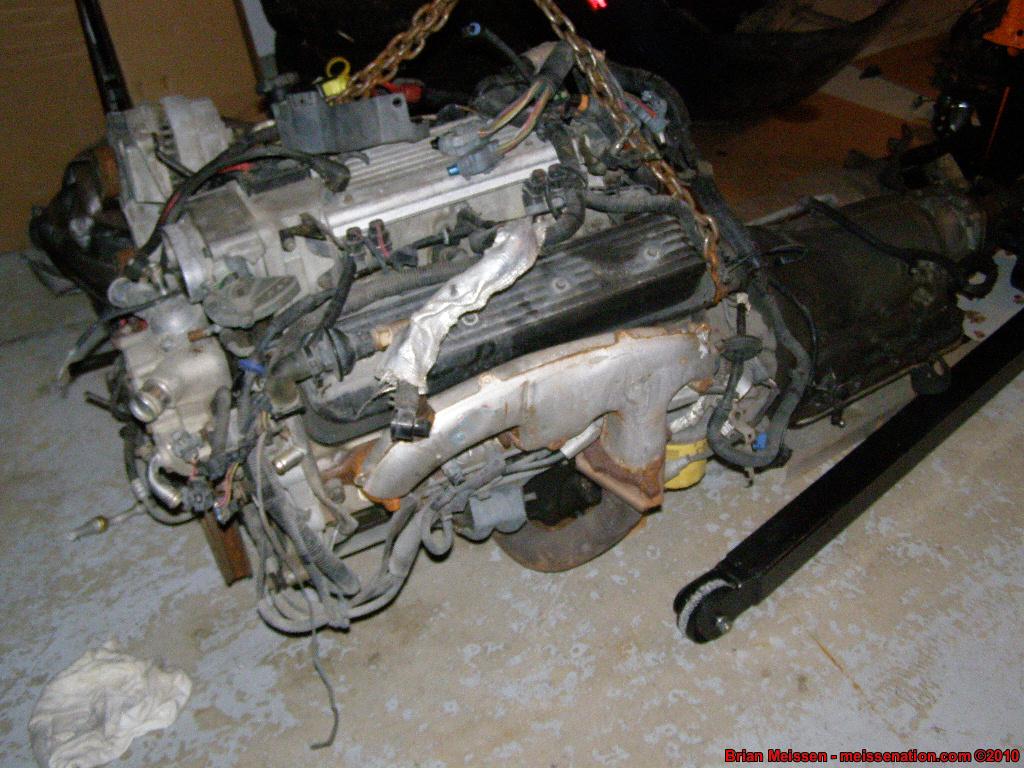
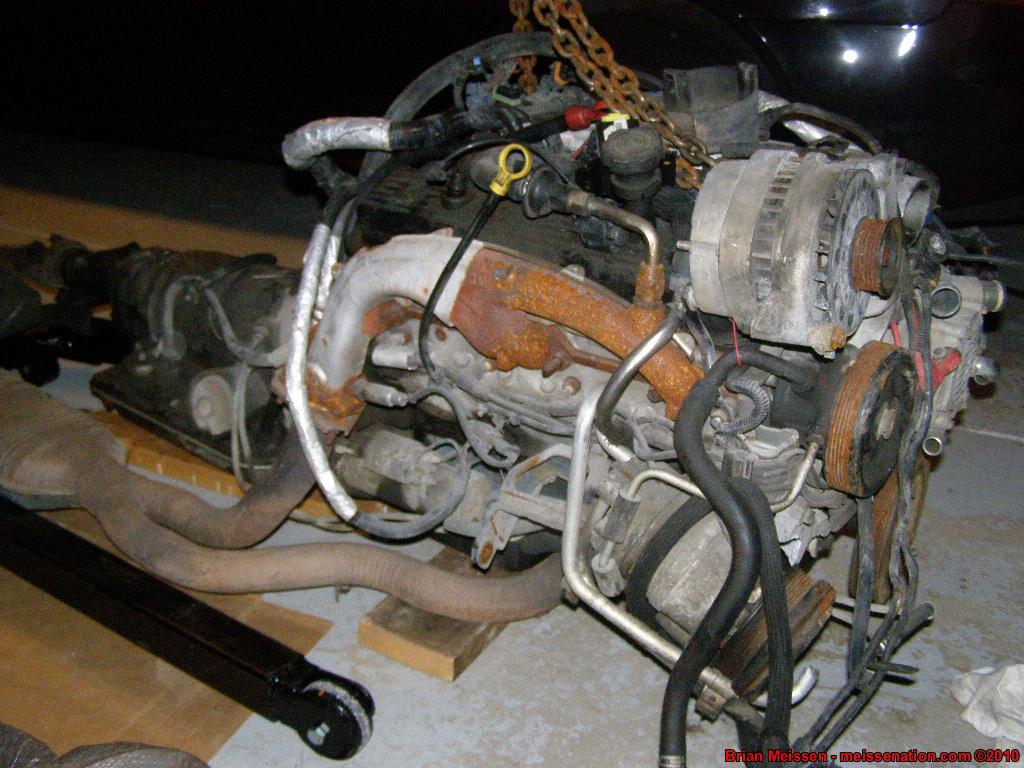
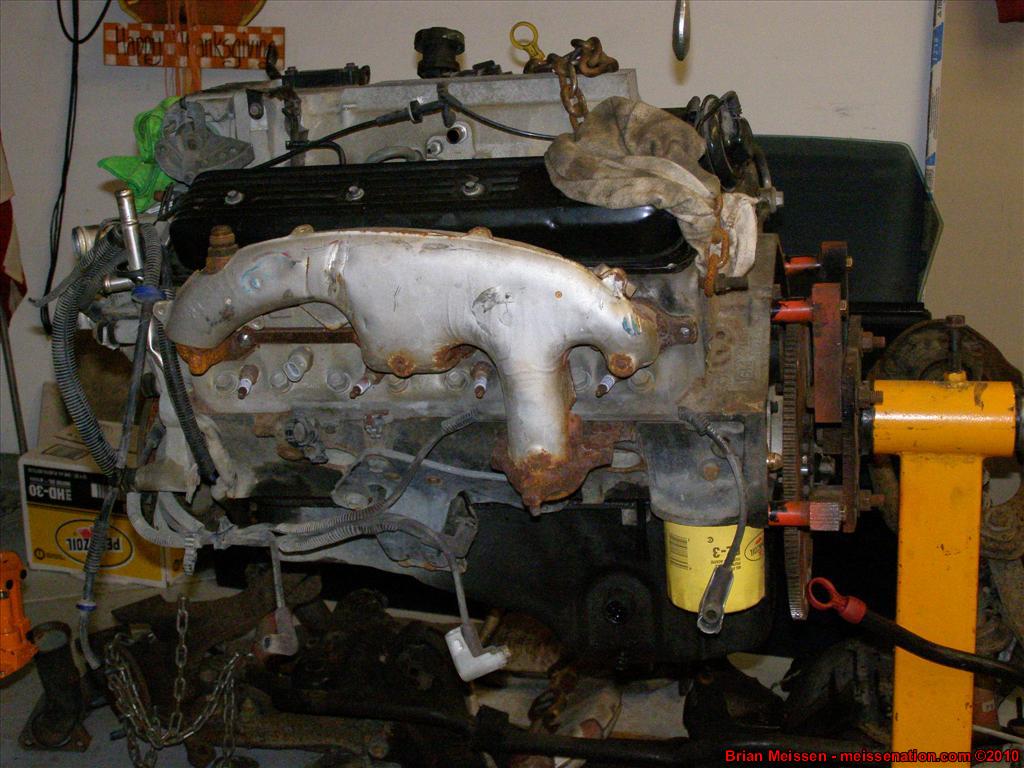
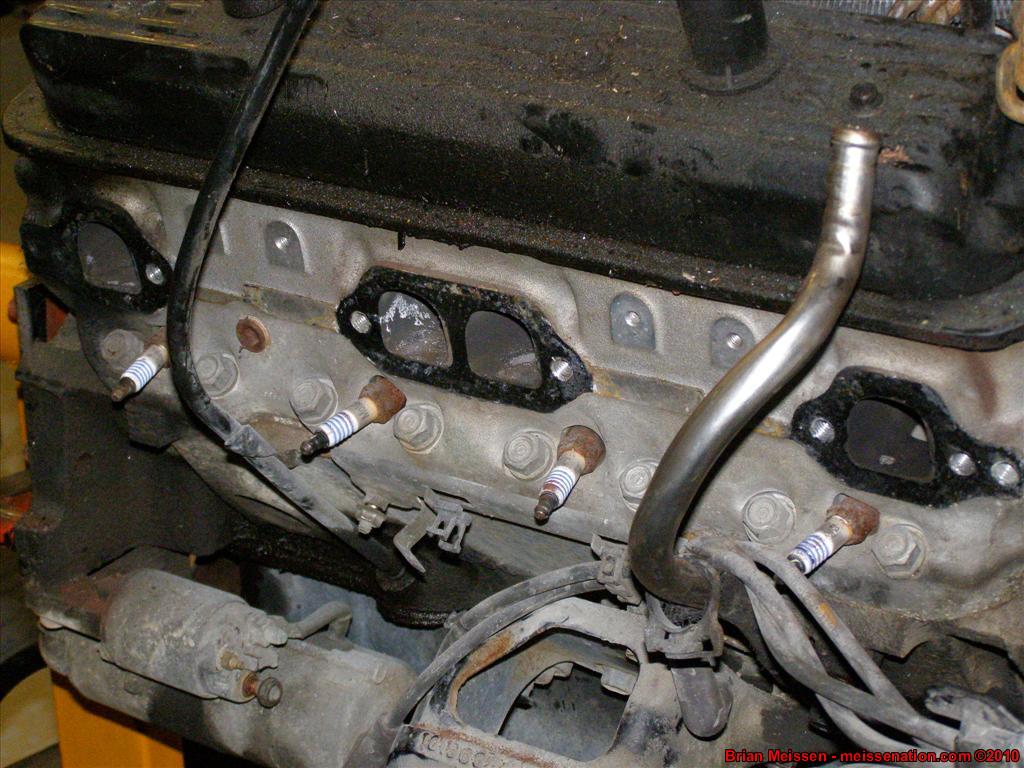
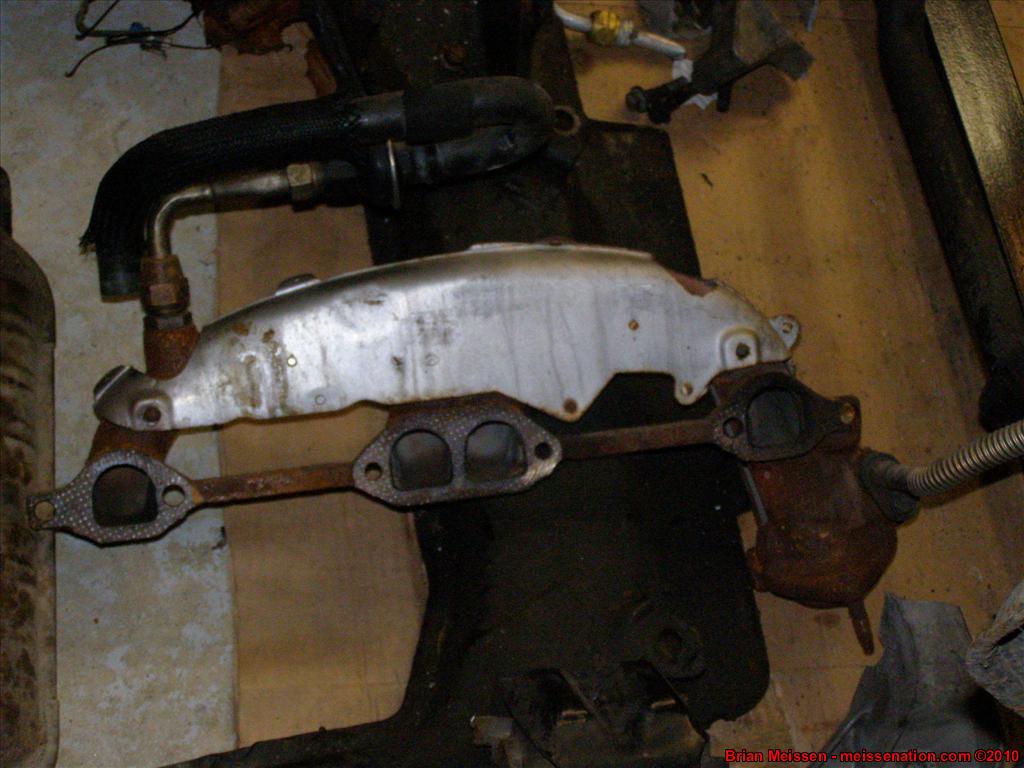
Well, I went to Craig's today (9T8W66) and he let me borrow his engine stand. Wow -- those things are not as stable as I originally thought. Through most of the work today we actually kept the engine hoist and chain taught even though it was still on the stand because the stand just didn't feel all that stable.
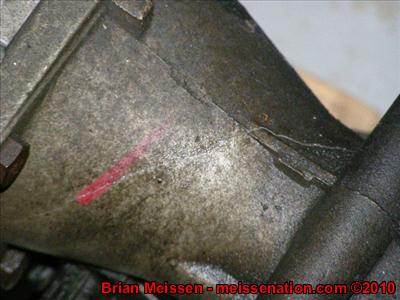
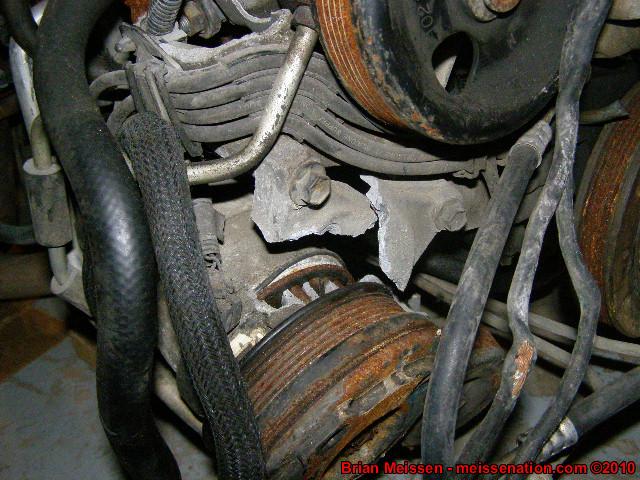
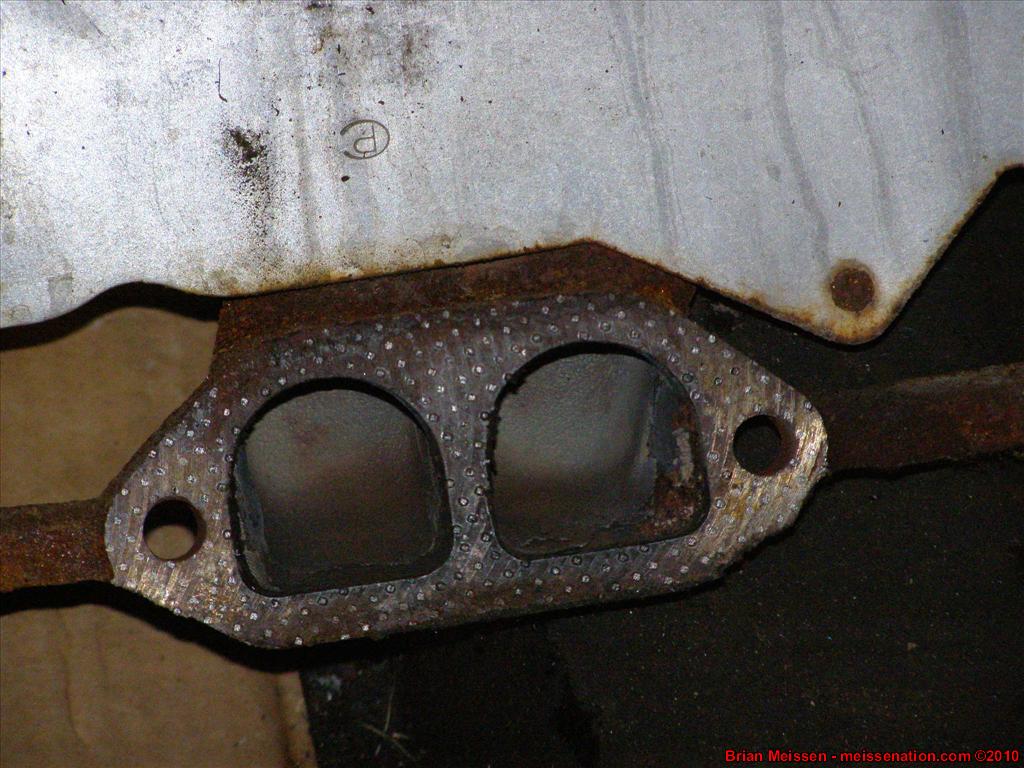
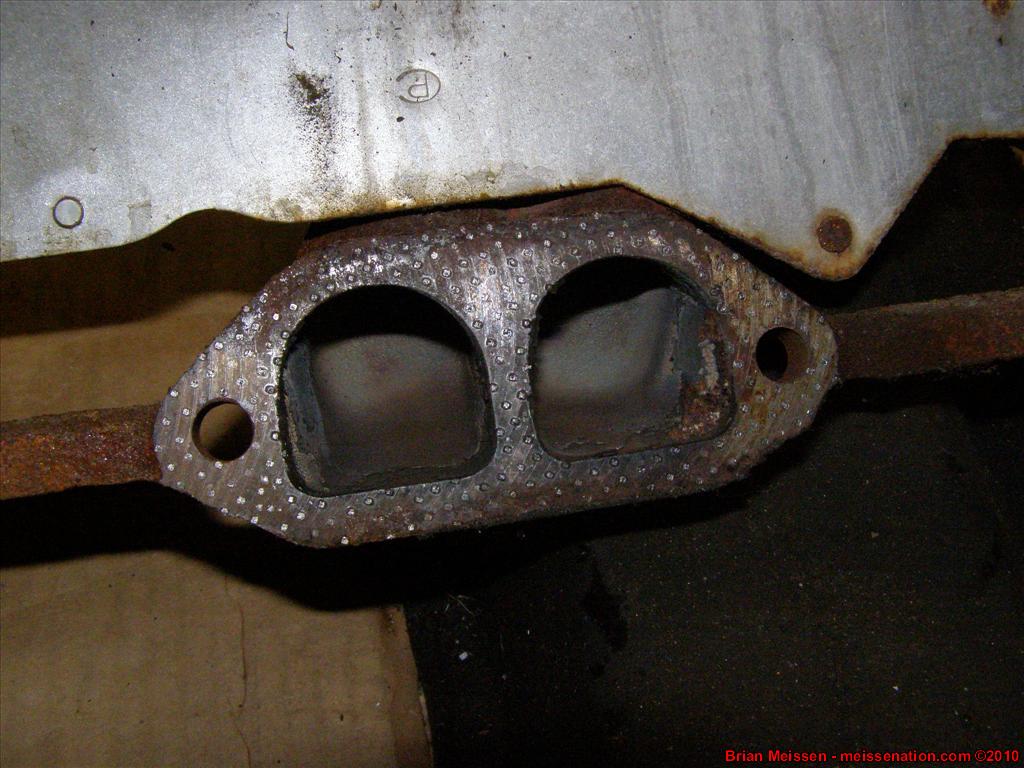
Anyway, I broke my first exhaust manifold stud... So I guess my dad and I get to drill the rest of the stud out of the engine head and then re-tap it for when I get headers. We got the passenger side manifold off and my dad was happy to see brown burn marks, he says that means it's good combustion?
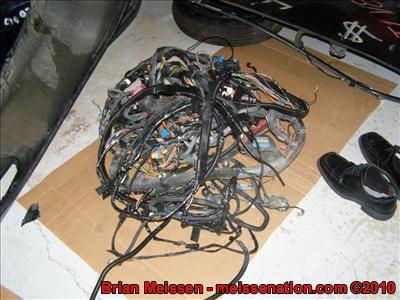
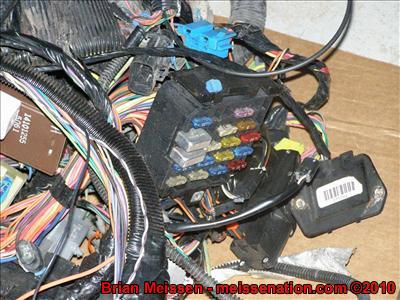
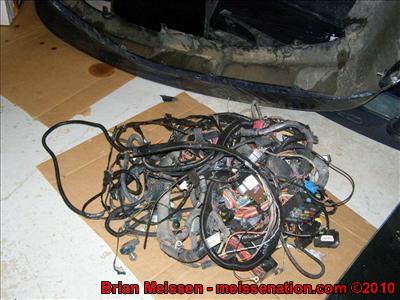
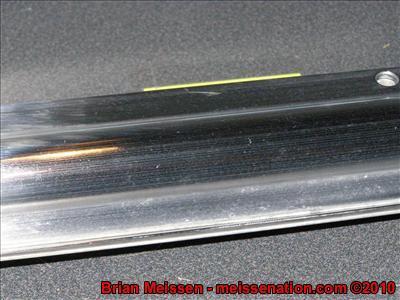
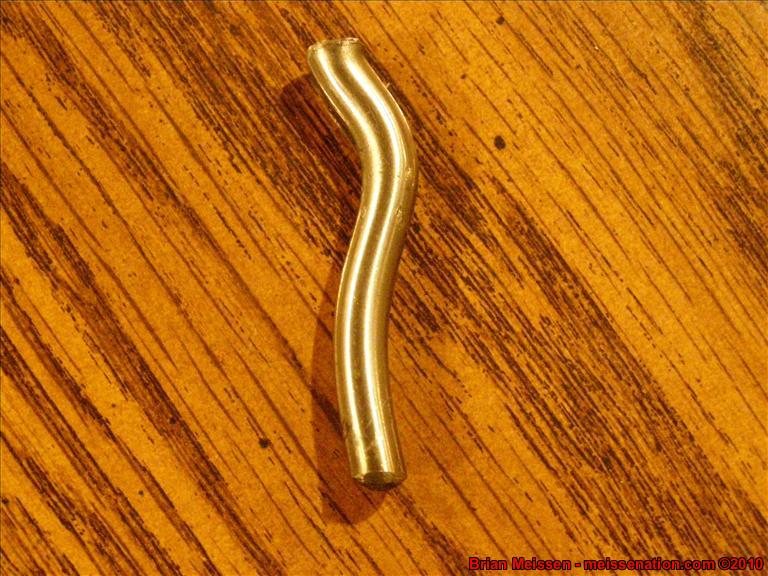
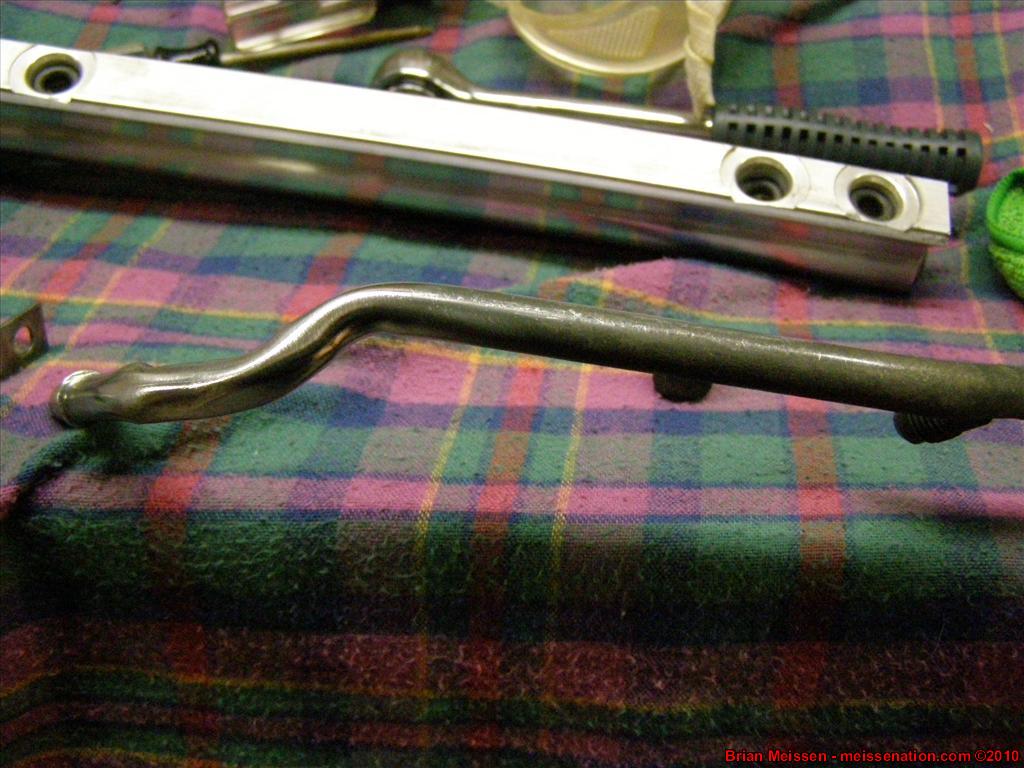
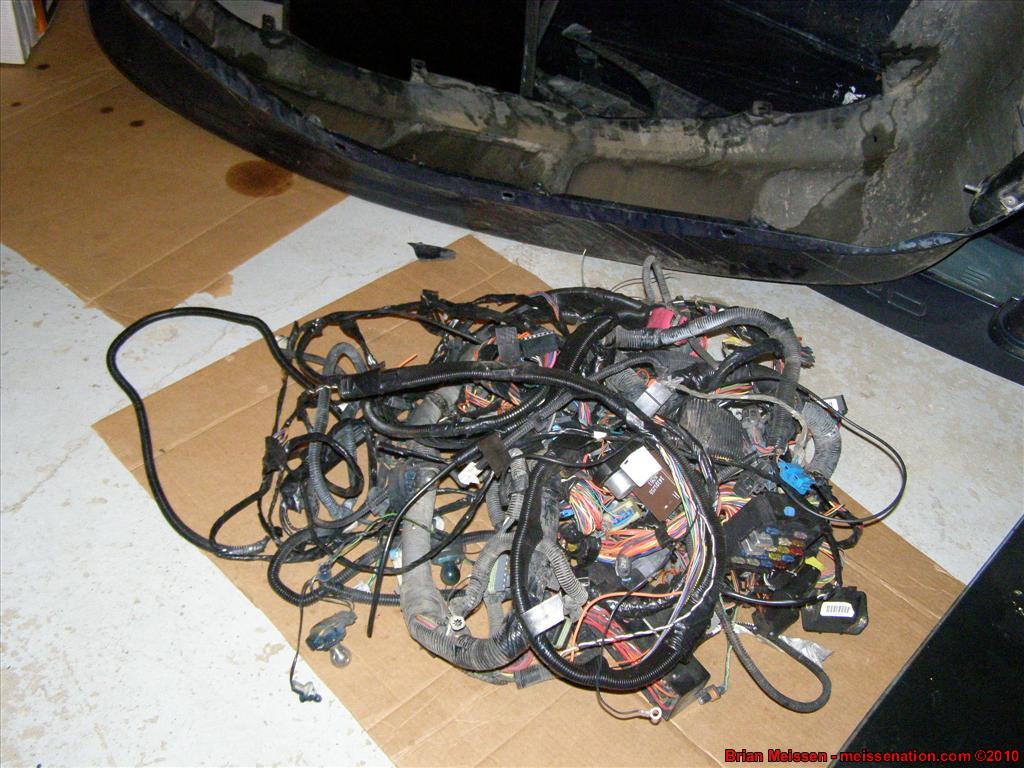
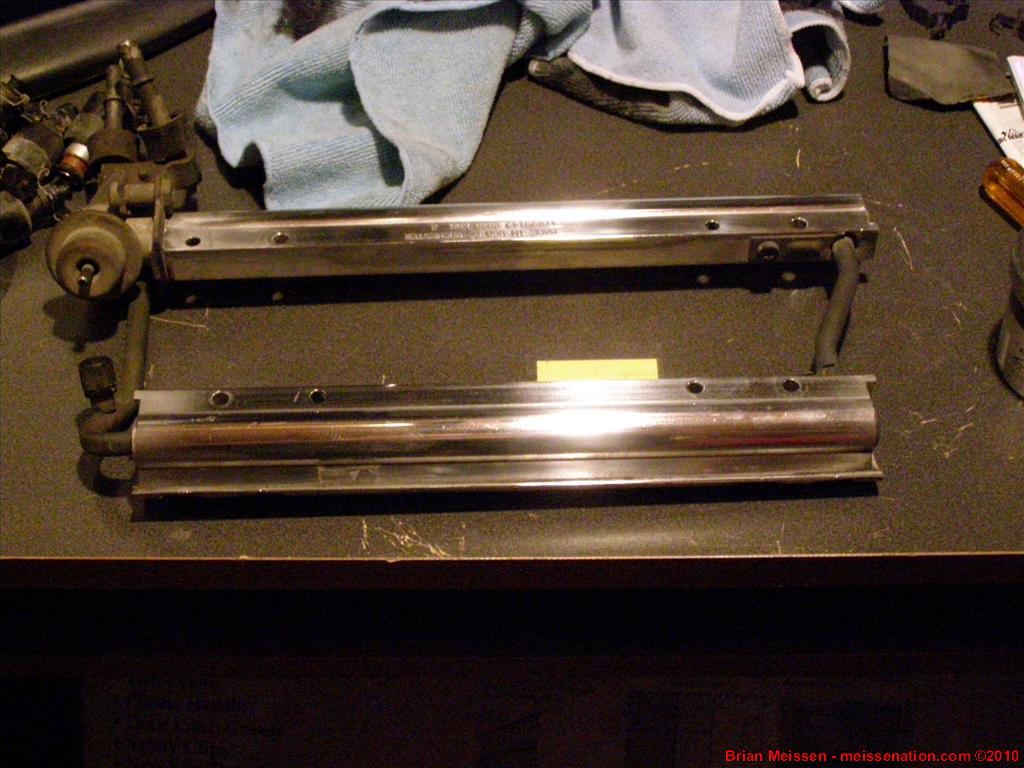
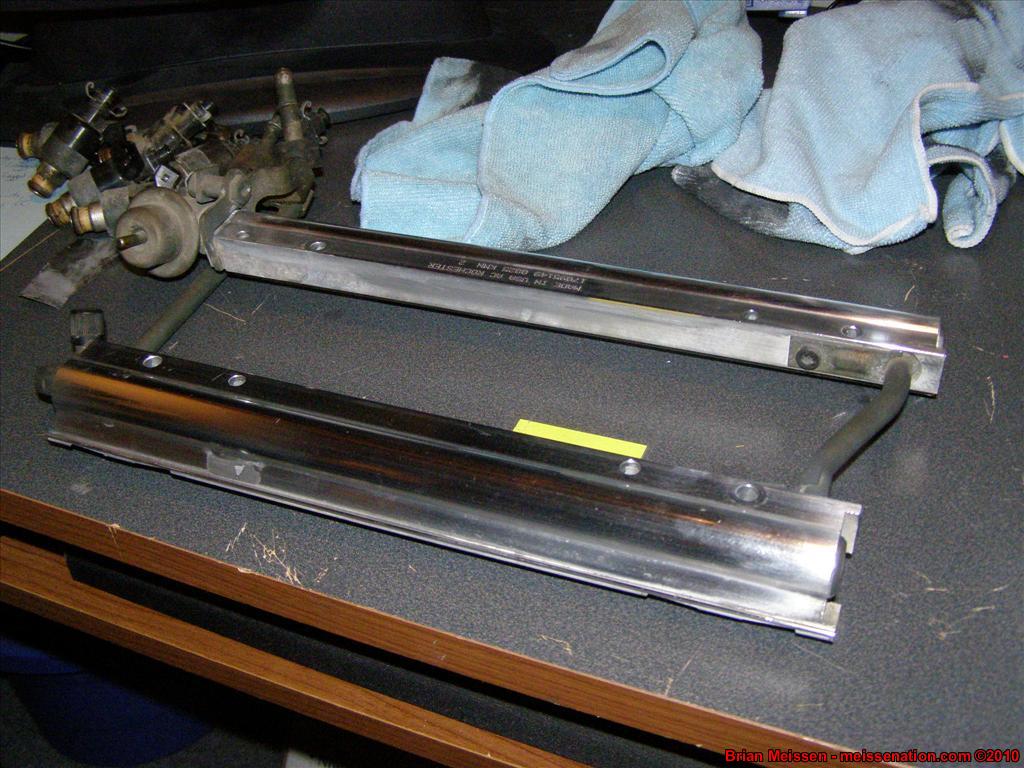
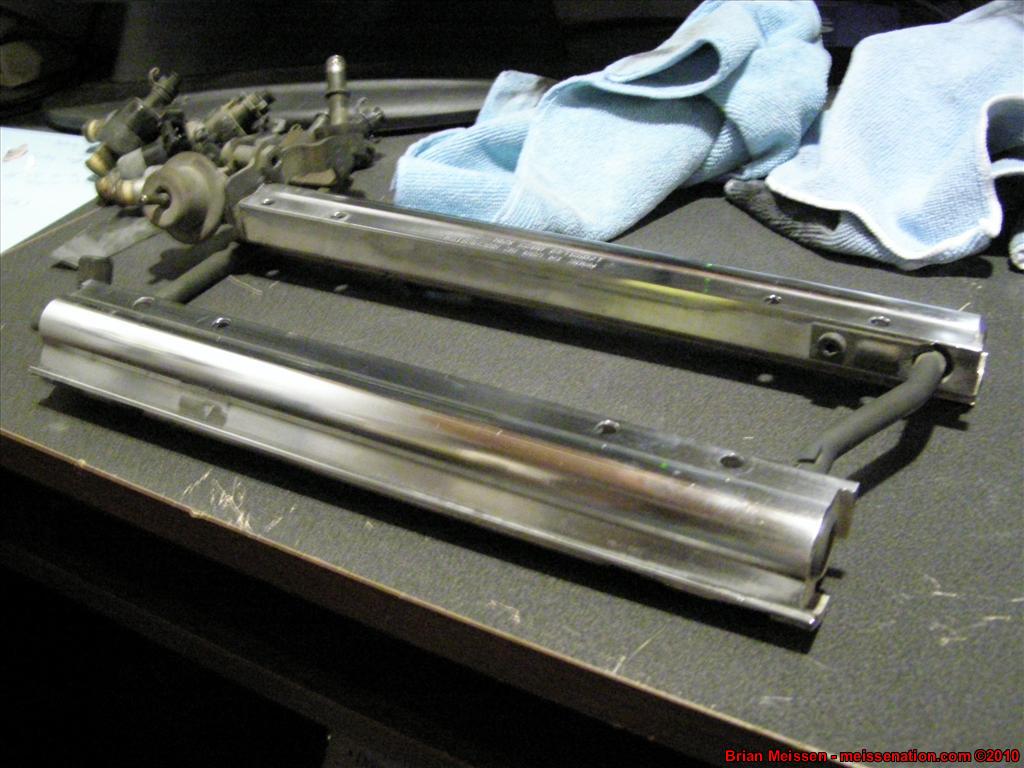
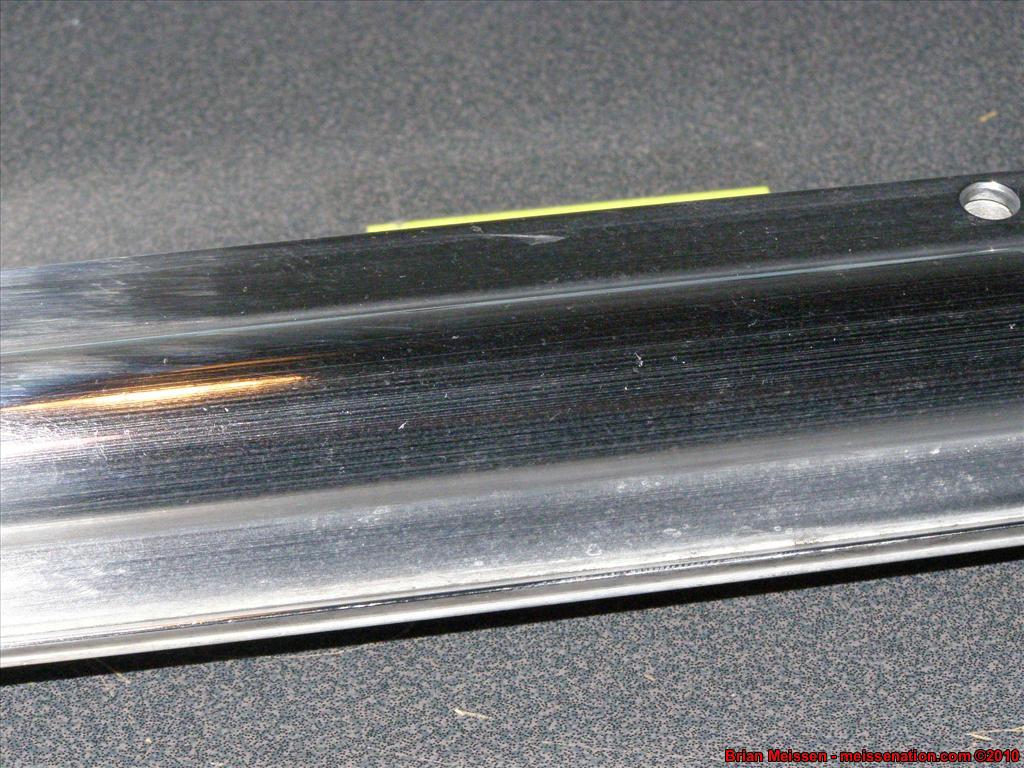
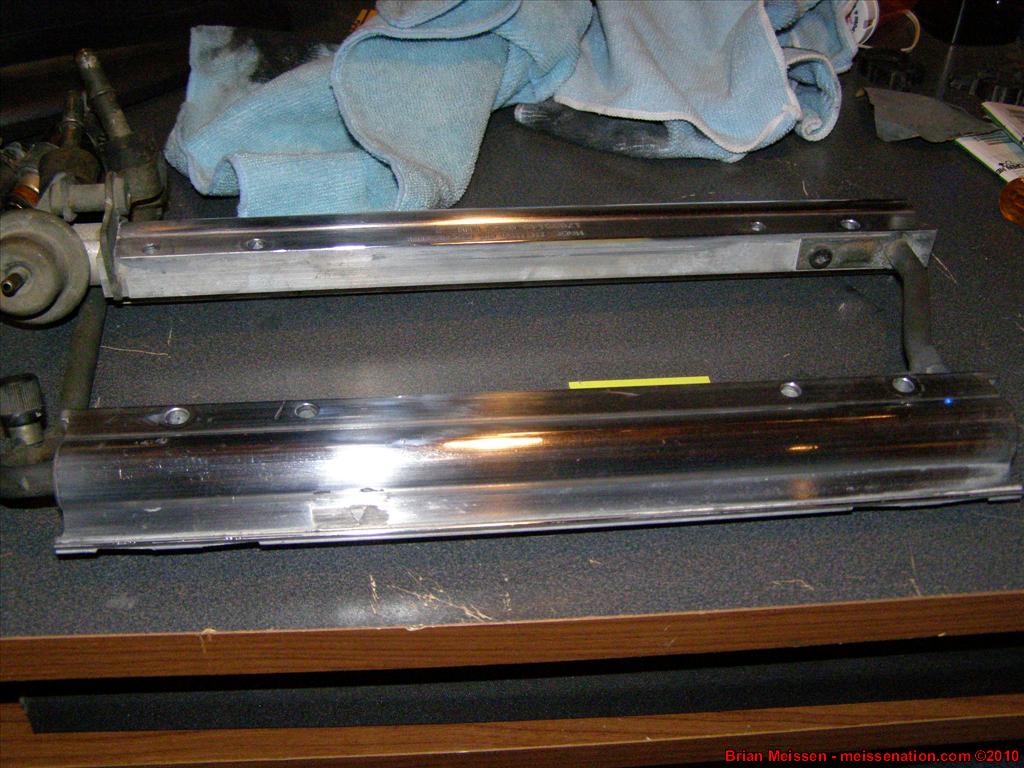
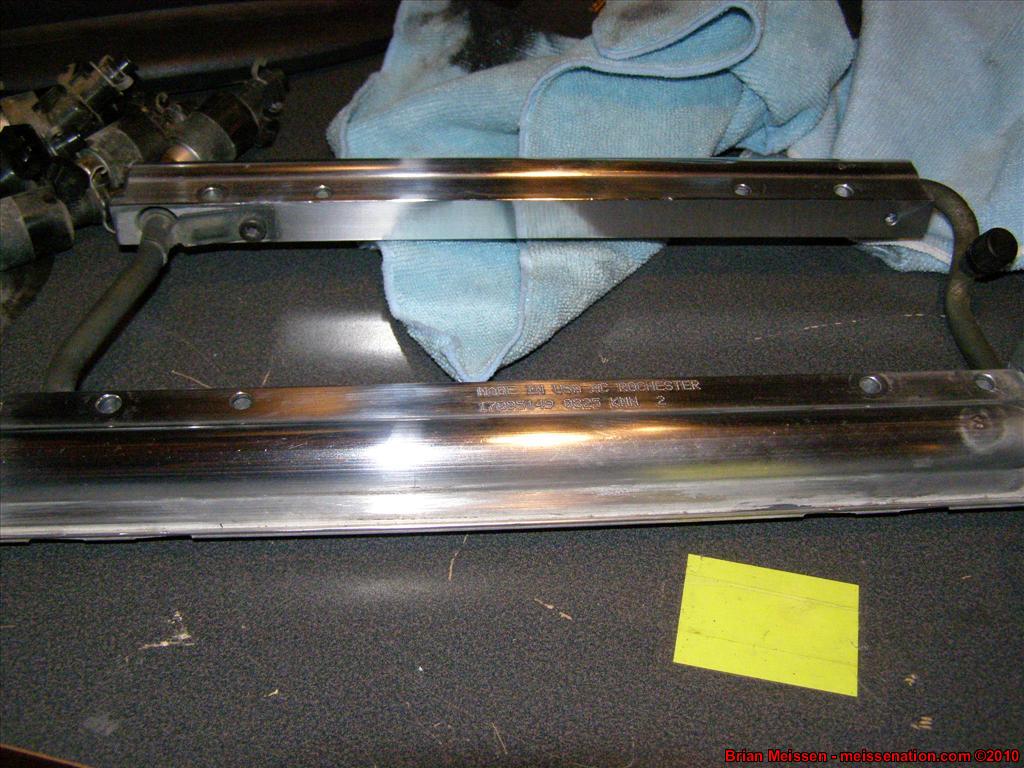
  We drained the oil out and the oil was really clean -- a little dark, but still clean. Last but not least we took the engine wiring harness off. The other day I removed the fuel rail from the car to polish so I could feel like I was atleast doing something so there's pics of that too.


 Last edited by meissen; February 26th, 2009, 12:48 PM.- Brian Meissen
Owner, MiFBody.com
Administrator, LTxTech.com
1994 Camaro LT1 Transplant - 357ci LT1, cammed, stalled, and driven.
2022 Camaro LT1 - "Cherry Bomb 2"Michigan FBody Meet & Greet Car Show 2022
June 4th, 2022 - 9am to 3pm!!!
The HUB Stadium, Auburn Hills, MIComment
-
November 28 2008
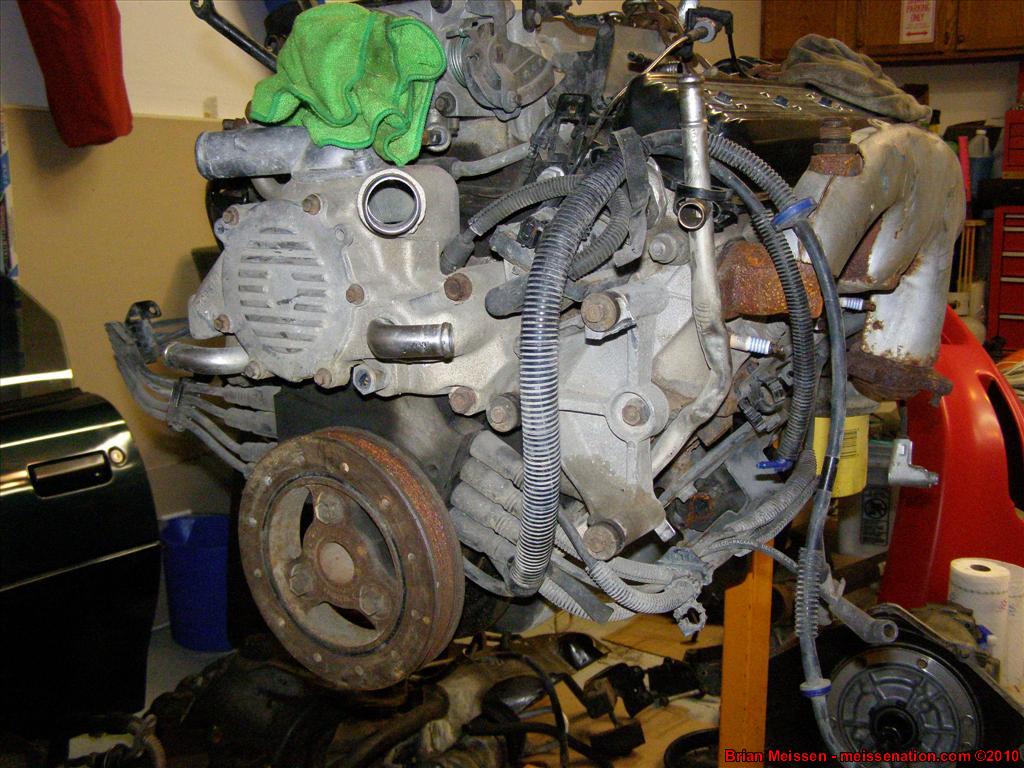
Got a little bit done today...


 Last edited by meissen; February 26th, 2009, 12:47 PM.- Brian Meissen
Owner, MiFBody.com
Administrator, LTxTech.com
1994 Camaro LT1 Transplant - 357ci LT1, cammed, stalled, and driven.
2022 Camaro LT1 - "Cherry Bomb 2"Michigan FBody Meet & Greet Car Show 2022
June 4th, 2022 - 9am to 3pm!!!
The HUB Stadium, Auburn Hills, MIComment
-
December 31 2008
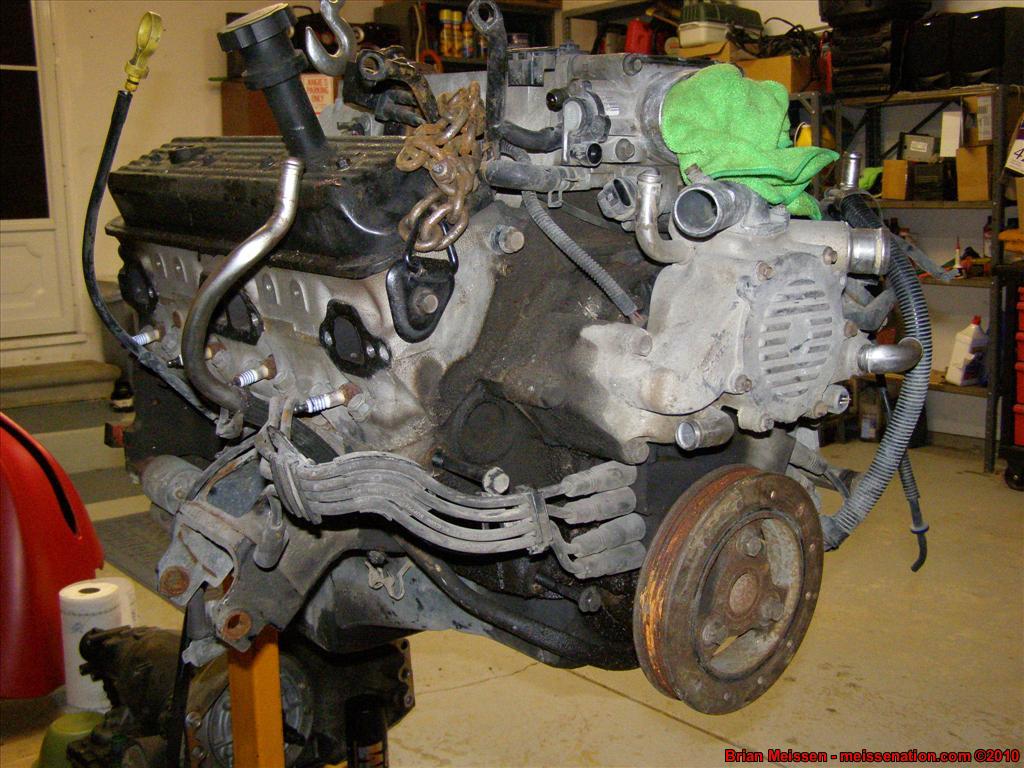
Geez, where to leave off!
Well the engine has sat idle for quite awhile since I've been having to collect parts here and there.
I used part of the gift card from Angie's parents to get some valve stem seals from Murrays so I have those finally.
I still need to make up my mind 100% on whether or not I'm doing the port and polish. If I do the port and polish, I'm that much further away from getting this back together. If I DON'T do the port and polish then I can start assembling some of the parts right now.
Which then leads to the next part that I need - need gaskets! A guy on craigslist keeps listing a FelPro master engine gasket kit for LT1s. I'm really tempted to get that since it'd be everything I need and then some extras that I don't "just in case."
My dad also wants to measure the bearings on the bottom end to see if we need to get new bearings.
I also want to get a bunch of stuff from POR-15's website to paint my undercarraige and my engine bay (top coat the engine bay in red, though, of course).
Then I have a LOT of work to do in the engine bay to clean it up and make it as empty as possible. Really want a clean look when it's finished.
Aaaaaaaaaaaaaand here are the pictures!
Valve Stem Seals:

UMI STB:

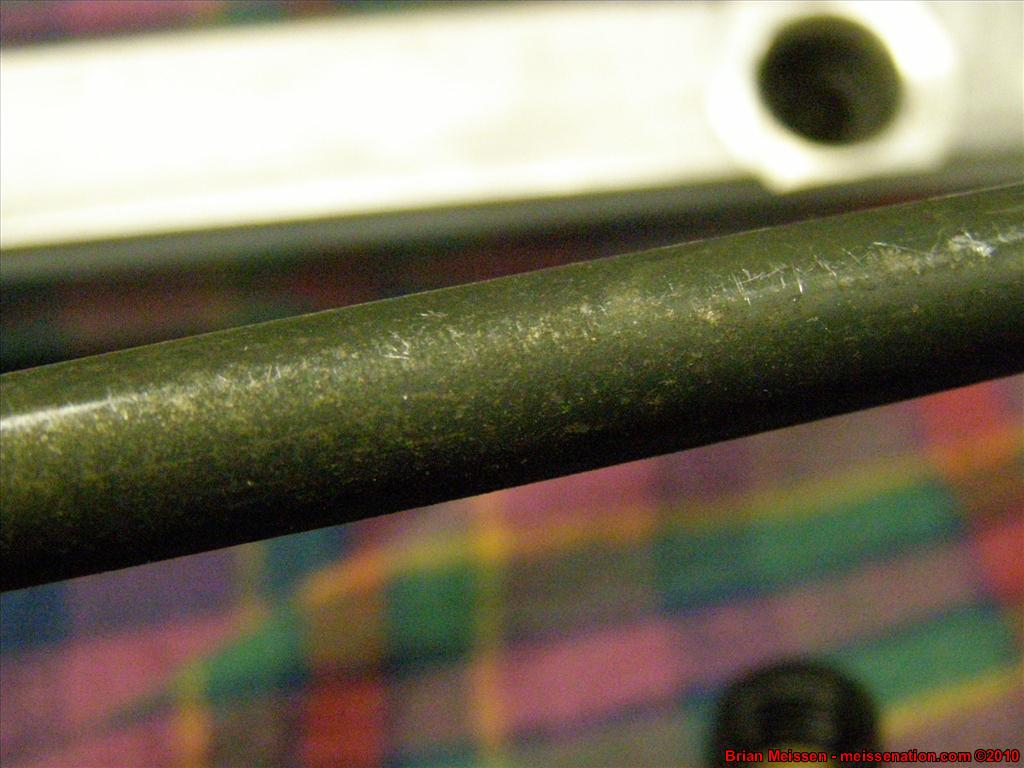
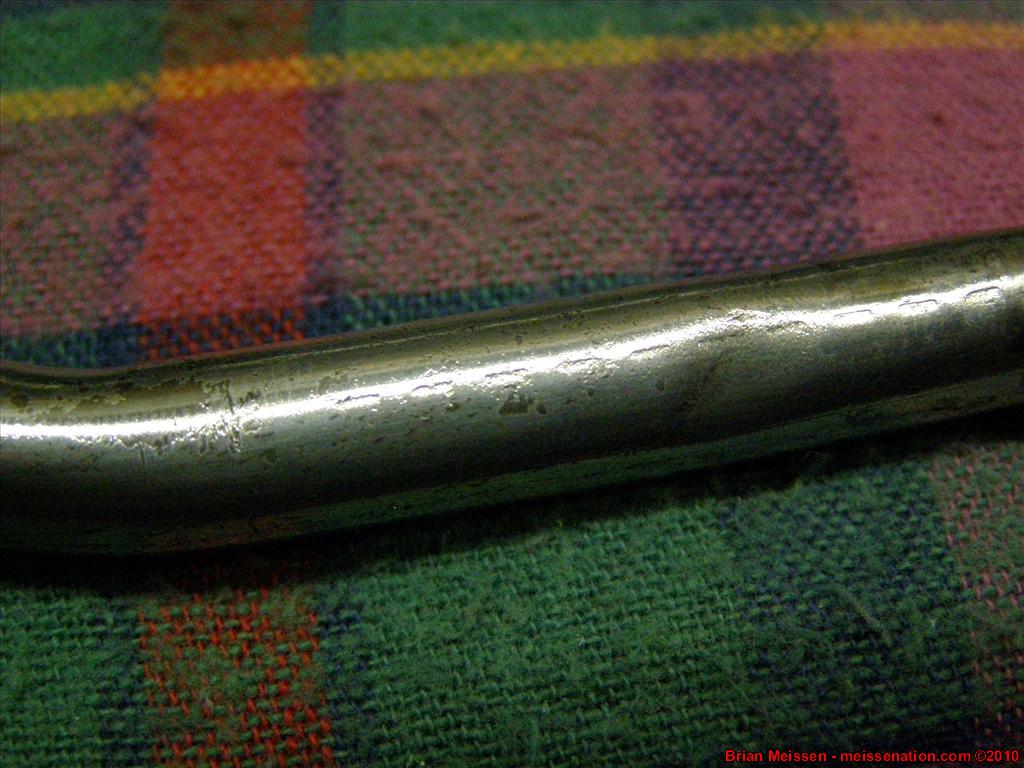
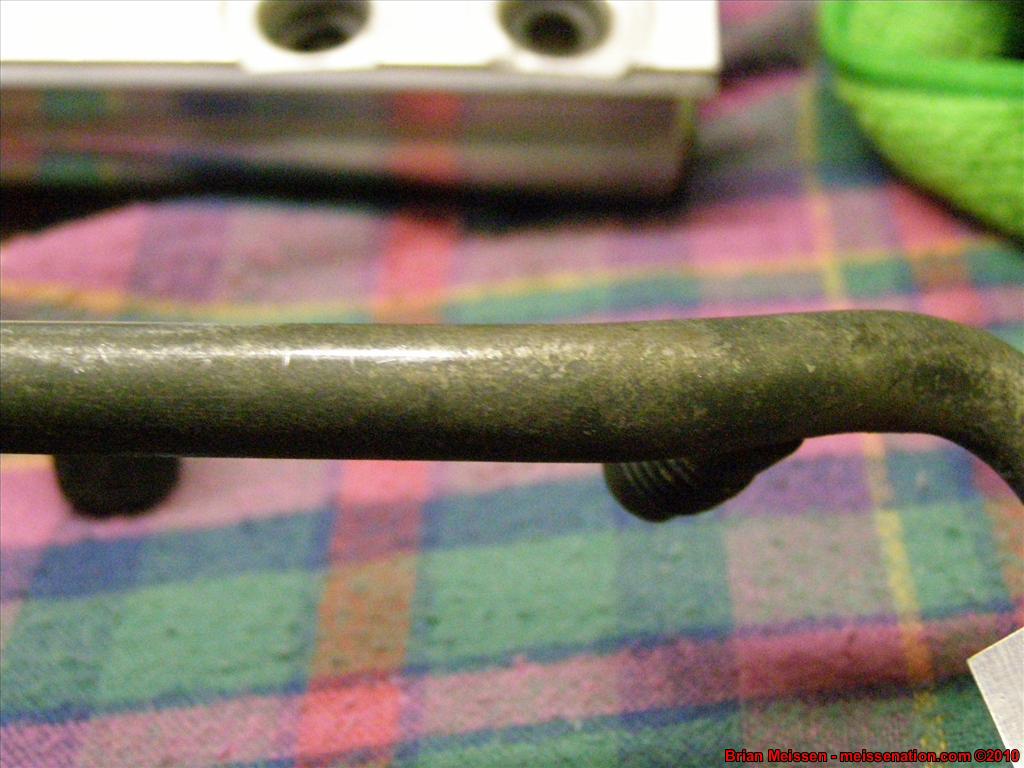
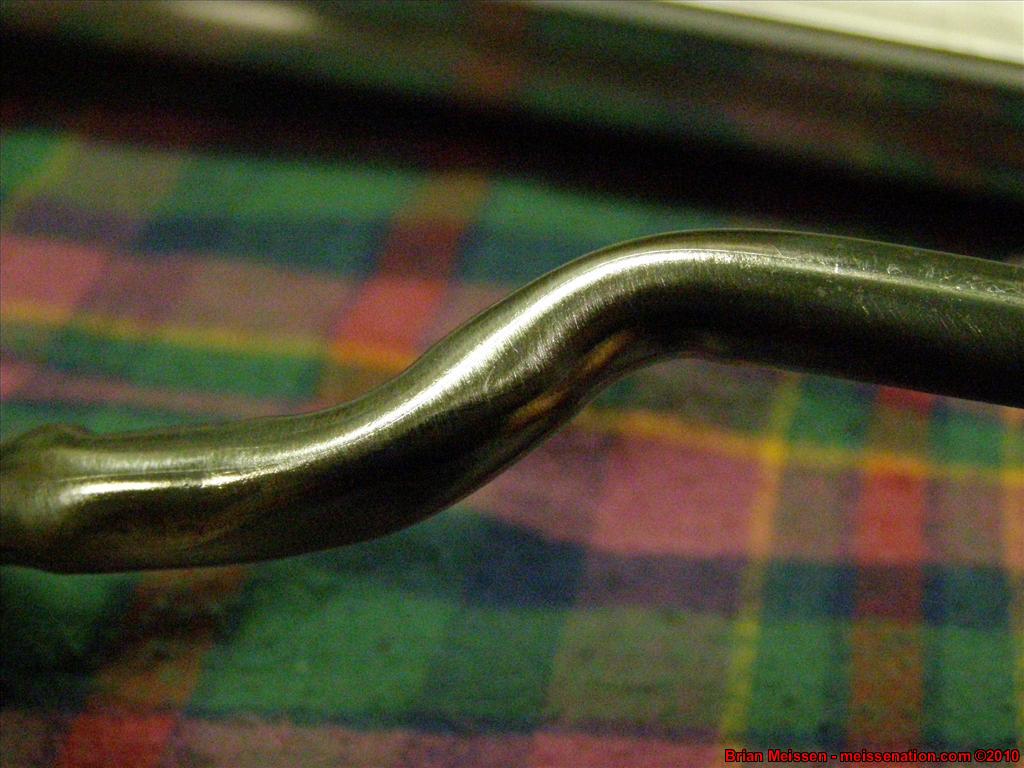
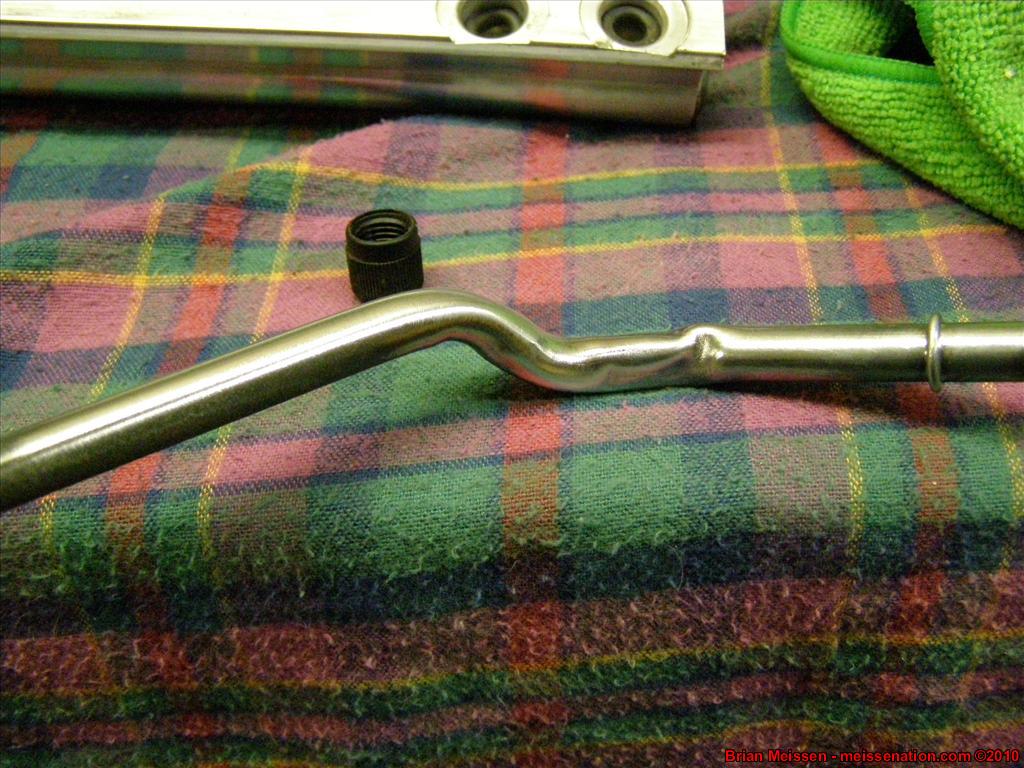
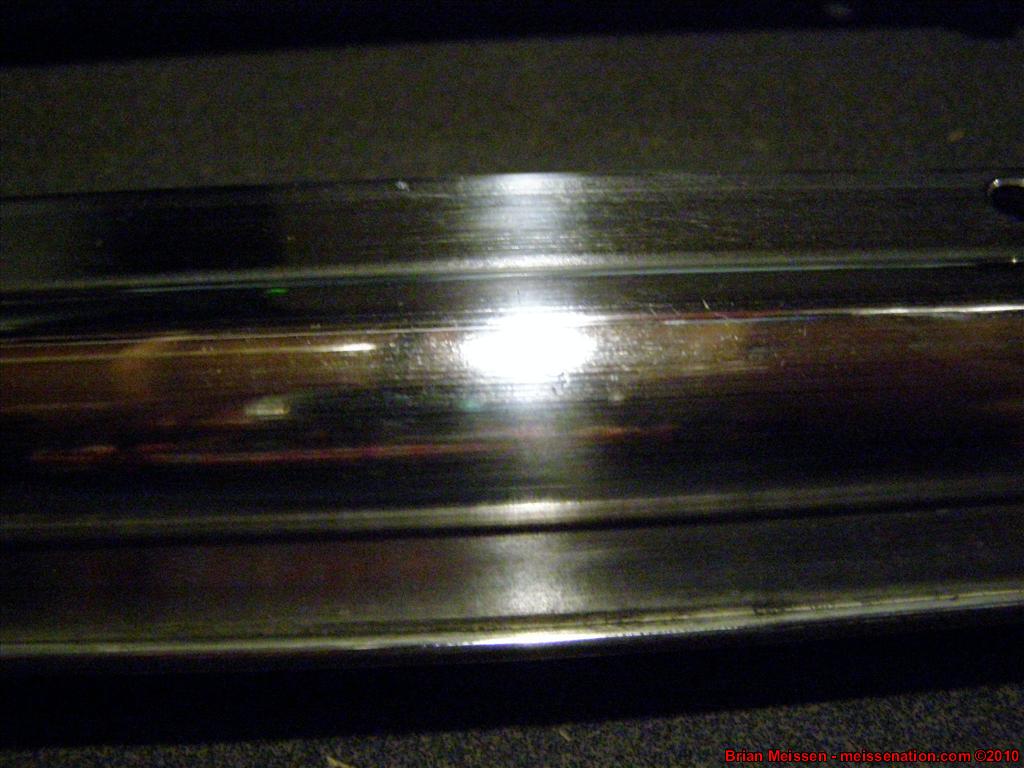
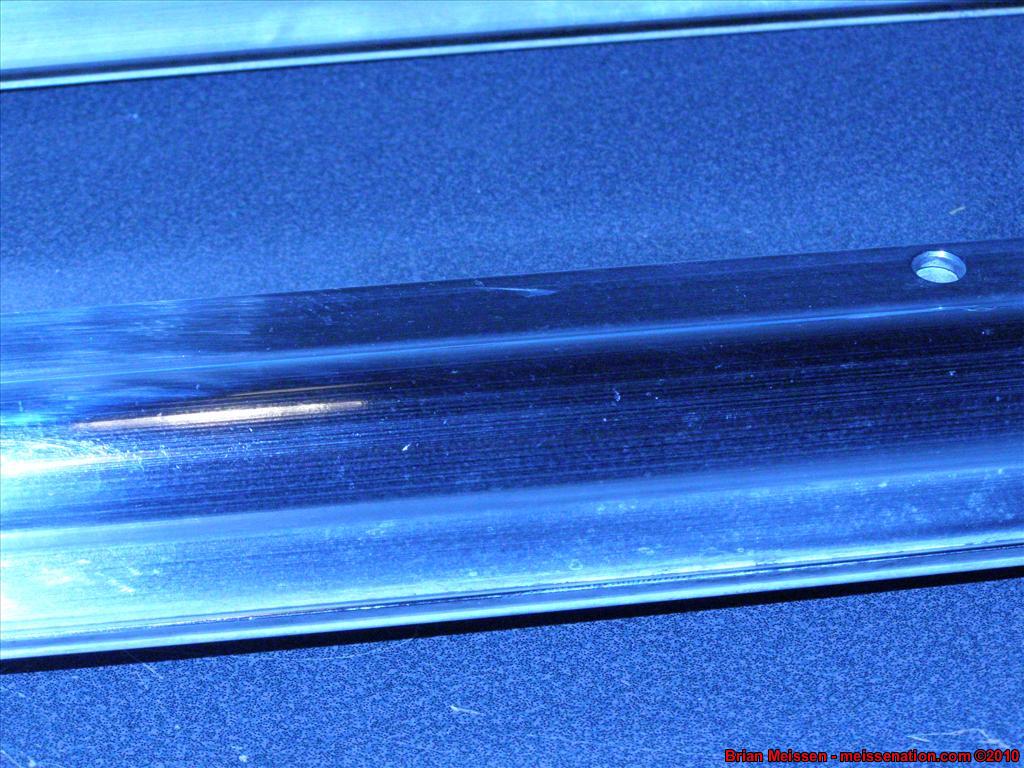
Semi-Polished Fuel Rail - still have a lot more work to go:

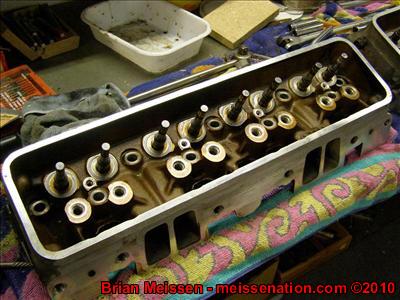
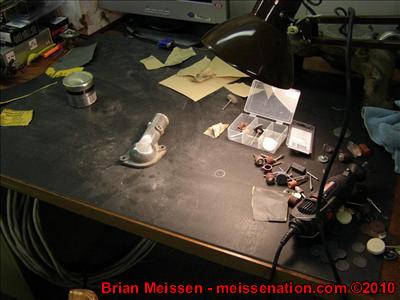
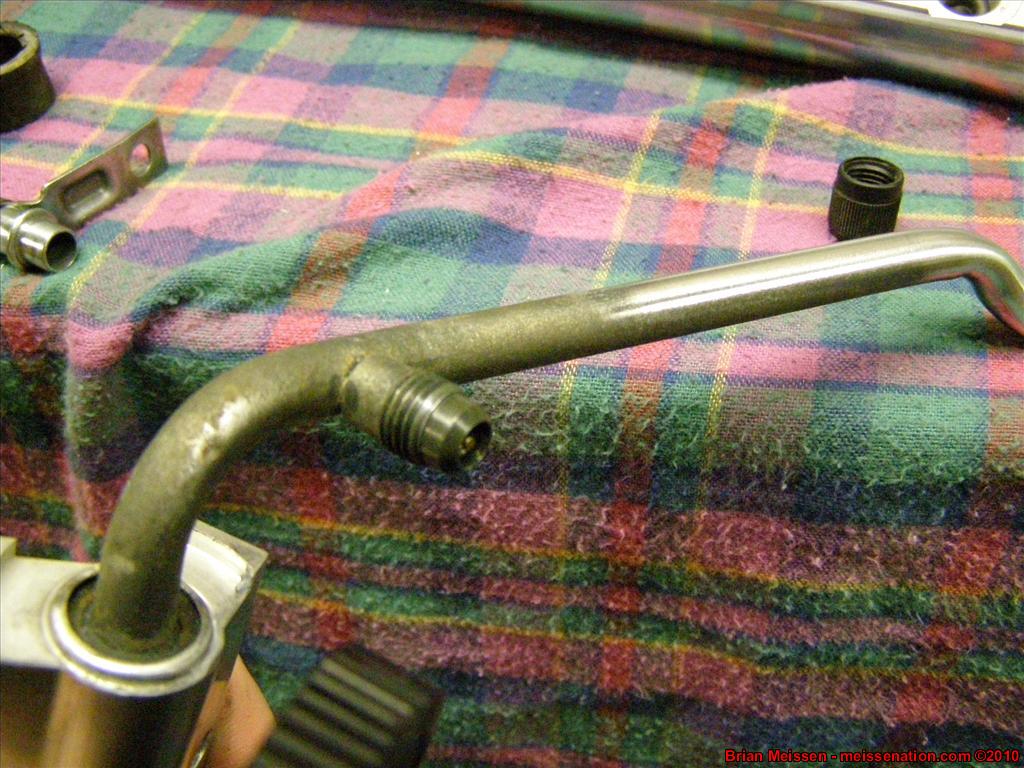
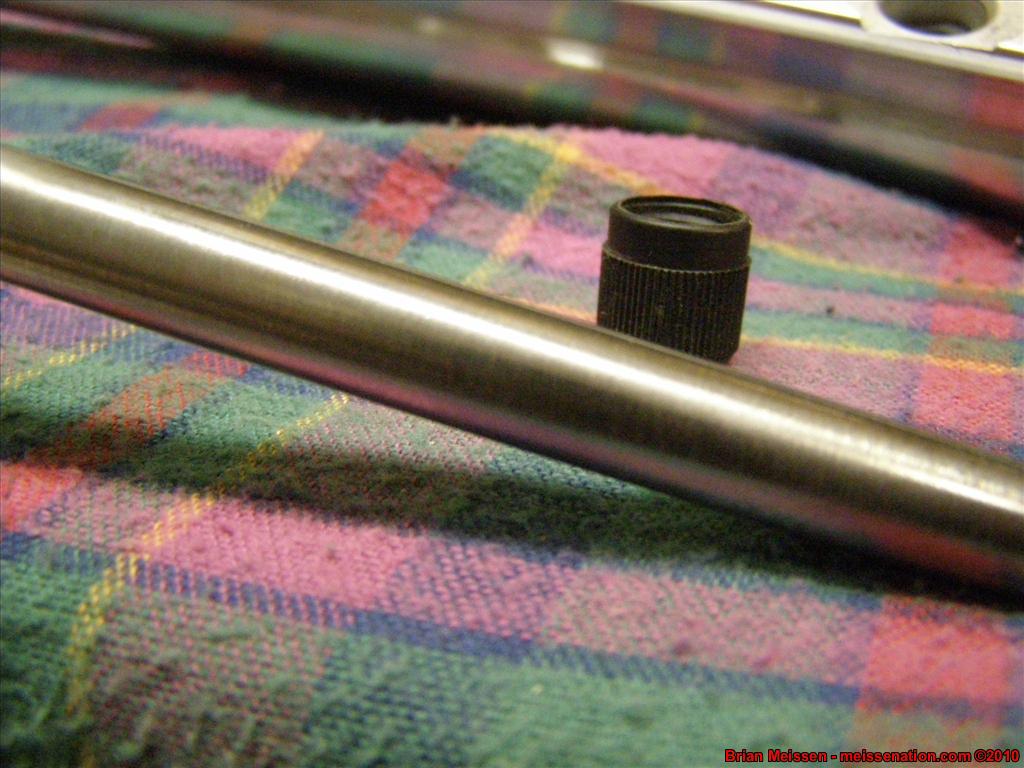
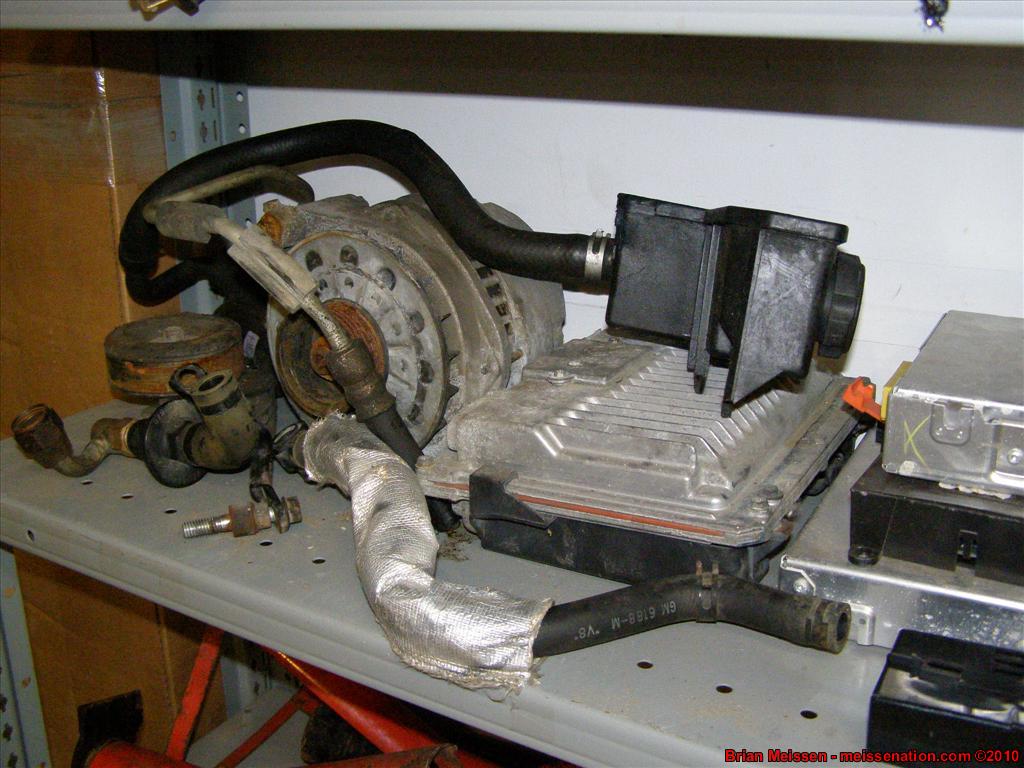
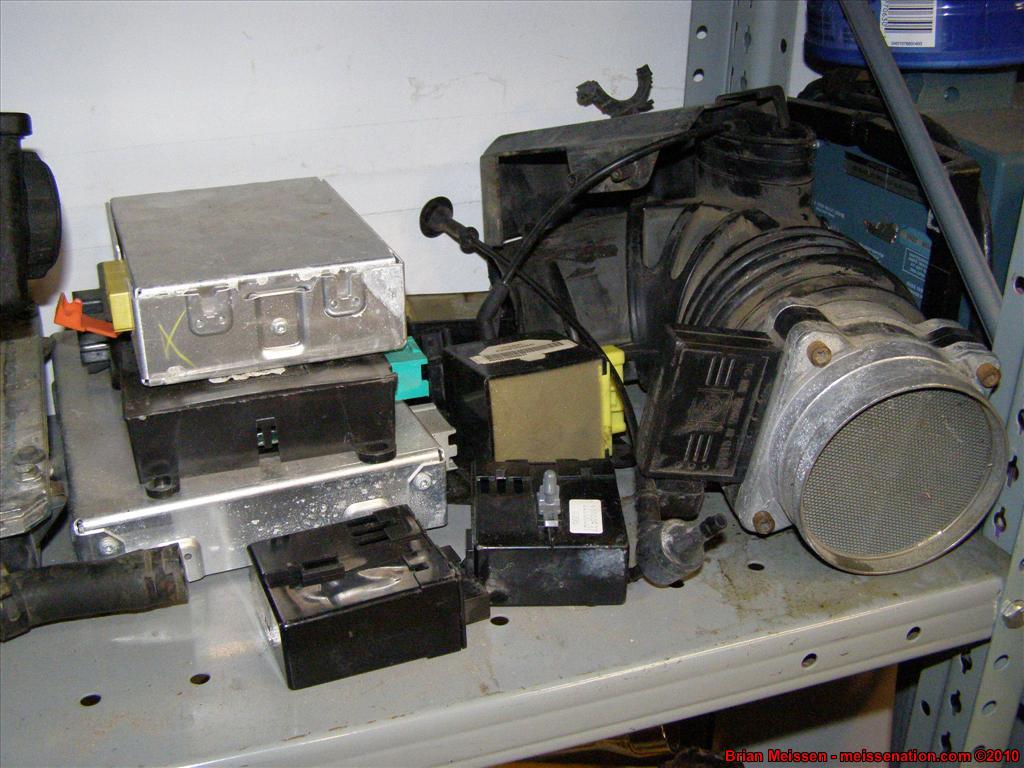
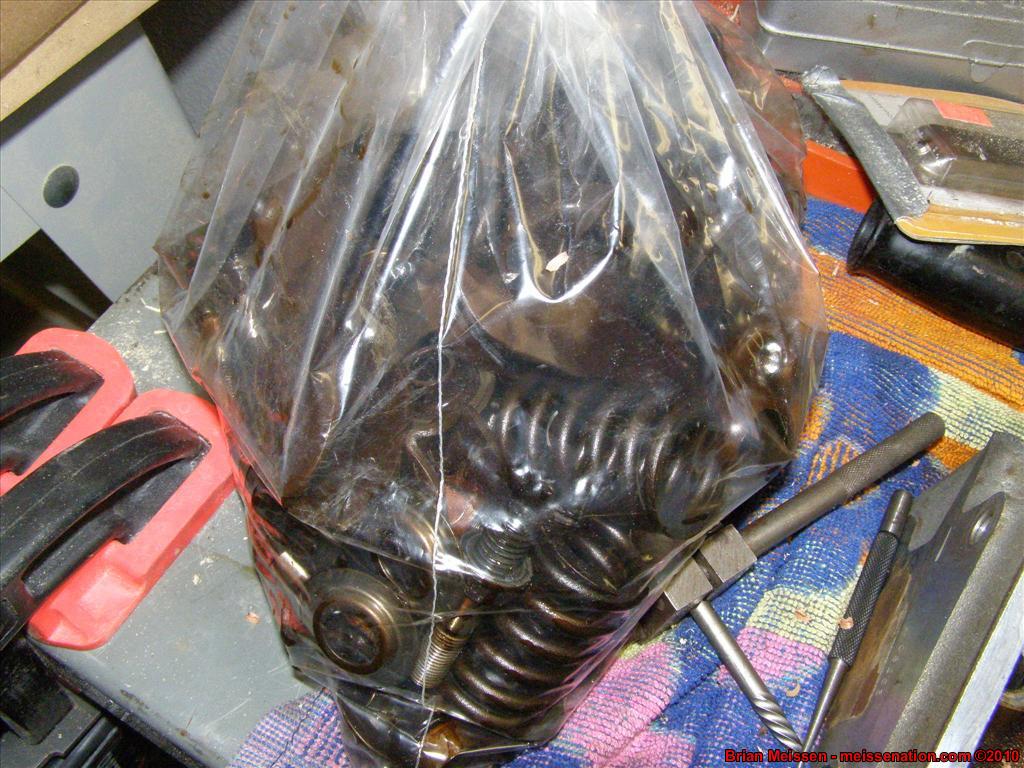
Parts:


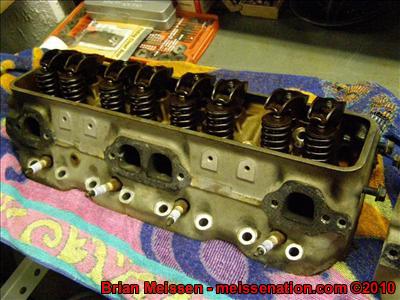
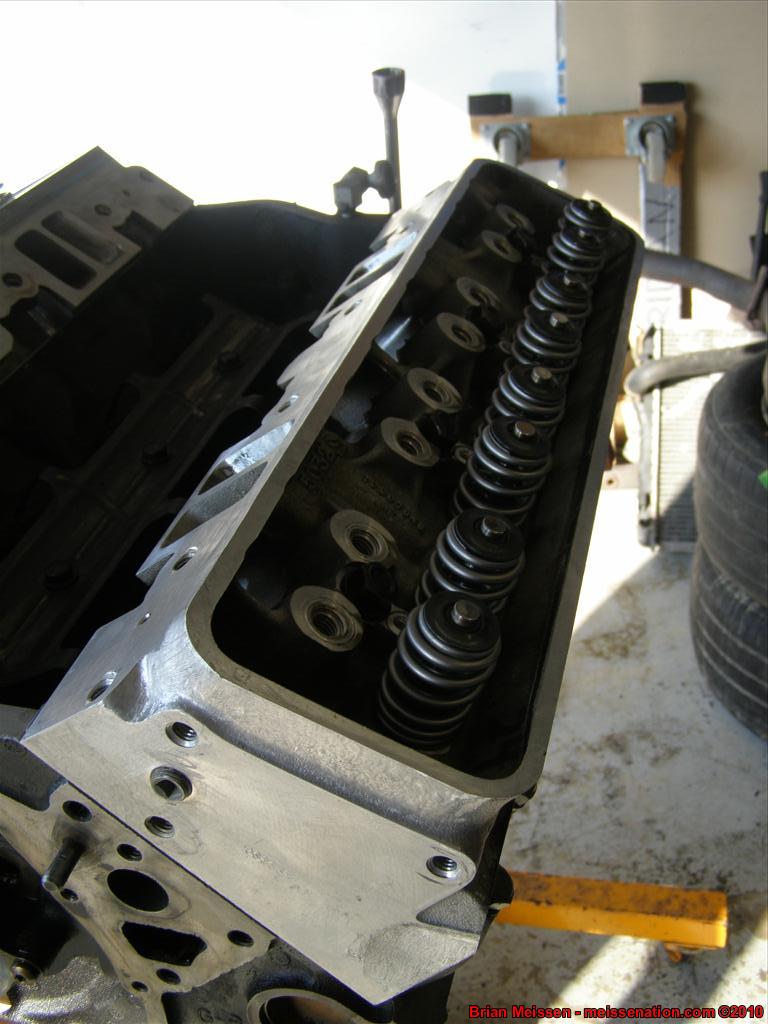
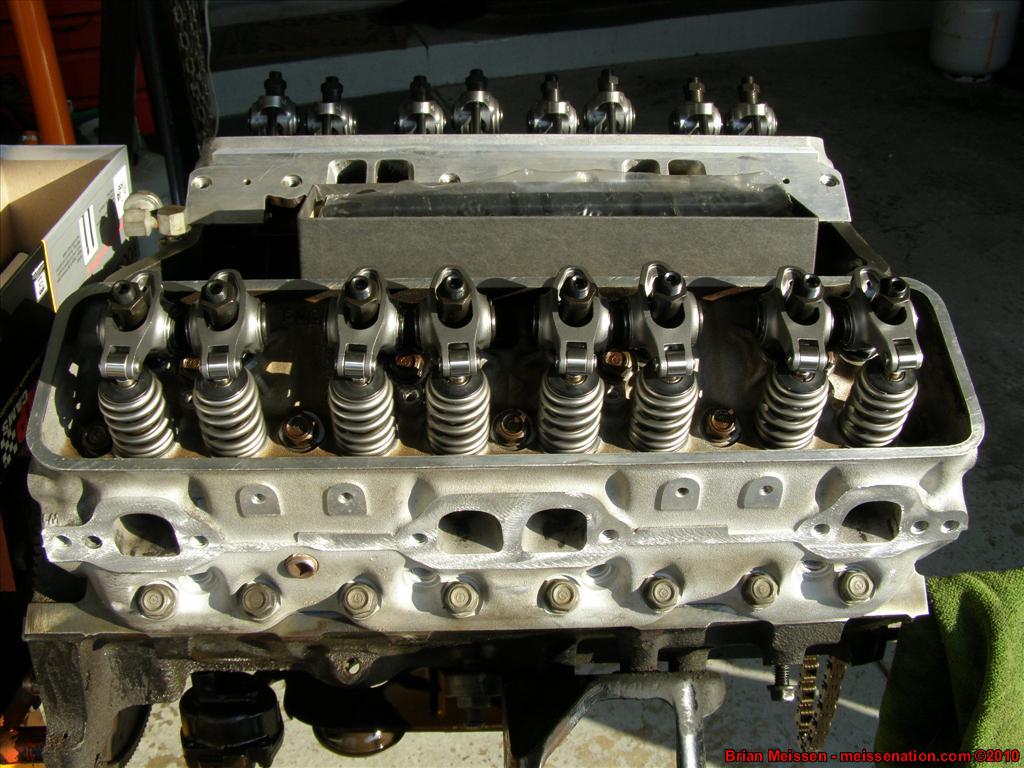
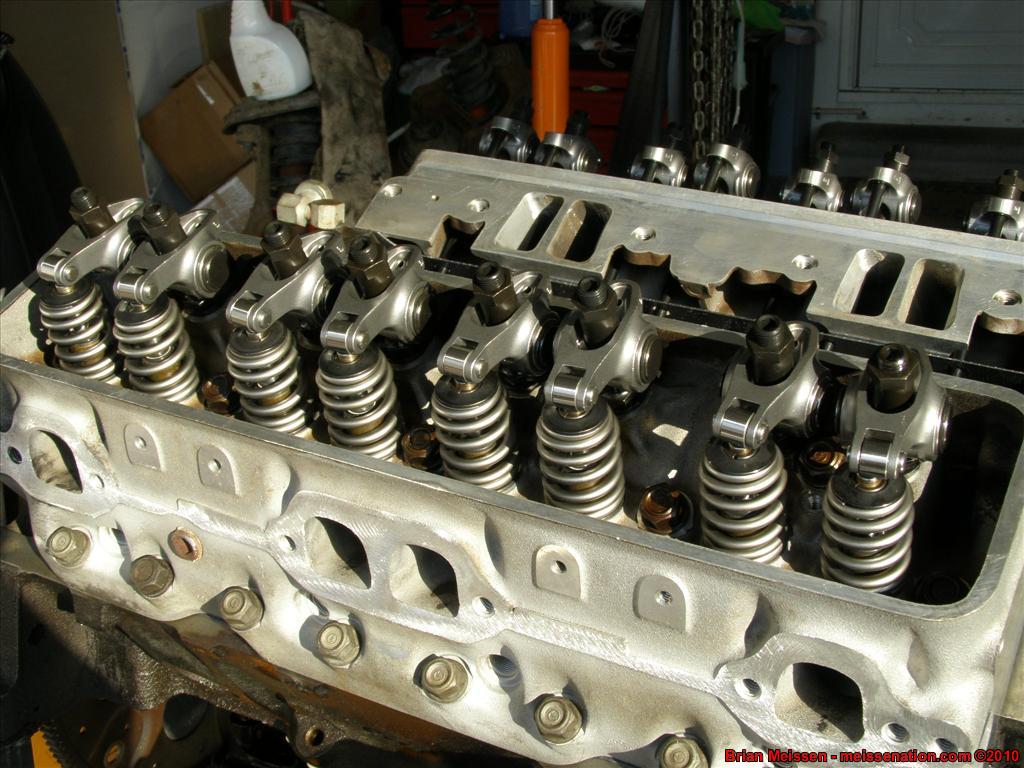
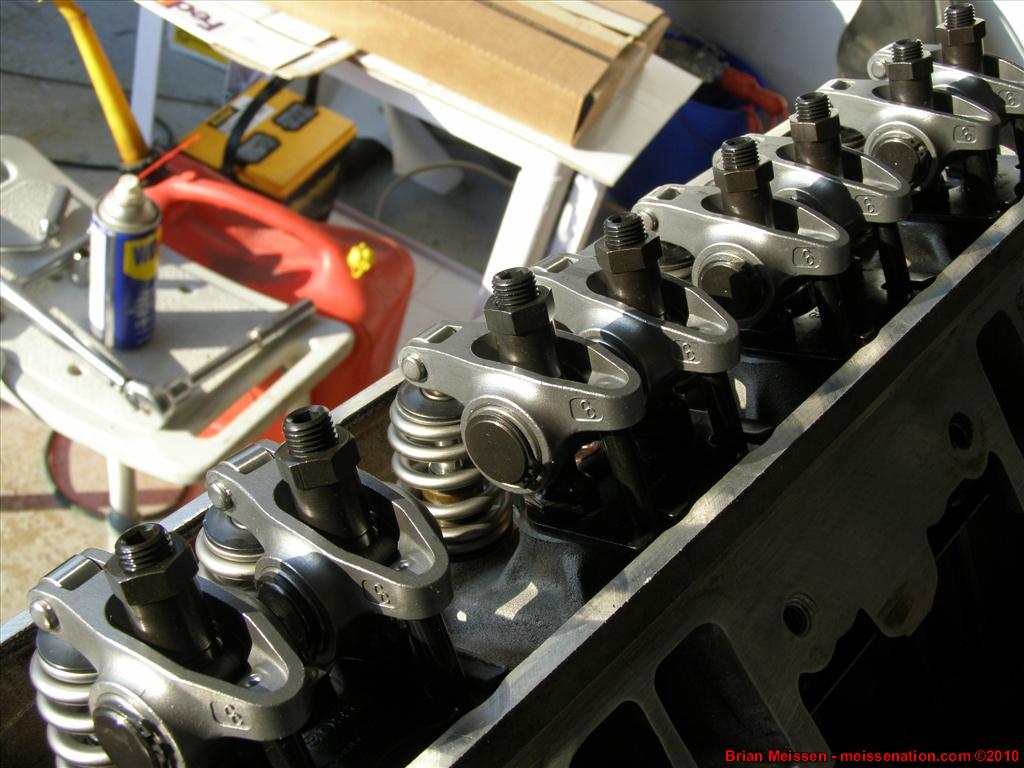
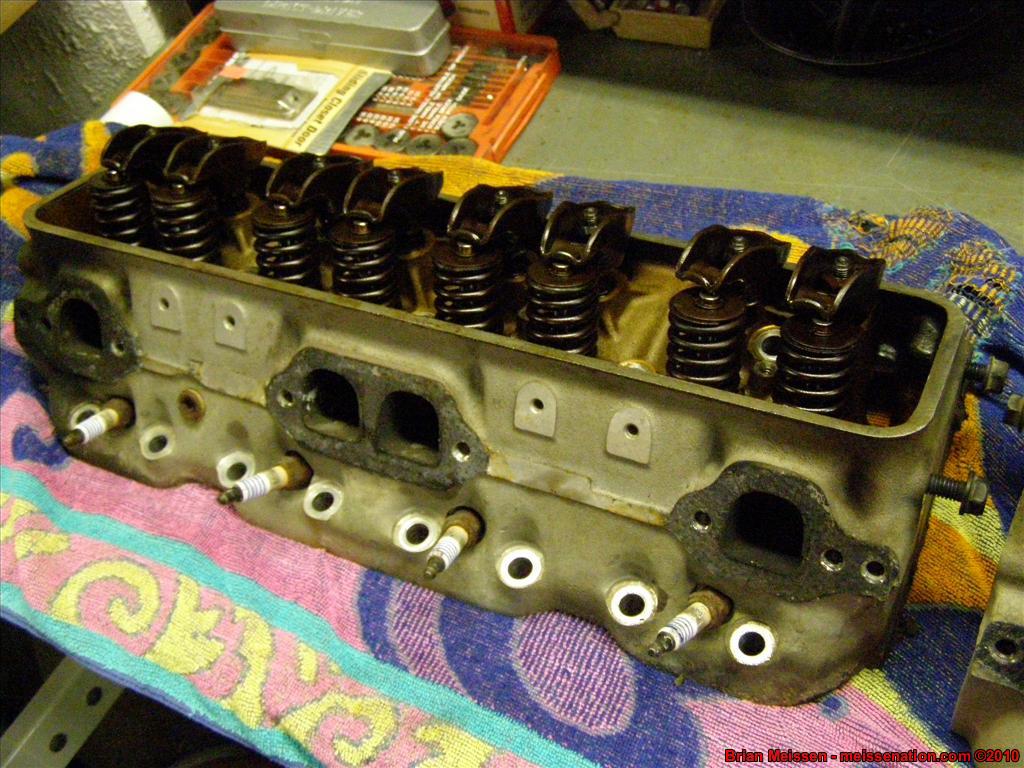
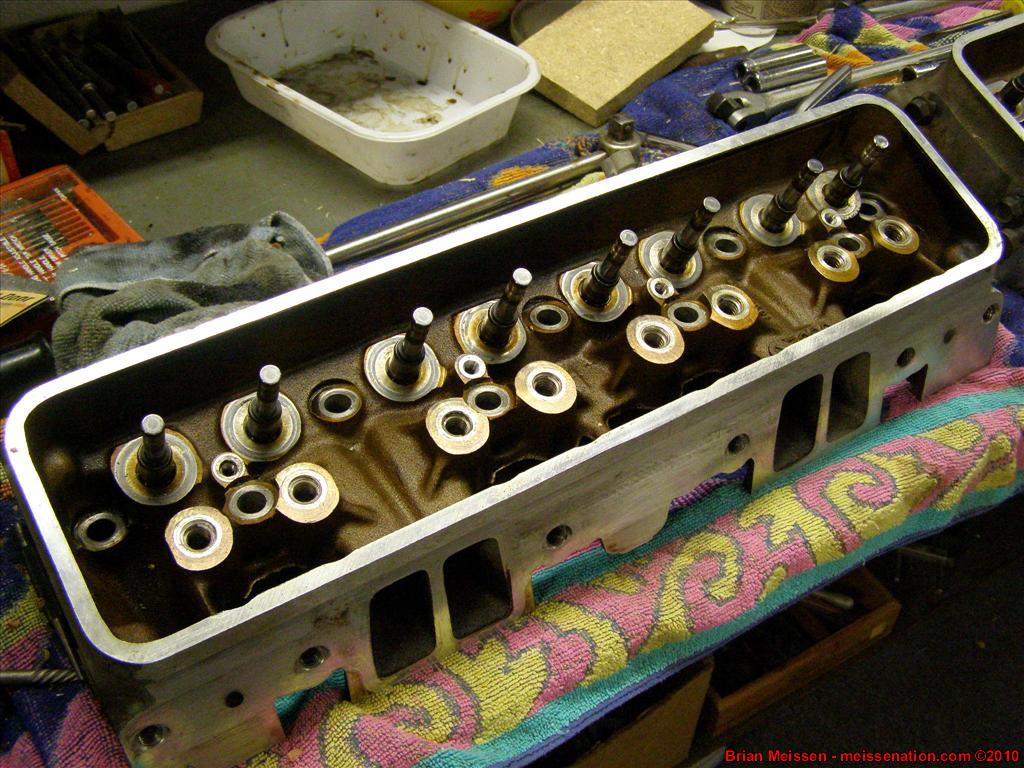
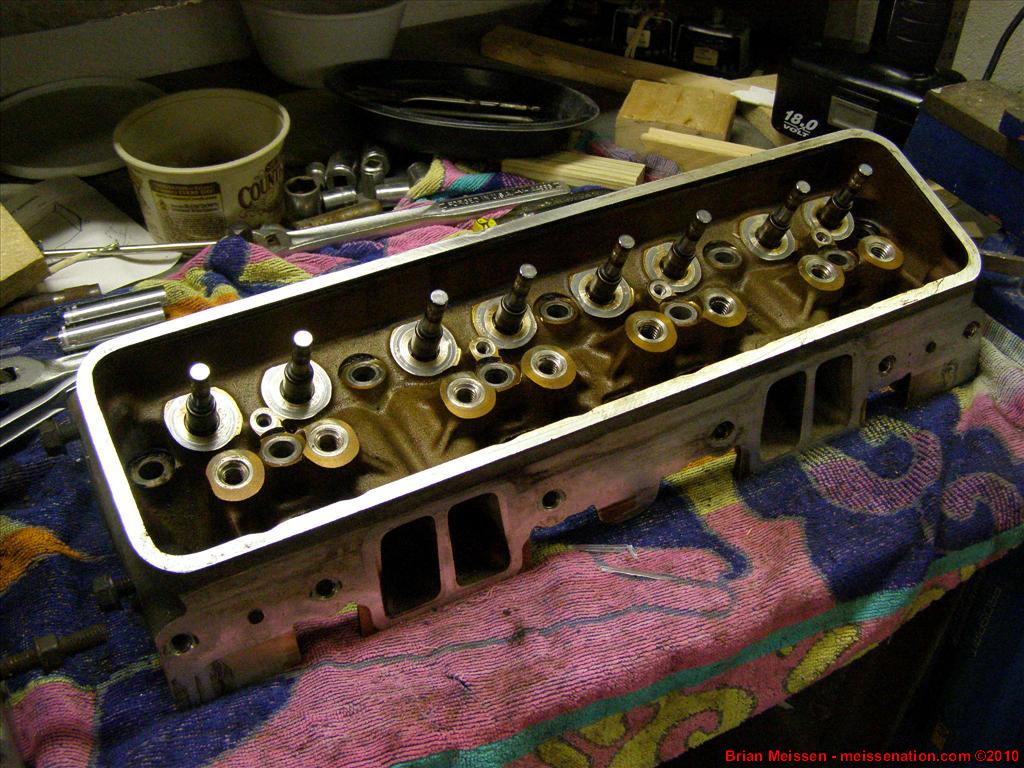
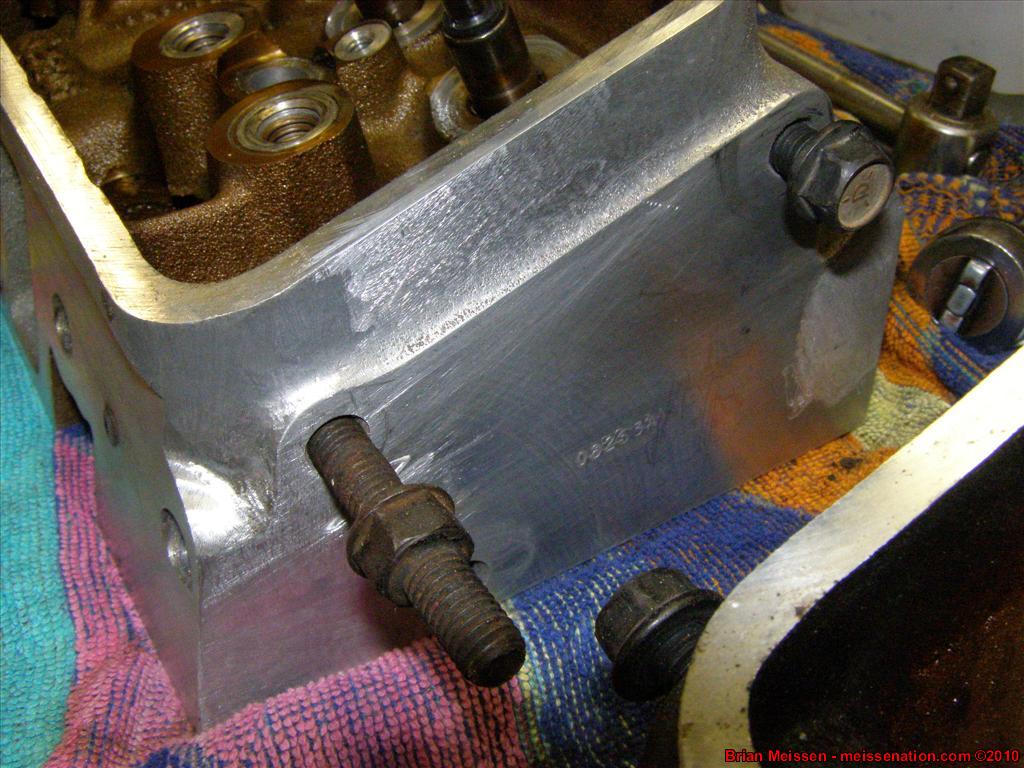
Heads:

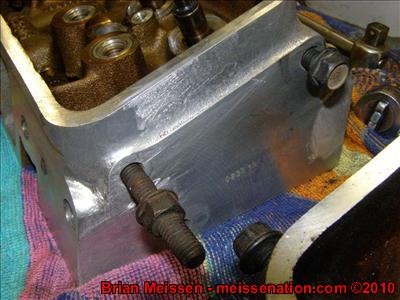
Haha, tried to grind the sides down to make them smoother... kinda worked kinda didn't:
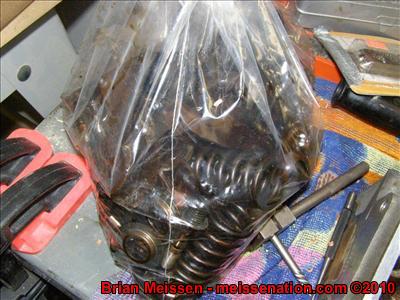
This stuff weighs so much more than you'd think!
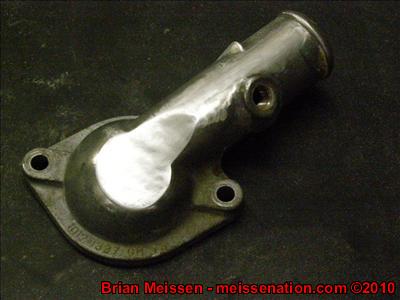
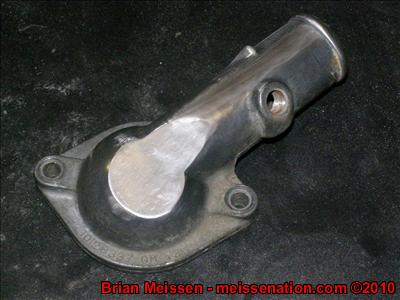
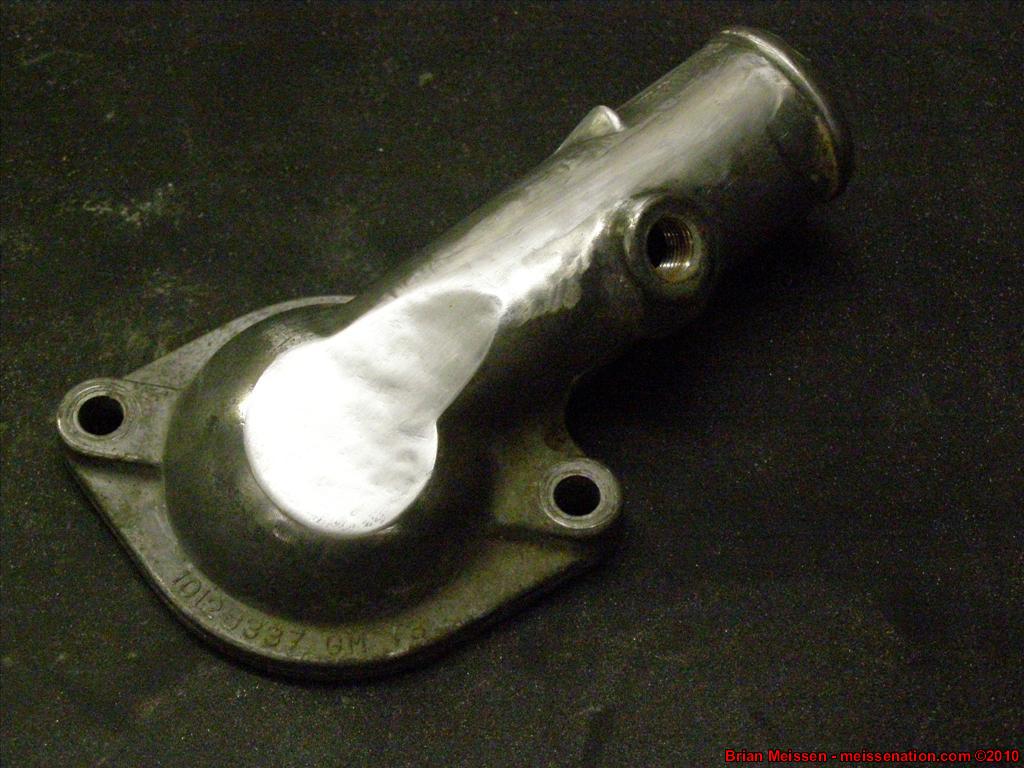
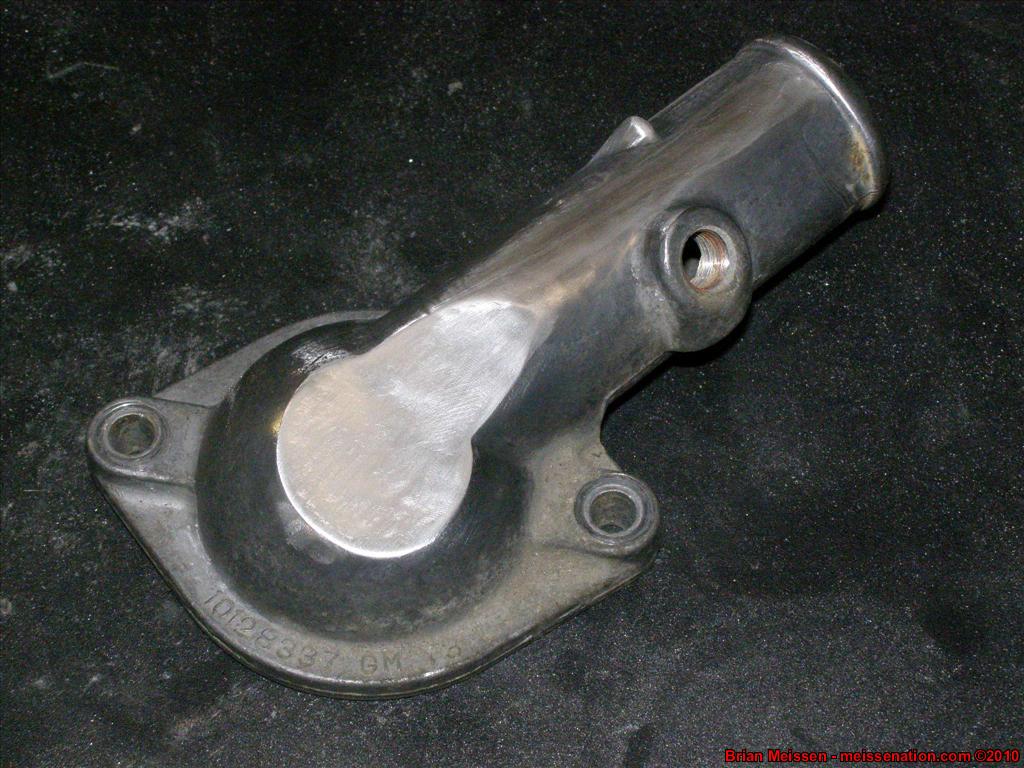
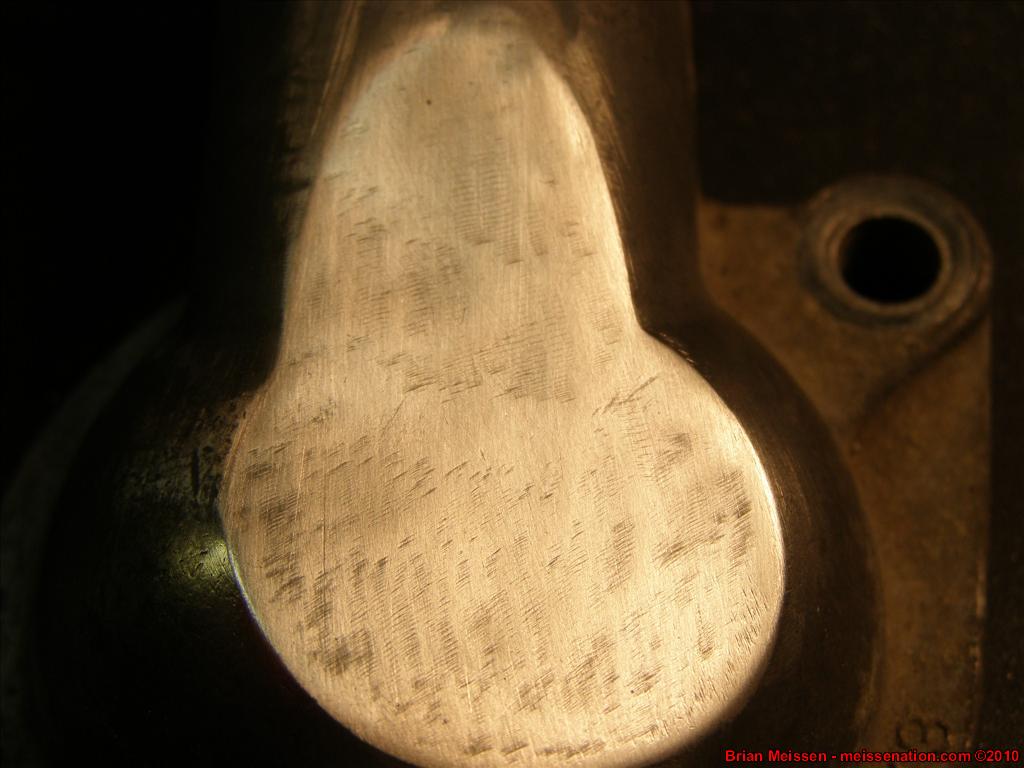
Polishing the thermostat housing:

 Last edited by meissen; February 26th, 2009, 12:51 PM.- Brian Meissen
Owner, MiFBody.com
Administrator, LTxTech.com
1994 Camaro LT1 Transplant - 357ci LT1, cammed, stalled, and driven.
2022 Camaro LT1 - "Cherry Bomb 2"Michigan FBody Meet & Greet Car Show 2022
June 4th, 2022 - 9am to 3pm!!!
The HUB Stadium, Auburn Hills, MIComment
-
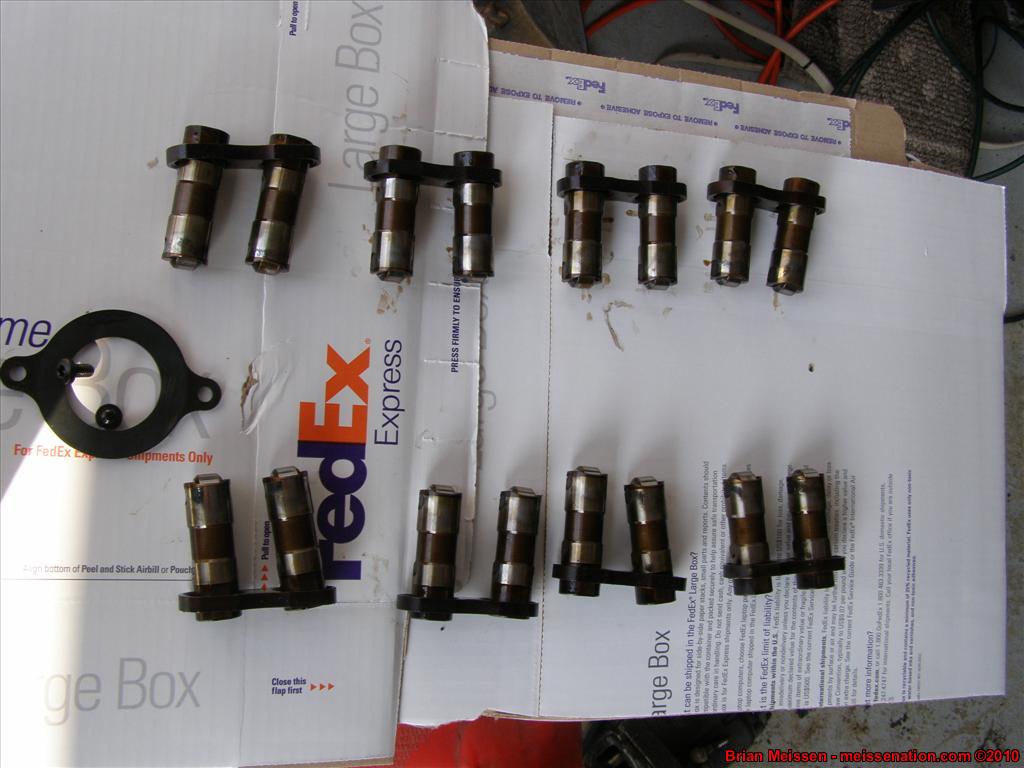
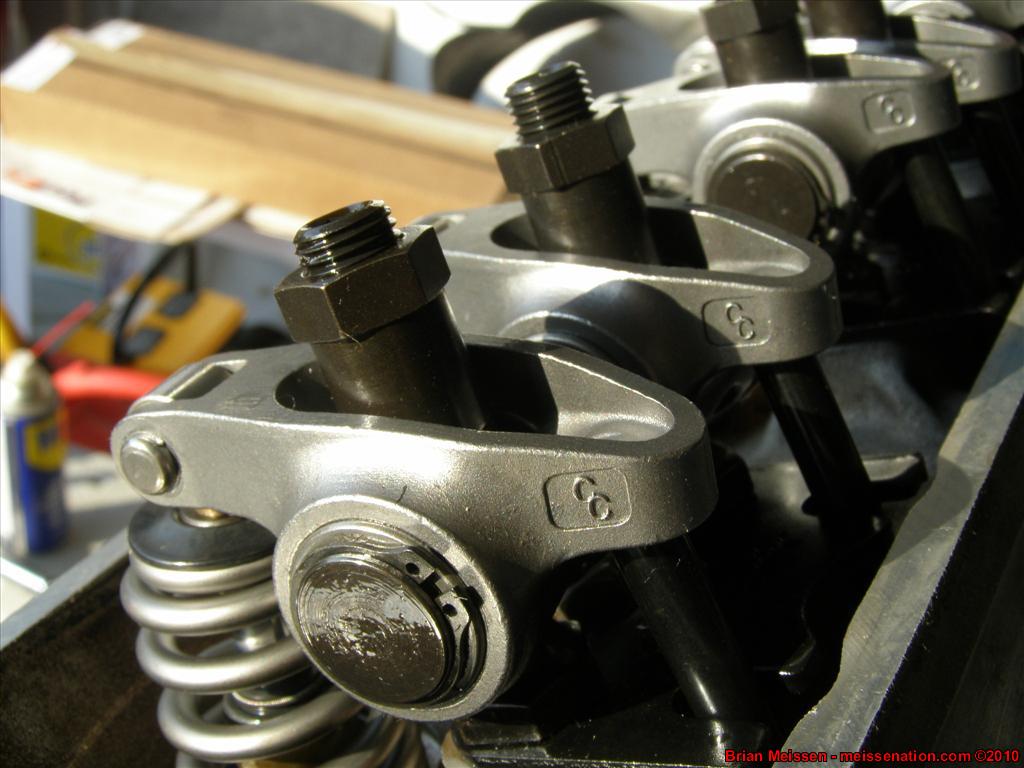
January 8 2009
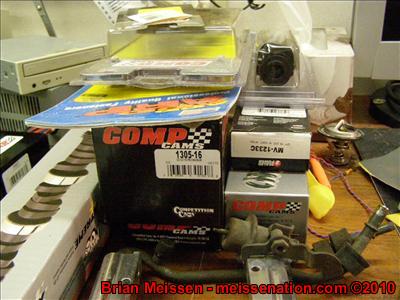
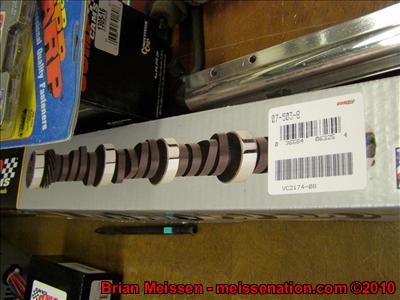
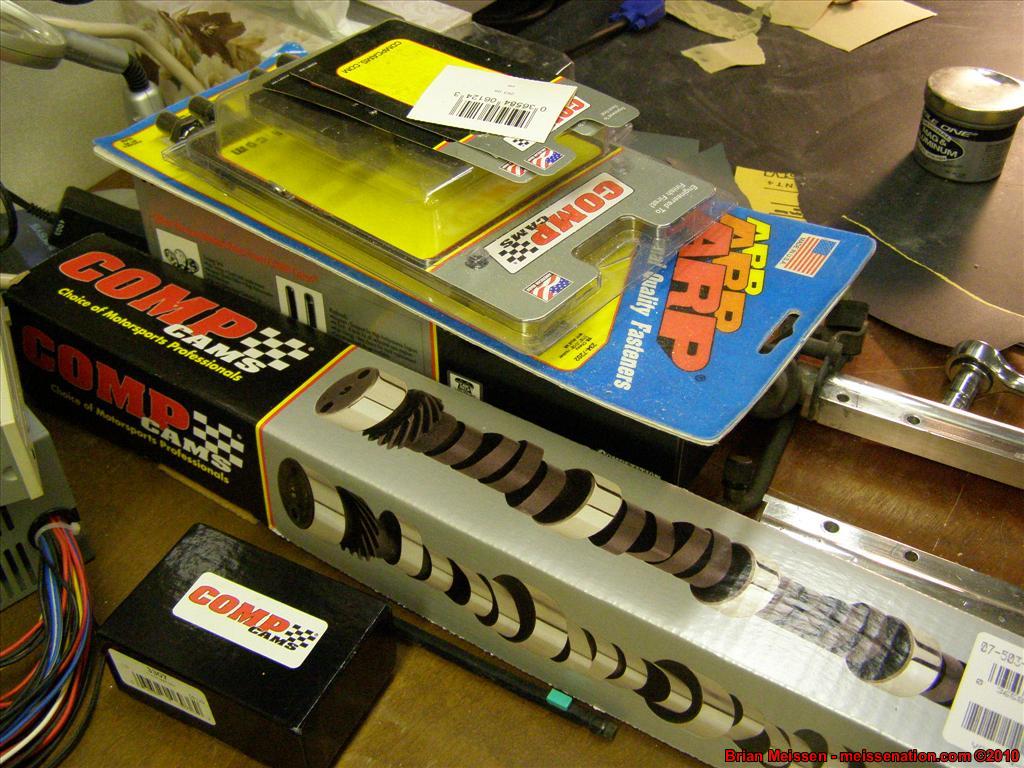
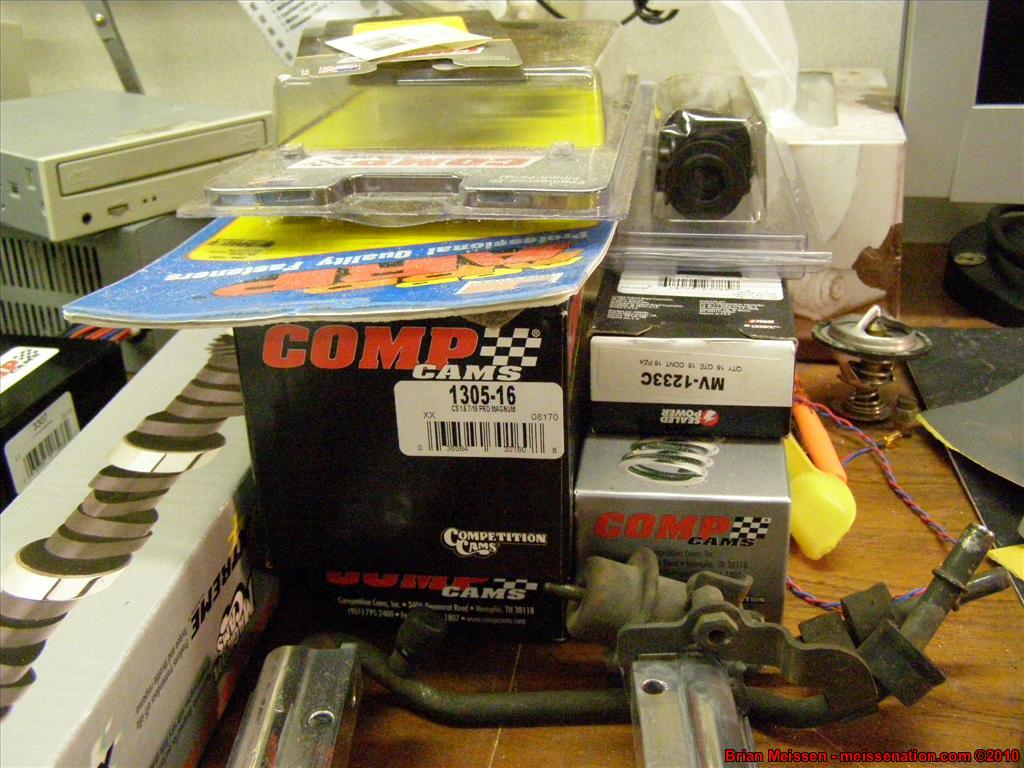
Well the goodies keep arriving! So far I have a stack of boxes leaning against the wall in the basement and then the cam swap stuff in the workshop.
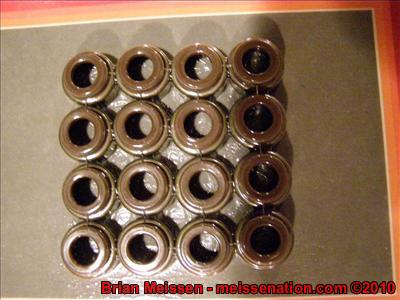
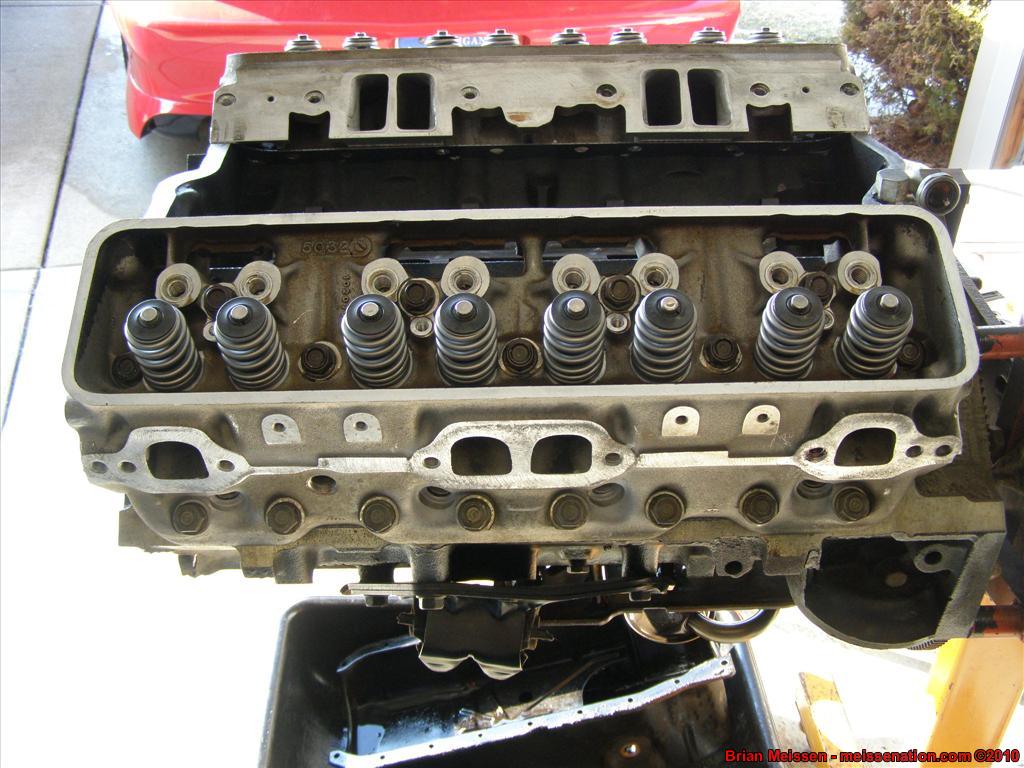
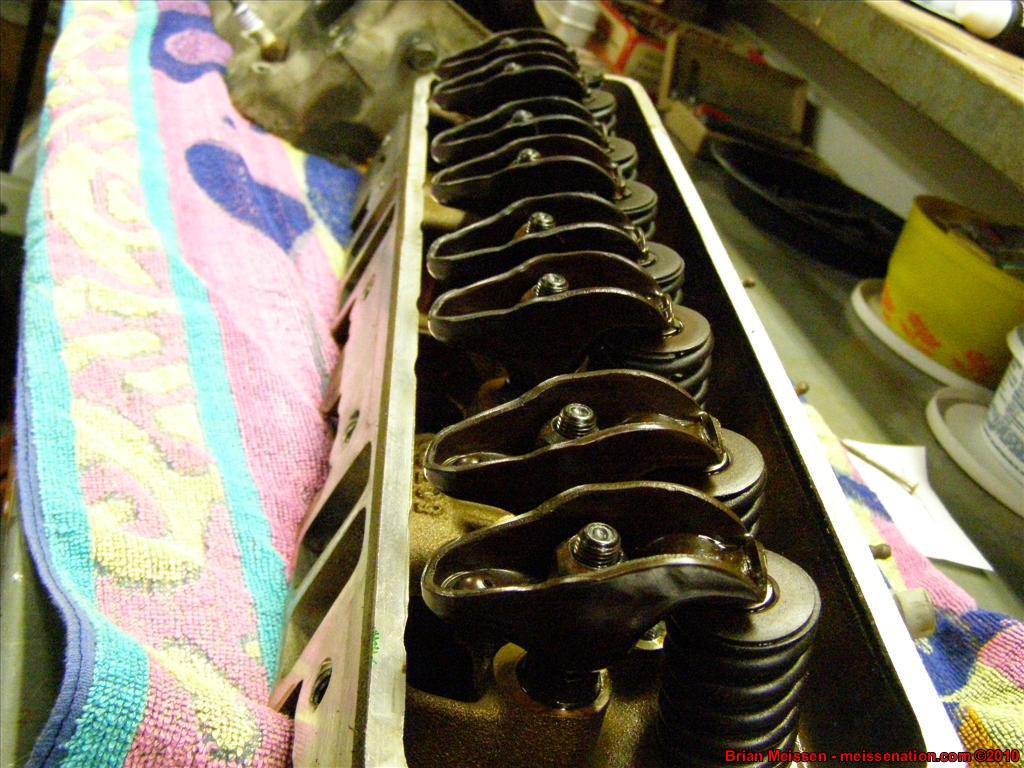
The valve stem seals finally arrived so my dad and I started to attempt assembly. I will tell you now... I effin hate valve spring compressors. I bought a spring compressor from Murrays like this one:

Only the one I bought isn't built as good as the one in the picture above. The part that pushes against the top of the spring is an upside down "U" shape. The first time we tried assembling the spring, the "U" shape widened because of the tapered top to the spring and right in the middle of cranking the thing down the spring releases from the compressor and shoots the spring topper right off the spring and into the air and the spring shoots up with the compressor and yeah it was NOT a pretty sight but THANKFULLY it didn't hurt anyone or anything. It was hard to get the first spring assembled. The two forks that go in at the bottom of the spring is way too big and was digging into my brand new valve seals. When we got it compressed all the way, it still was barely enough to slide the lockers in. Ok 1 down, 15 more to go. My dad and I started on the second one and we couldn't get the spring compressed enough. I went to slide a locker in and it wouldn't fit. My dad goes "Tap it in with a screw driver..." so I get a screw driver and a small hammer and tap it in, goes in fine. "OK, now put the other side in..." Yeah, spring wasn't compressed enough and we couldn't get it in. And then since we already had it compressed as far as the compressor would go, we couldn't get the 1 locker out. So my dad starts loosening the compressor and the thing literally falls apart in our hands. The c-clip falls into the spring somewhere and we can't find it and it's broken.
So now we have one spring OK, and the other spring only has one locker in it so it's pushed to a weird angle and not real secure. So I run to Murrays to get their gay c-clamp one to rent. It looks like this thing:

Well we get that all hooked up and try to compress the one spring down to get the locker out and we can't get it to compress my beehive spring at all. Apparently my beehives are too strong for this style...")
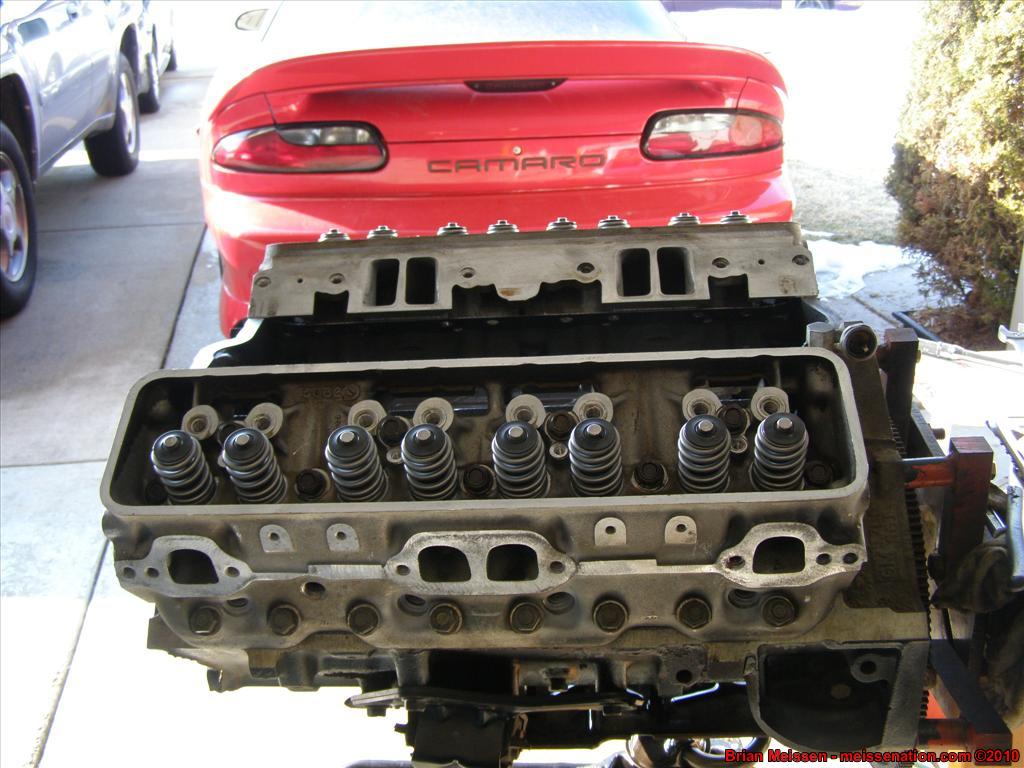
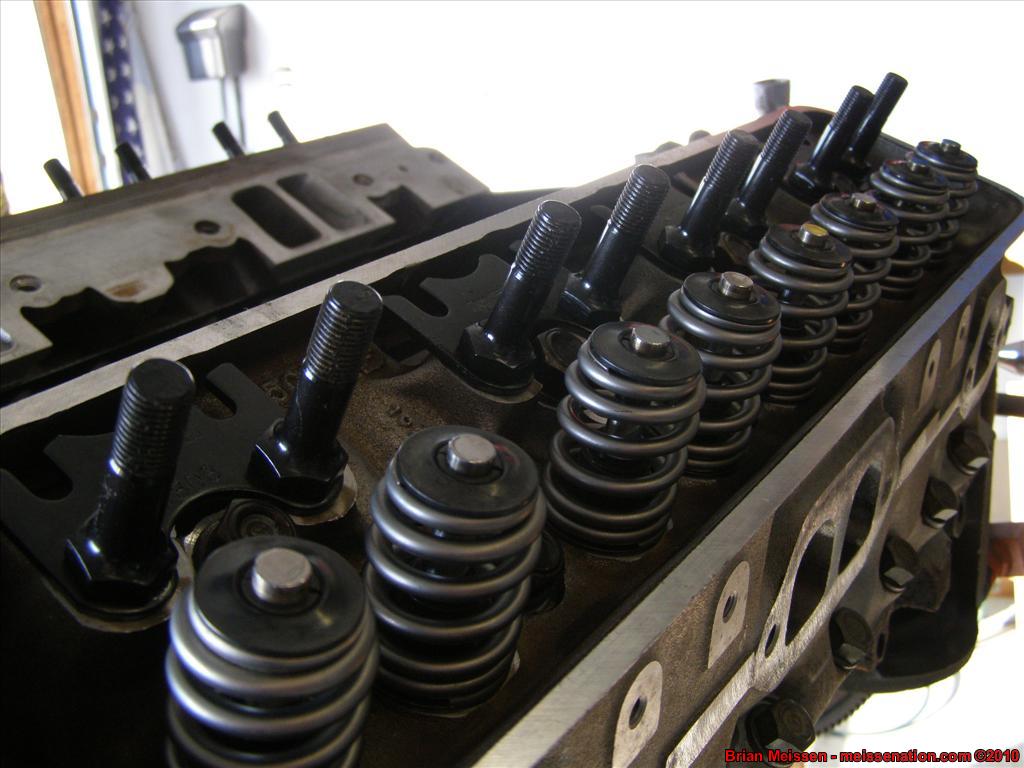
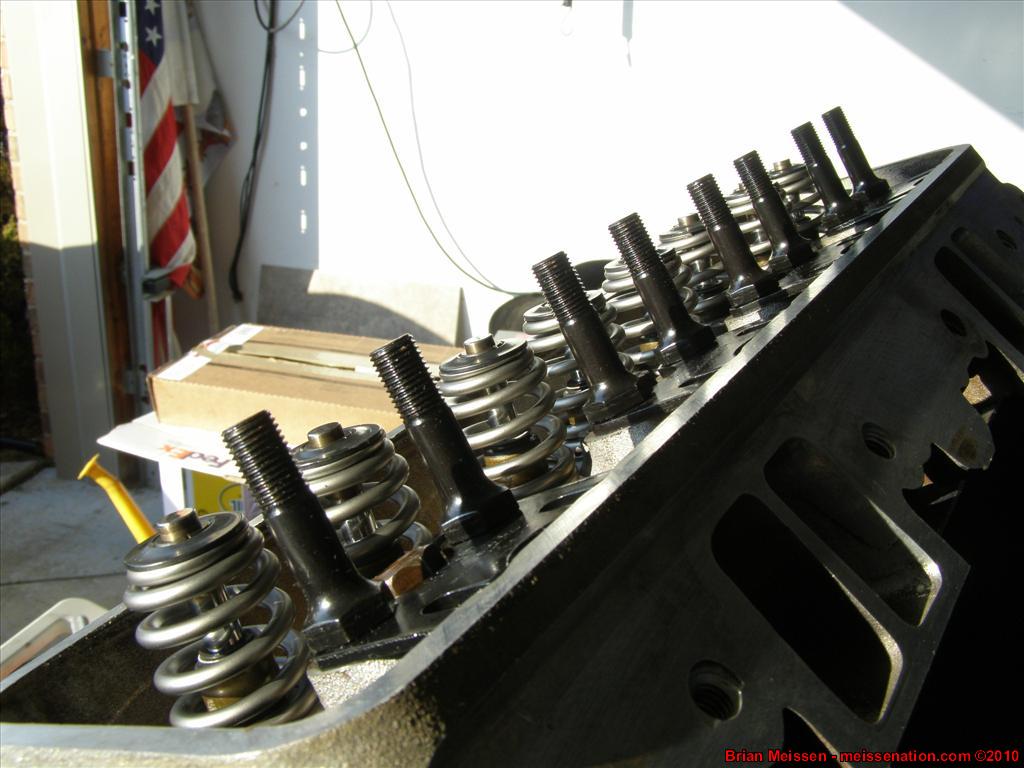
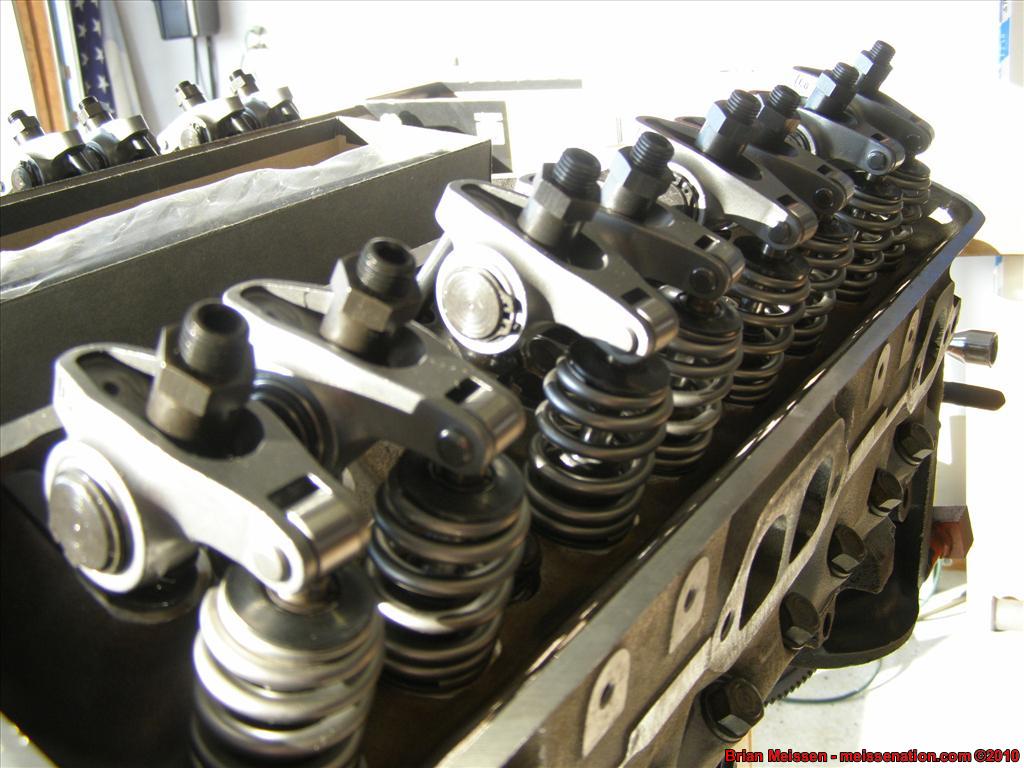
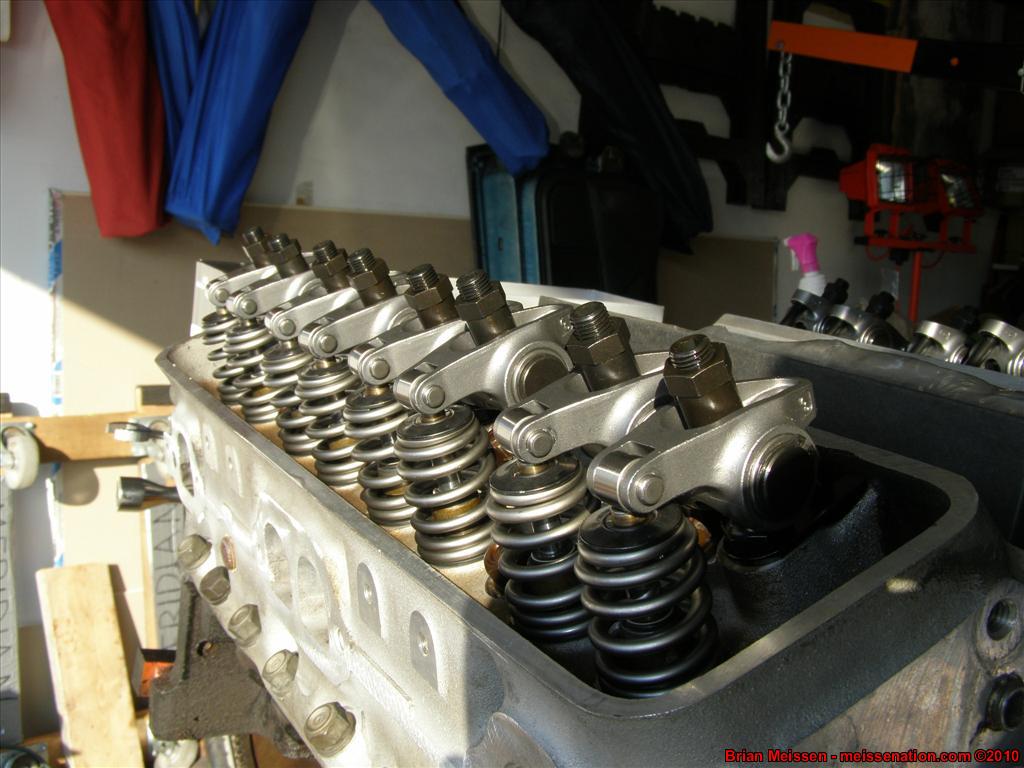
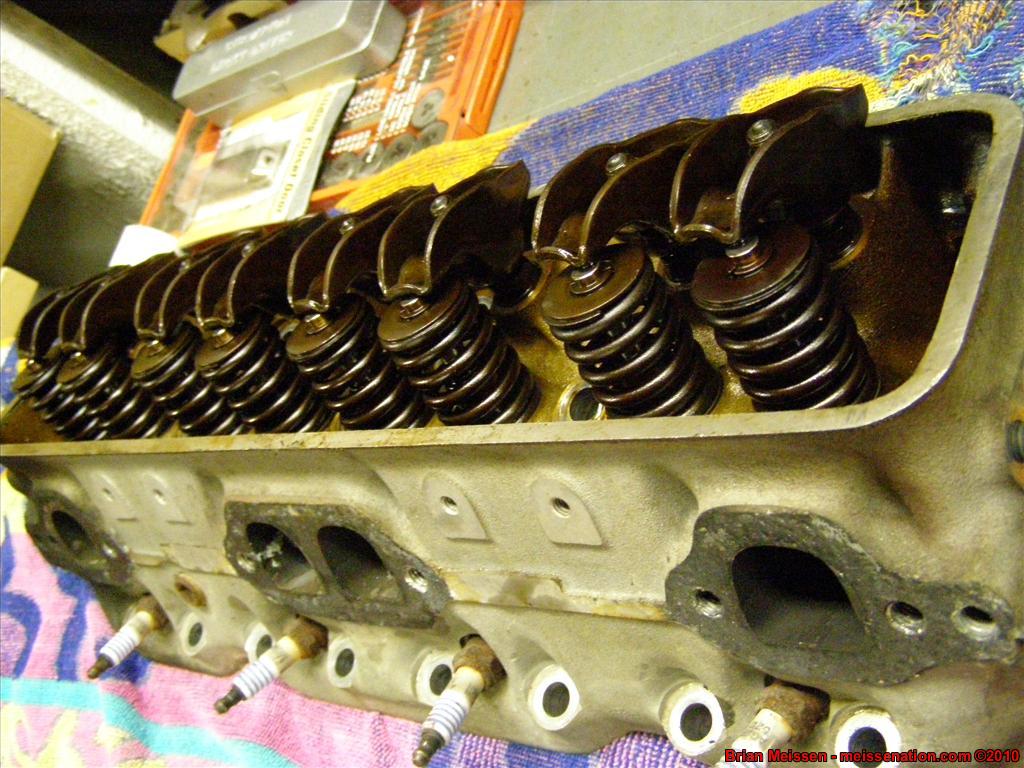
So, needless to say, I'm outsourcing the job to Dave at Engine Craft. Just having him clean the heads to get the grime off, reassemble the valves, and make sure the valve guides are good. He quoted me only $150 to do that, so that's within my budget.
- Brian Meissen
Owner, MiFBody.com
Administrator, LTxTech.com
1994 Camaro LT1 Transplant - 357ci LT1, cammed, stalled, and driven.
2022 Camaro LT1 - "Cherry Bomb 2"Michigan FBody Meet & Greet Car Show 2022
June 4th, 2022 - 9am to 3pm!!!
The HUB Stadium, Auburn Hills, MIComment
-
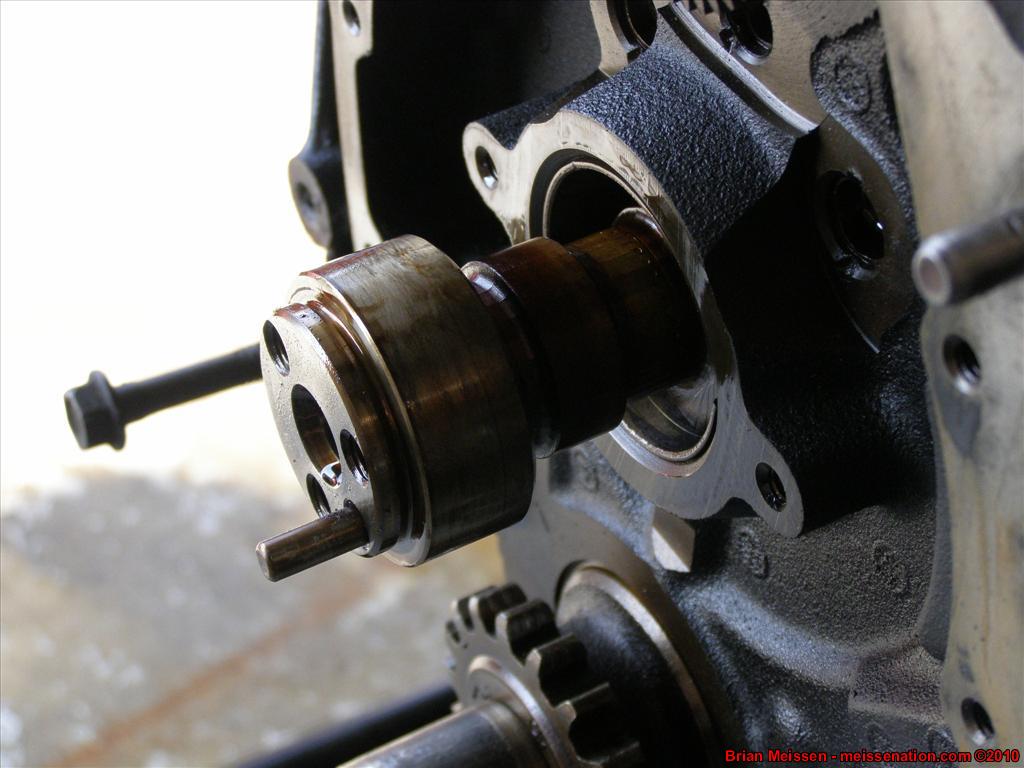
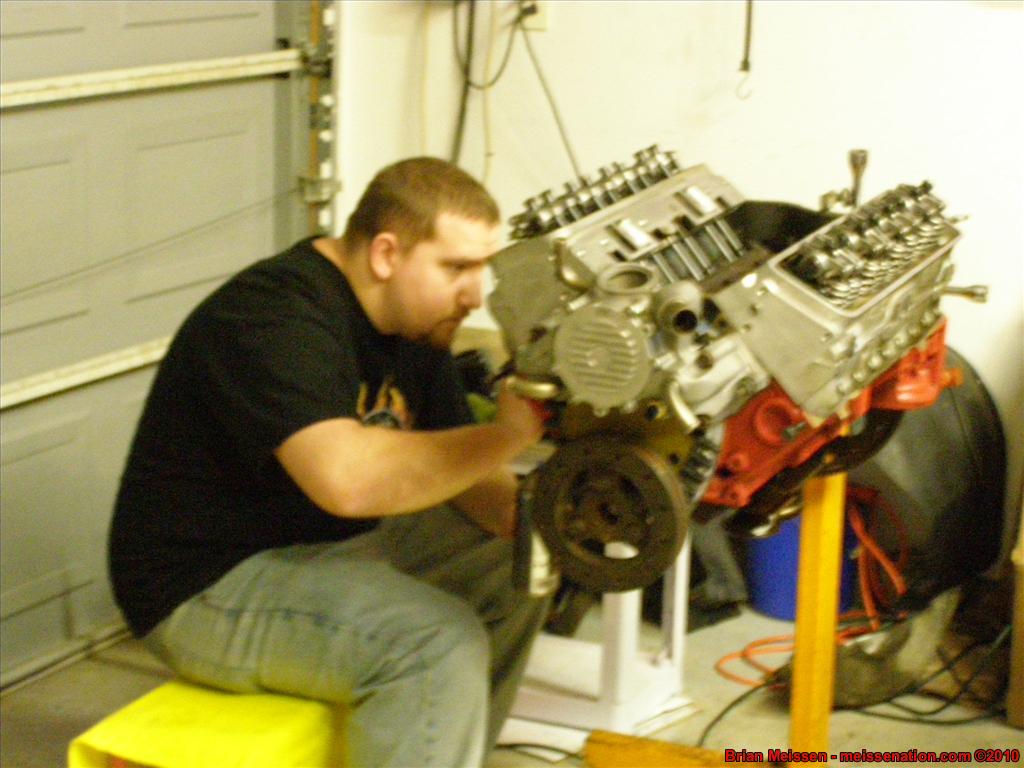
January 25 2009
Well my dad and I worked on the engine for about... 5 hours today. We got a lot done - we got the harmonic balancer pulley, hub, and timing cover off. It only took 5 hours to get those 3 things off.
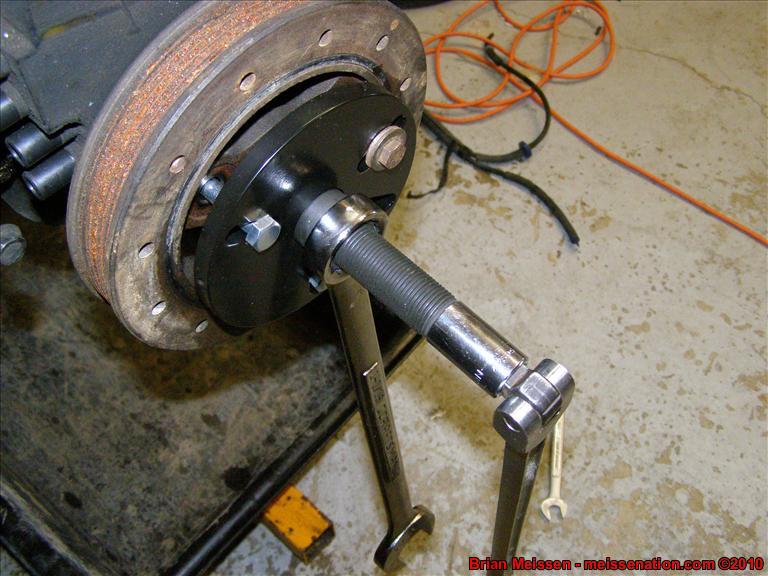
I had read that supposedly the 3 bolts on the pulley are all that hold it to the hub, so we undid the bolts and then fast realized that the pulley was firmly in place on the hub. So we decided we had to use a tool to get the balancer pulley off.
We tried using my dad's two-prong pulley puller. Well, obviously that didn't work so well because you apparently are suppose to use a 3 prong one - the 2 prong just didn't put enough pressure on it. So I went to Murrays and bought/rented a puller kit. I get back home with it and my dad and I start hooking it up when we realized all of the bolts in the kit were the wrong thread AND the wrong thickness. The stock 3 bolts on the balancer pulley is a lot thicker than the ones in the kit. So we come inside and call Murrays to see if they had any other model available and they said no. So we sat there for awhile like "Shit WTF do we do?" when I finally had an awesome idea - use 3 of the bolts in the kit and slide it through the holes then use a washer and a nut to get the bolts to stay on the pulley while we crank it off.
Here's what it looks like all set up:
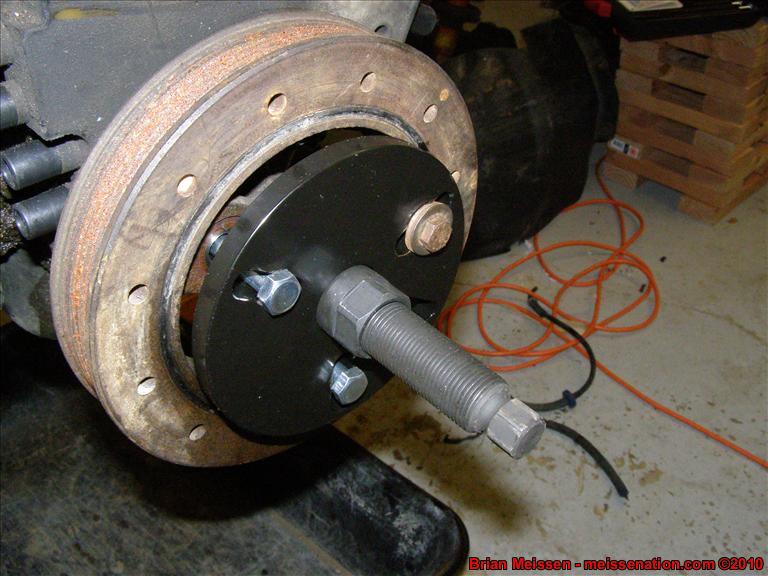
So we get back to work and get it all set up. The directions said to thread an adapter into what apparently is a threaded hole in the crank's snout. So we thread in the adapter into the crank, put the rest of it together, and start wrenching away at it. After awhile it was just not wanting to turn and we didn't know what to do. I sent a few IM's, got a link that Derek sent me (thanks again), which then made me do some searching and I came across a disturbing thread about "DO NOT put the bolt into the crank or else you'll pull the threads right out of the crank" GREAT, hope we didn't do that! I found some more stuff to try and went back out to work on it some more. So we start taking apart the puller and we realized we hadn't even budged the balancer pulley or the hub. We go to take off the big shaft that was threaded into the crank and then we noticed that it was spinning as if we were unthreading it but it wasn't unthreading at all - stripped. We did some handy work and were able to get the shaft out of the crank and saw - hey great, tons of metal all over the bolt's threads that went into the crank! So I don't know quite yet what that means - my dad keeps saying "Who effin cares? Nothing threads into the crank so why does it matter?" Then he realized - "Oh wait, I bet we thread the bolt into the crank to help pull this all back onto the engine block..." Yeah, so we're not sure how we're going to do that yet.
So then we start to dismantle the shaft - it was a large screw thing and then a small adapter screwed into it. Well, apparently with us wrenching away trying to get the hub and/or pulley off, we really got the sucker in there. We tried everything we could think of to get it taken apart - PB Blaster, WD-40, even tried heating up the outer shaft with a torch to make it expand and make it easier to unscrew the inner adapter. All we accomplished was discoloring it and also chewing into the threads a good deal with the vice grip.
So my dad was like "You sure all that's holding this pulley on is rust?" And I said yeah. So he grabs a hammer and starts banging the shit out of the pulley. We finally saw it starting to move, so we were taking turns banging on it. Finally my dad's like "Here, we need to do both sides at the same time." He comes back with a sledge hammer and hands me the smaller hammer and we give it one good whack and it goes flying across the garage. PROGRESS!!!!!!
So he says we needed to get something against the crank but wouldn't let the puller bottom out. He finds a small hardened steel rod to put against the crank and then we'd put the puller against it. So we put it all together and are cranking away and We see the hub finally coming off. The rod wasn't that long so we knew we'd have to put something else in after awhile. Well, we get to that point and go to take it out when we realize we couldn't get the rod out because the hub was so far off. So we put a 2 inch bolt between the rod and the puller and go back to work. A few good revolutions of the wrench and the hub finally comes off!!! Then we realize just how much pressure we were putting against the HARDENED STEEL ROD!!!
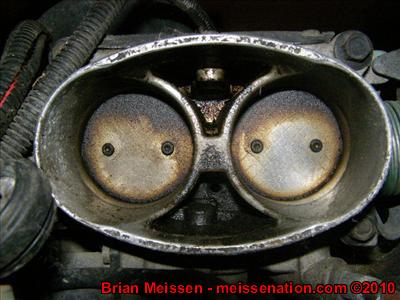
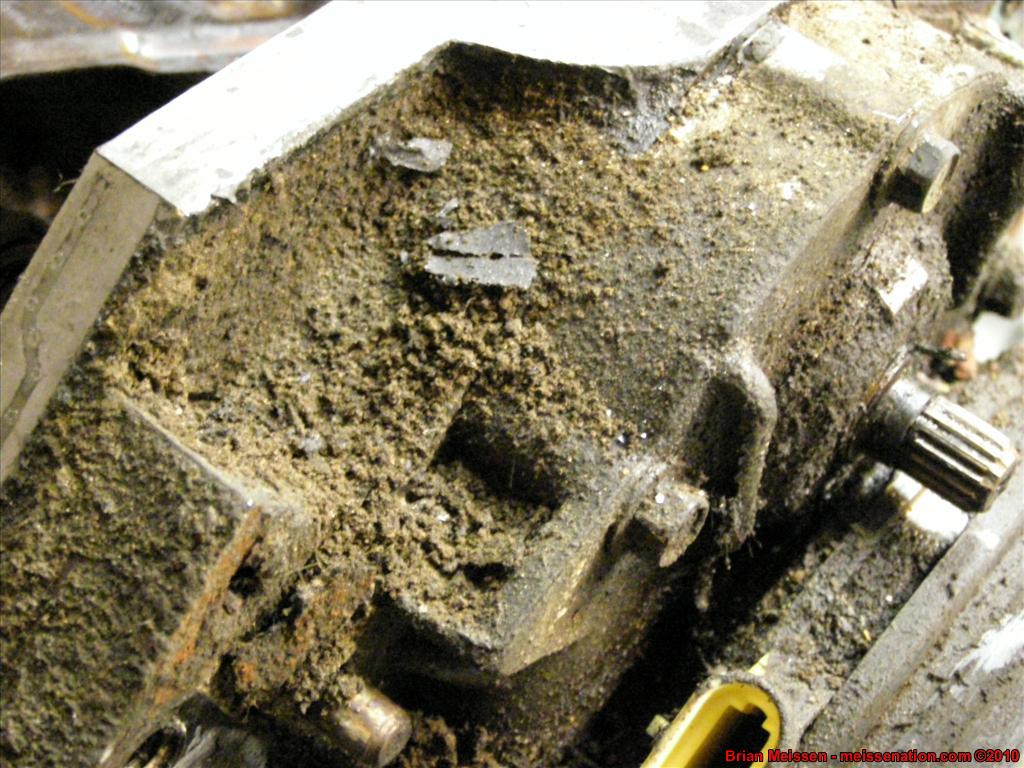
Timing chain cover and optispark came off with no problems. Holy hell was my optispark NASTY.
So that's about it, no pictures of the engine. Nothing really that cool. We did buy two cans of degreaser and some engine enamel to paint the block. Not going to give away what color we're going to paint it until the engine block's all painted up. But, I will say... getting the damn gasket reminents scraped off is one pain in the ass.- Brian Meissen
Owner, MiFBody.com
Administrator, LTxTech.com
1994 Camaro LT1 Transplant - 357ci LT1, cammed, stalled, and driven.
2022 Camaro LT1 - "Cherry Bomb 2"Michigan FBody Meet & Greet Car Show 2022
June 4th, 2022 - 9am to 3pm!!!
The HUB Stadium, Auburn Hills, MIComment
-
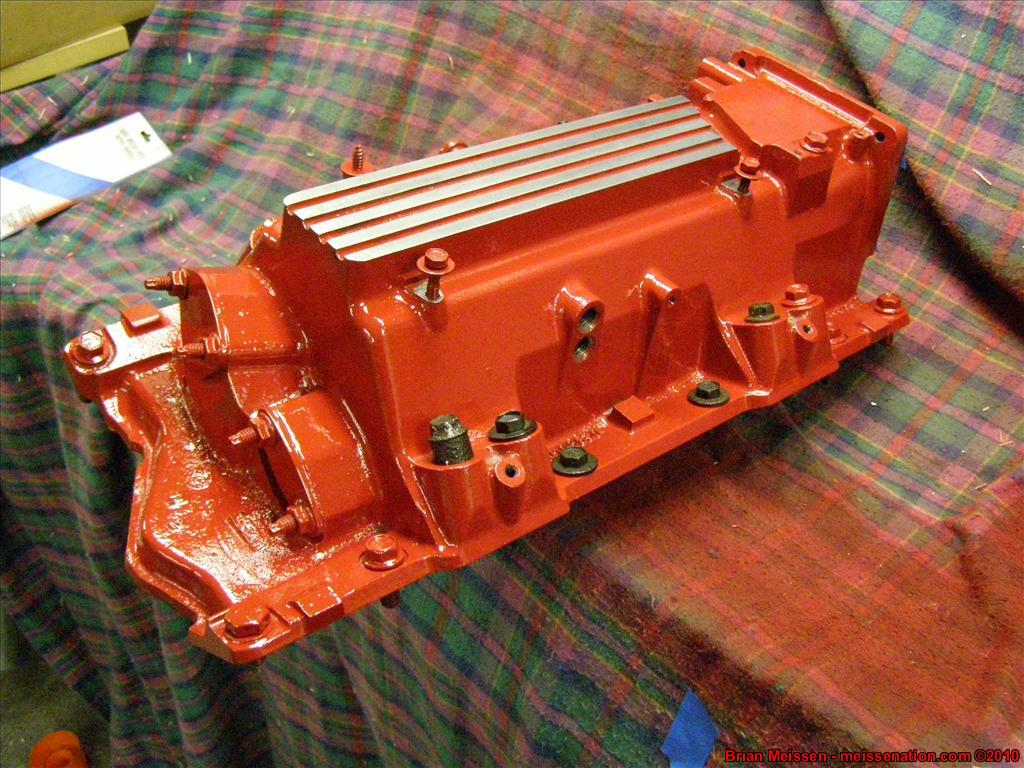
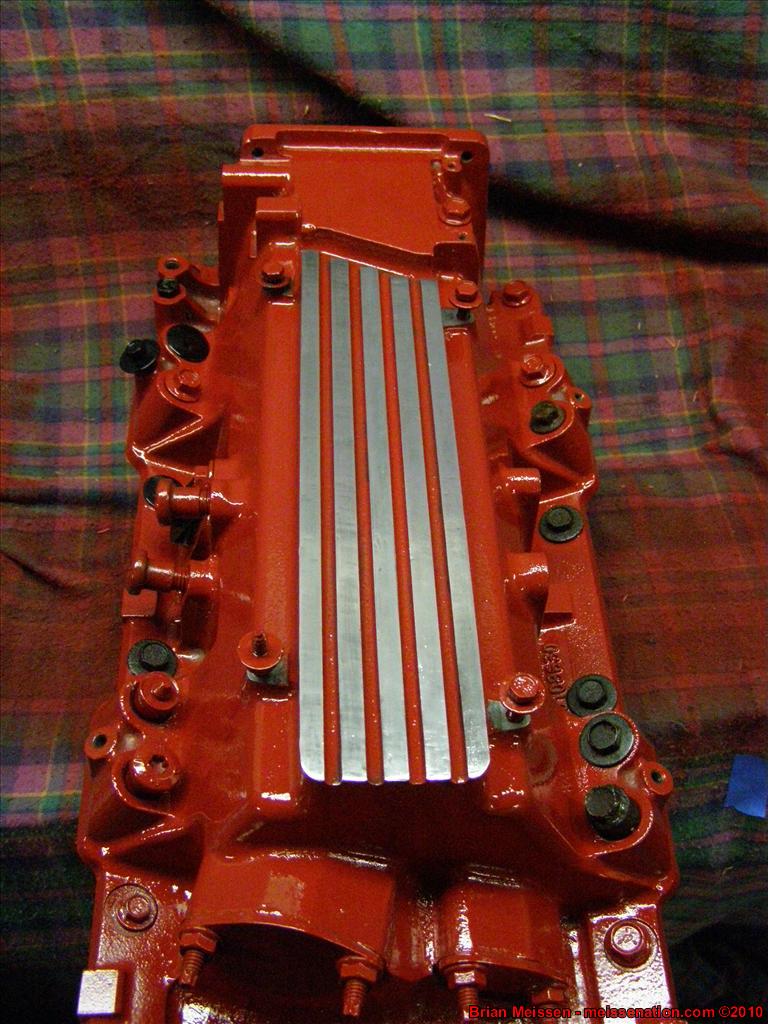
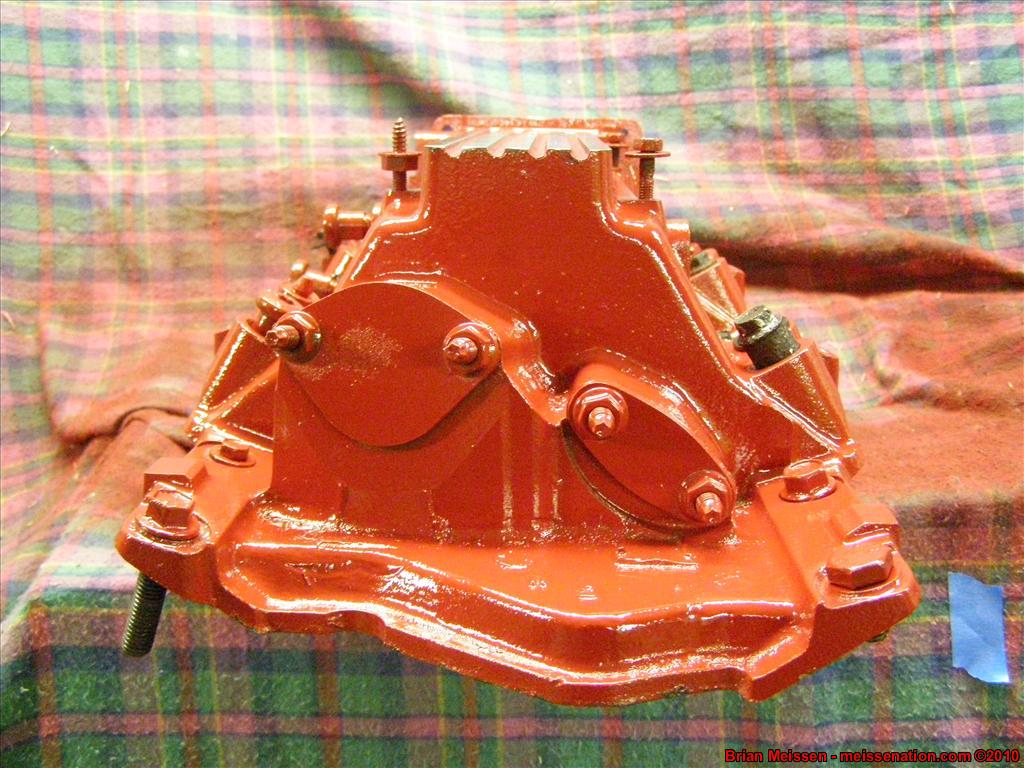
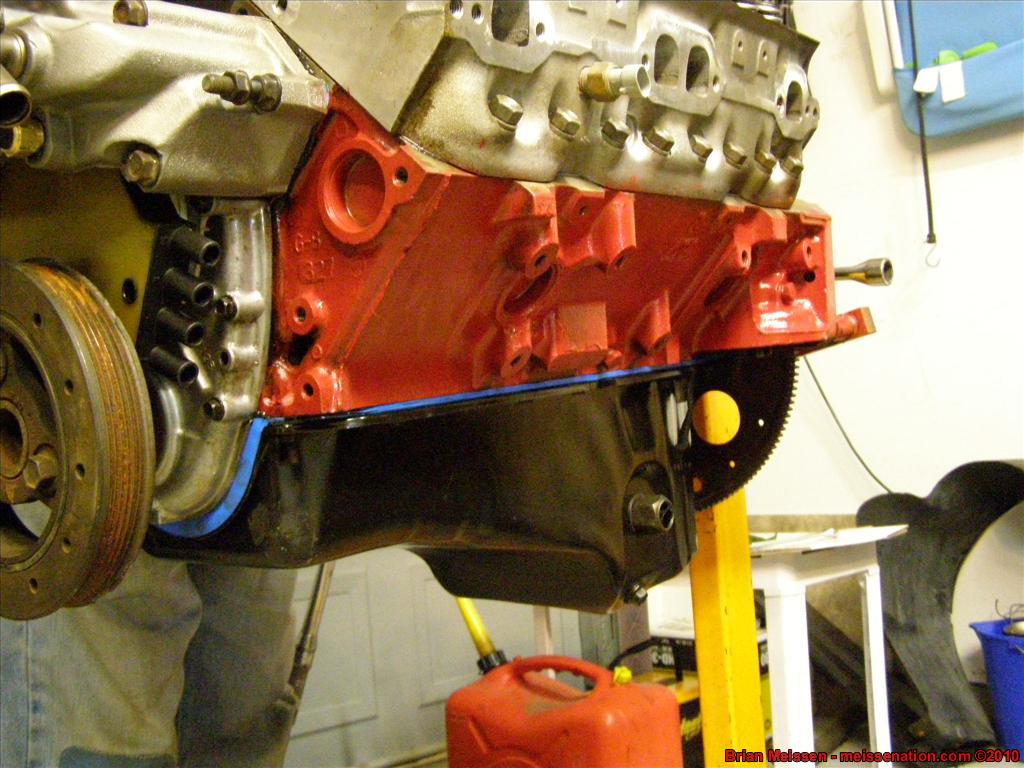
February 1 2009
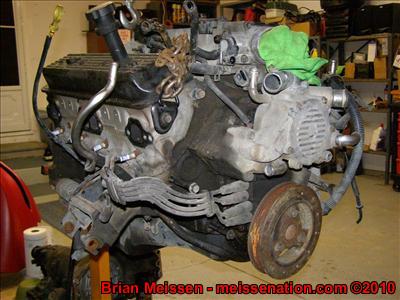
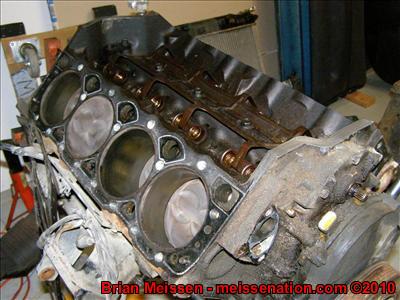
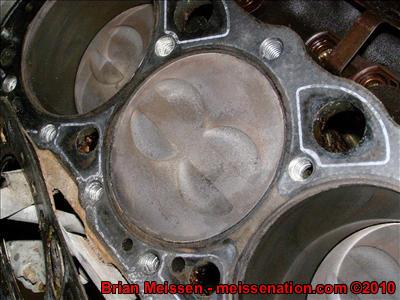
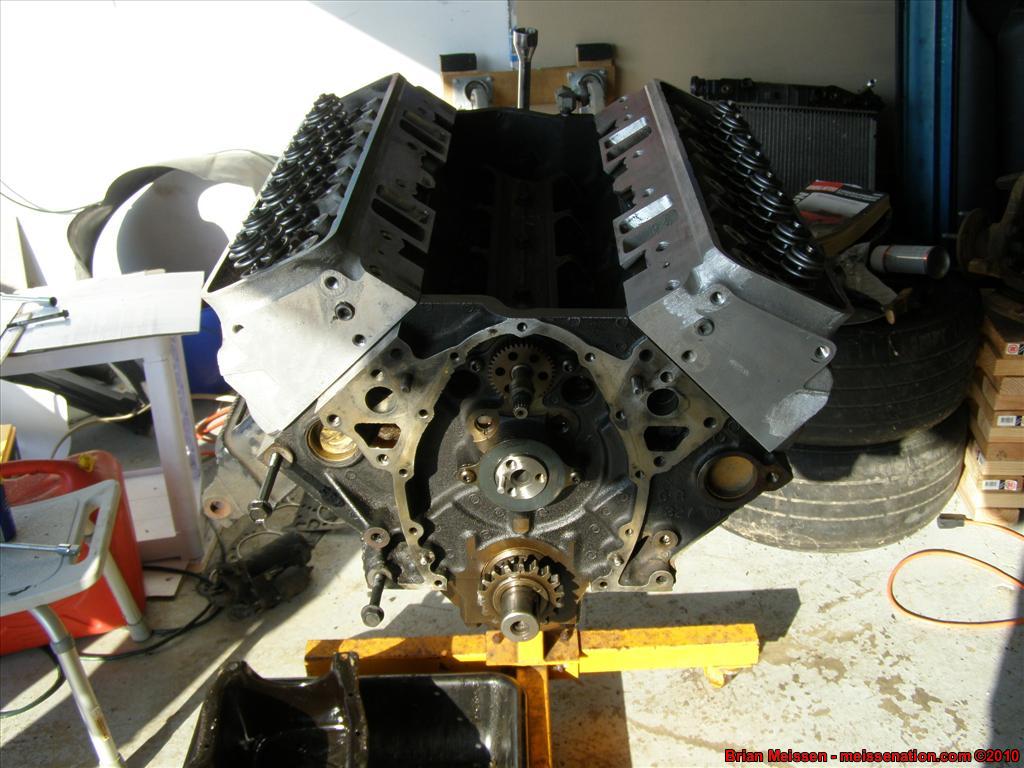
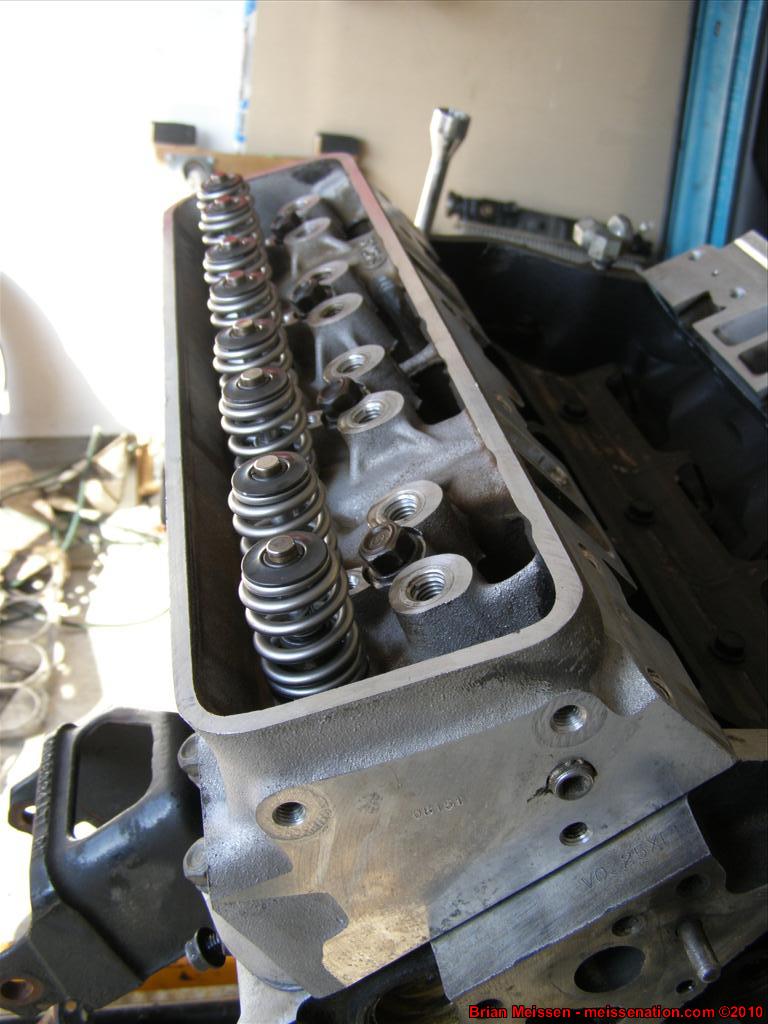
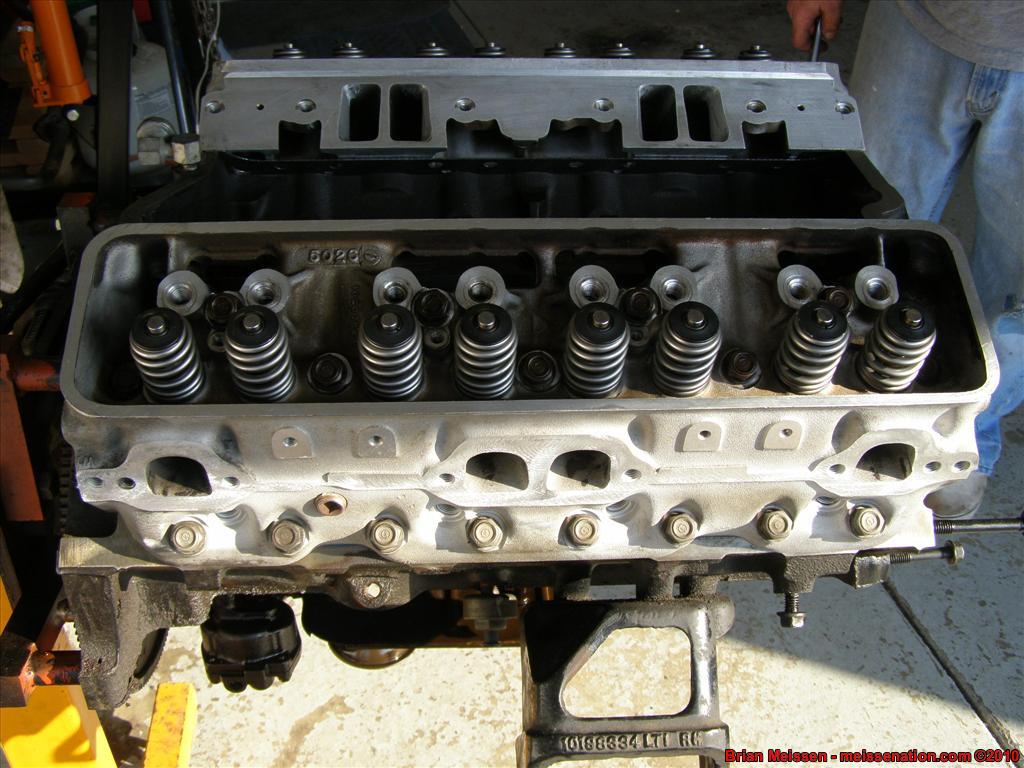
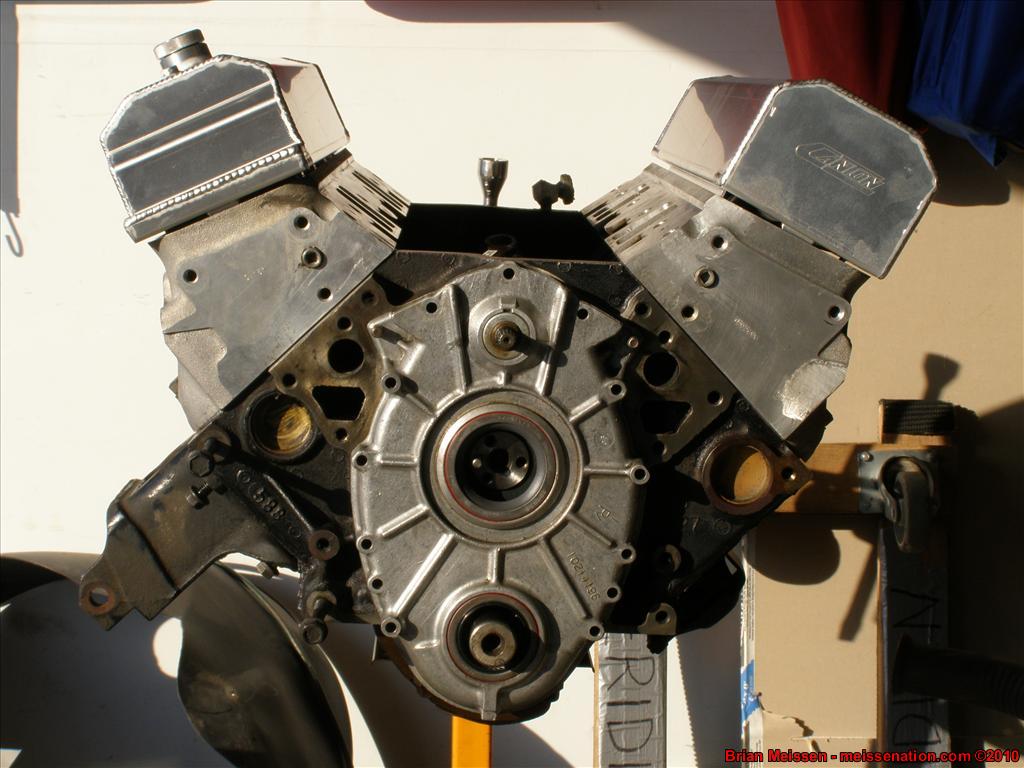
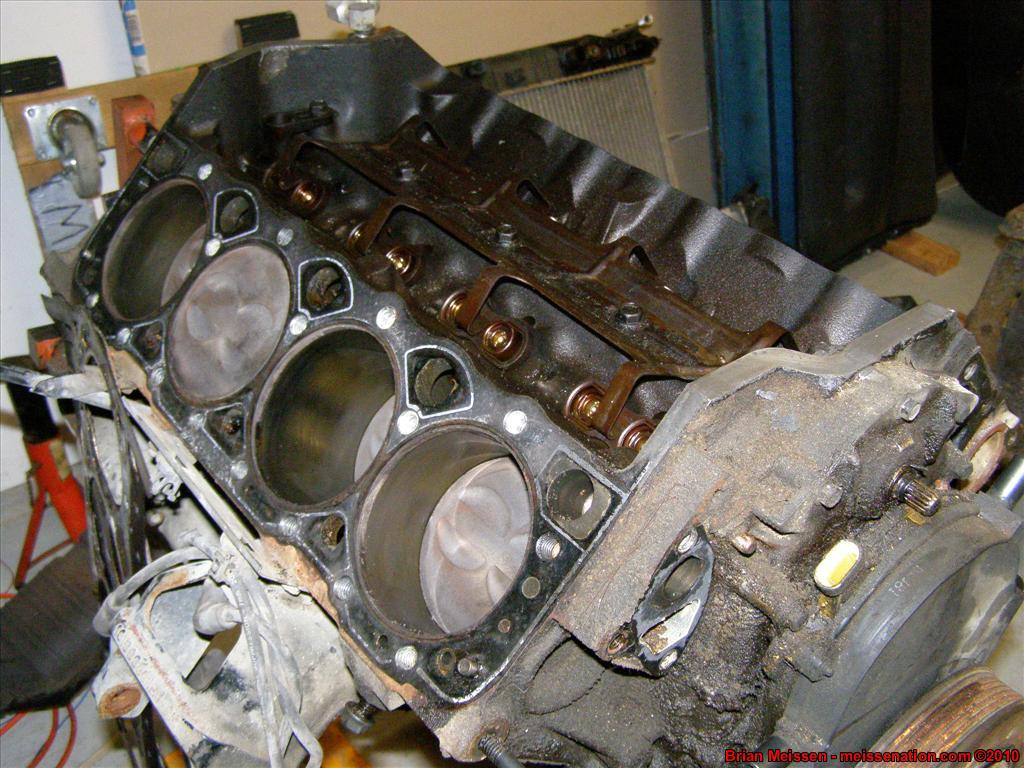
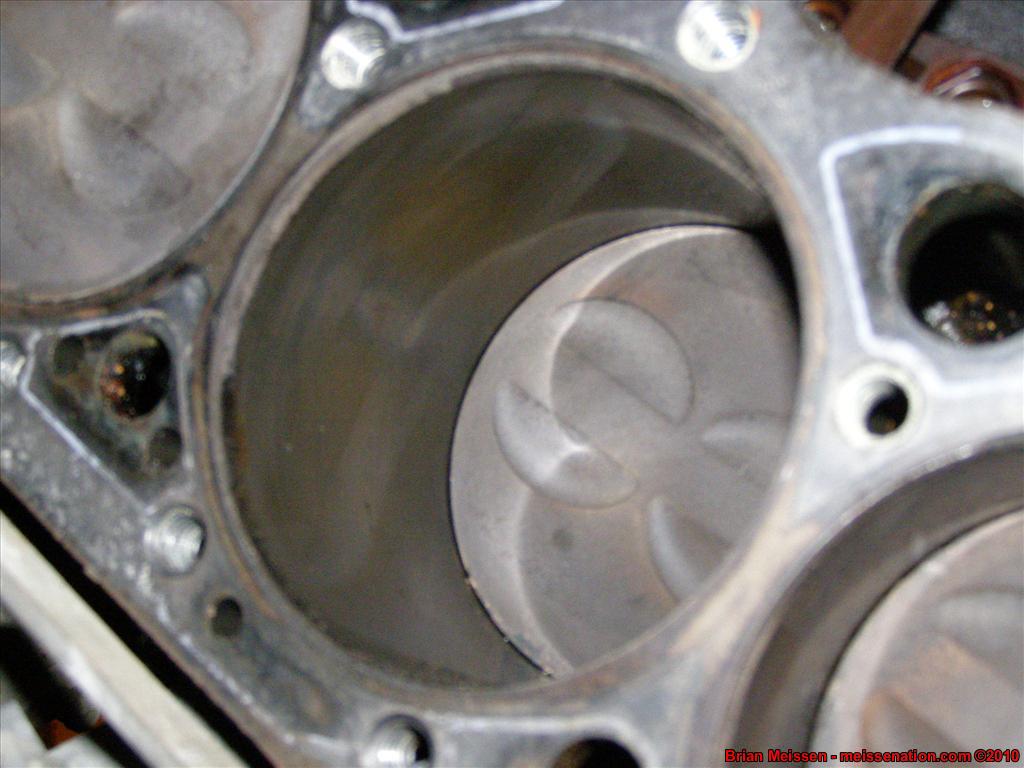
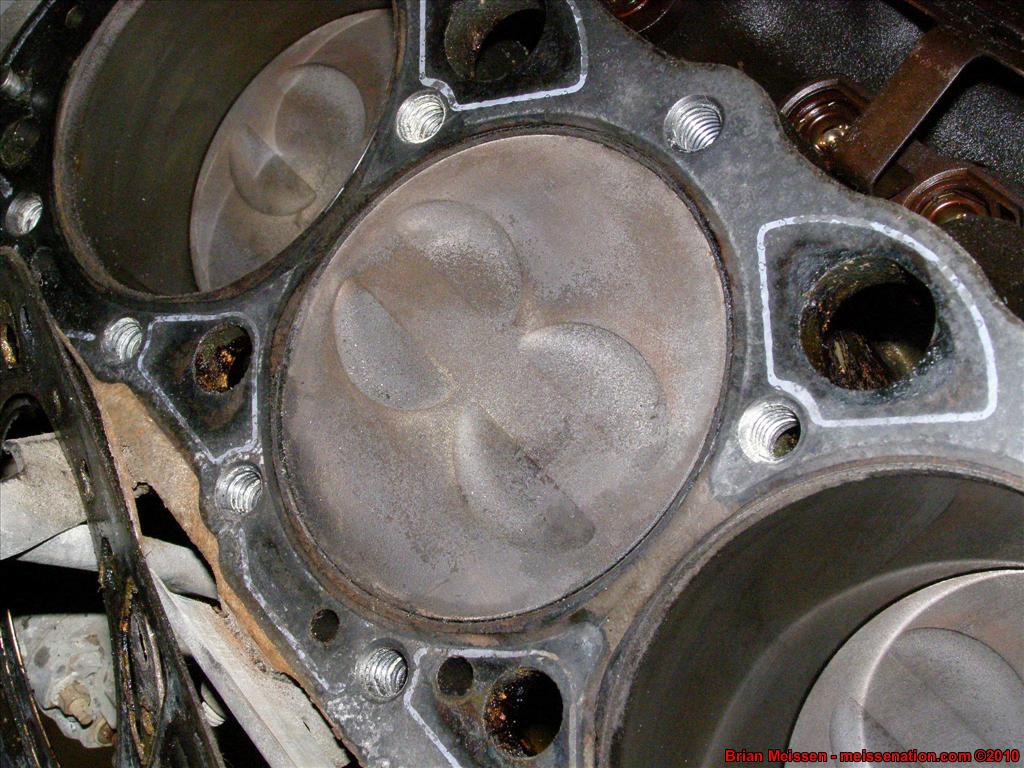
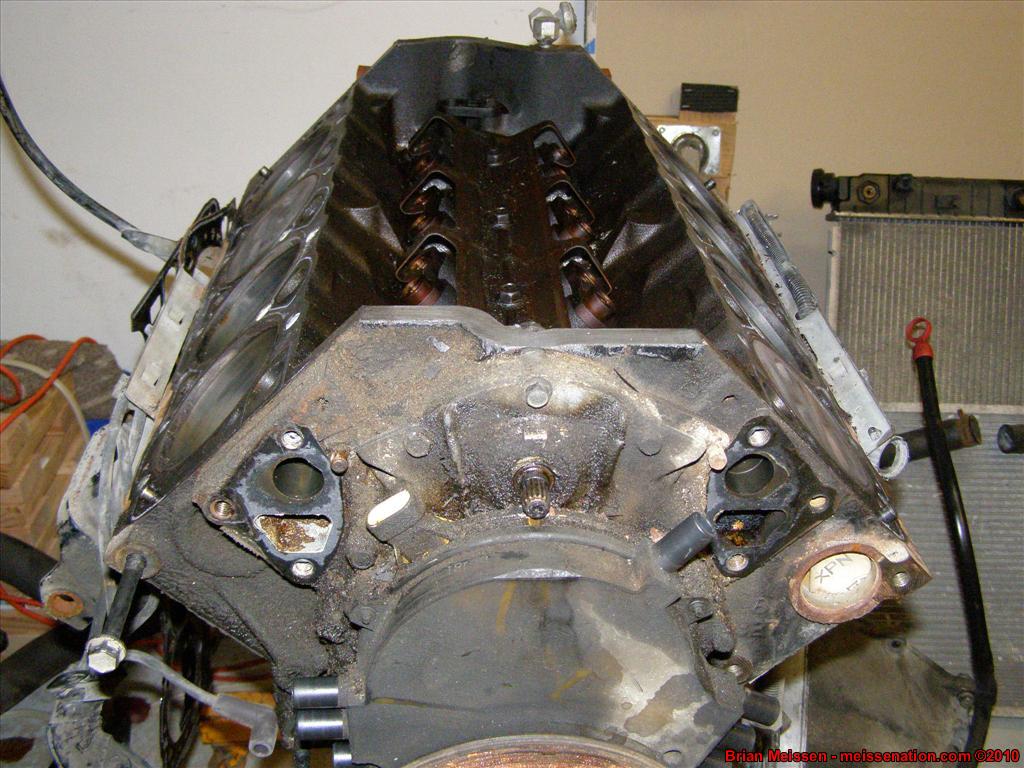
Well, dad and I got the timing chain off, the oil pan off, and then we used an electric drill with basically a scotch pad to buff off the head gaskets and the timing cover gasket. I also went and got a honing/deglazer tool from Murrays for $30 and we honed all the cylinder walls. When we got the oil pan dropped and turned the engine over we both agreed that everything seemed to look really clean and there was no sludge in the oil pan, so we decided we're not going to worry about replacing anything on the bottom end. We also decided, after looking at my dad's Formula enigne bay, you can't see any of the block so we're not going to paint the engine block afterall. We're still going to paint the intake manifold.
So, that said, we're almost ready to start reassembling the block and do the cam swap.
It seems like we got all of the dust out pretty good - we wiped the cylinder walls down with the rag and then as each piston went to TDC we got all the crap out.
Here's the progress pics:


 - Brian Meissen
Owner, MiFBody.com
Administrator, LTxTech.com
1994 Camaro LT1 Transplant - 357ci LT1, cammed, stalled, and driven.
2022 Camaro LT1 - "Cherry Bomb 2"Michigan FBody Meet & Greet Car Show 2022
June 4th, 2022 - 9am to 3pm!!!
The HUB Stadium, Auburn Hills, MIComment
-
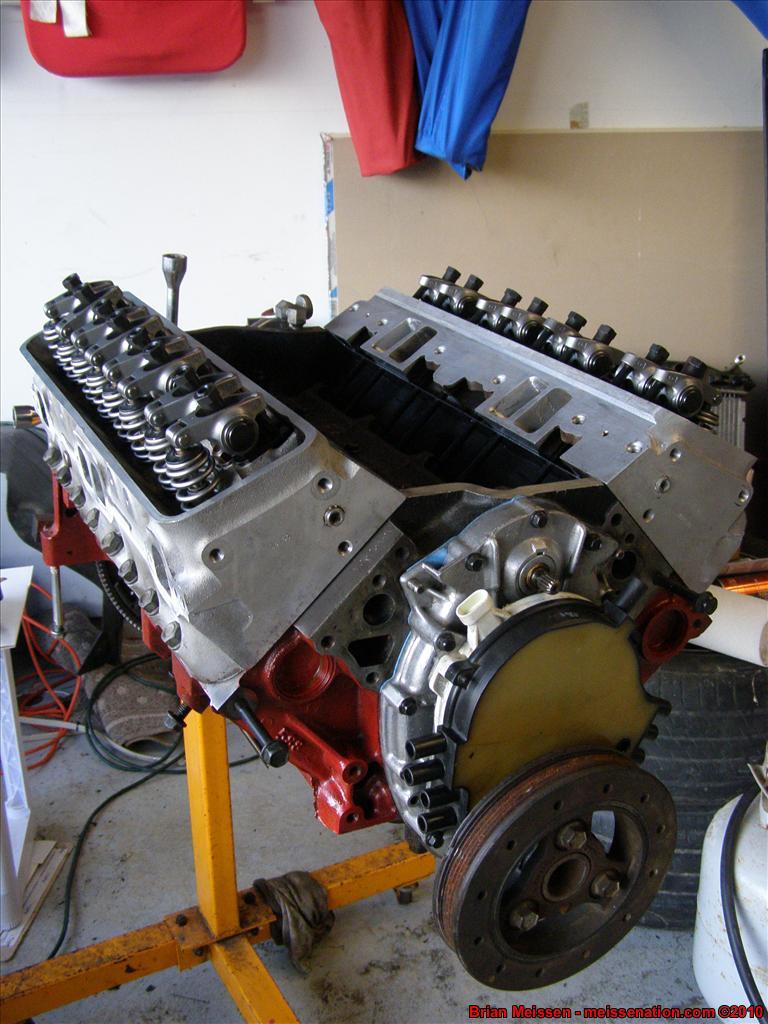
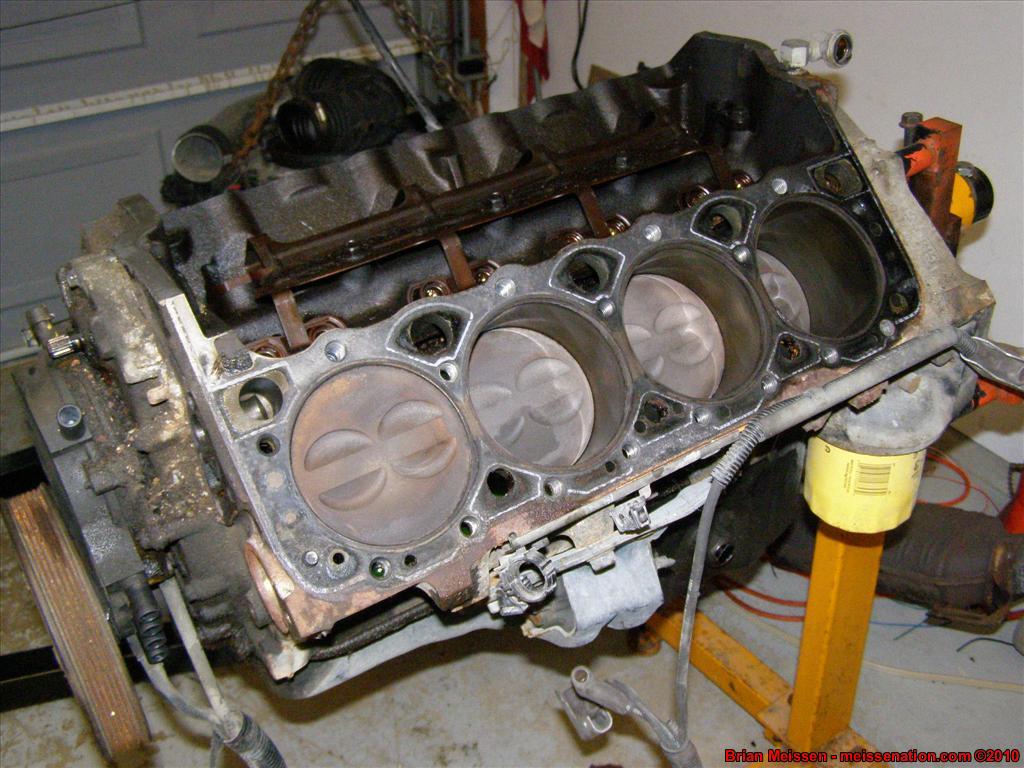
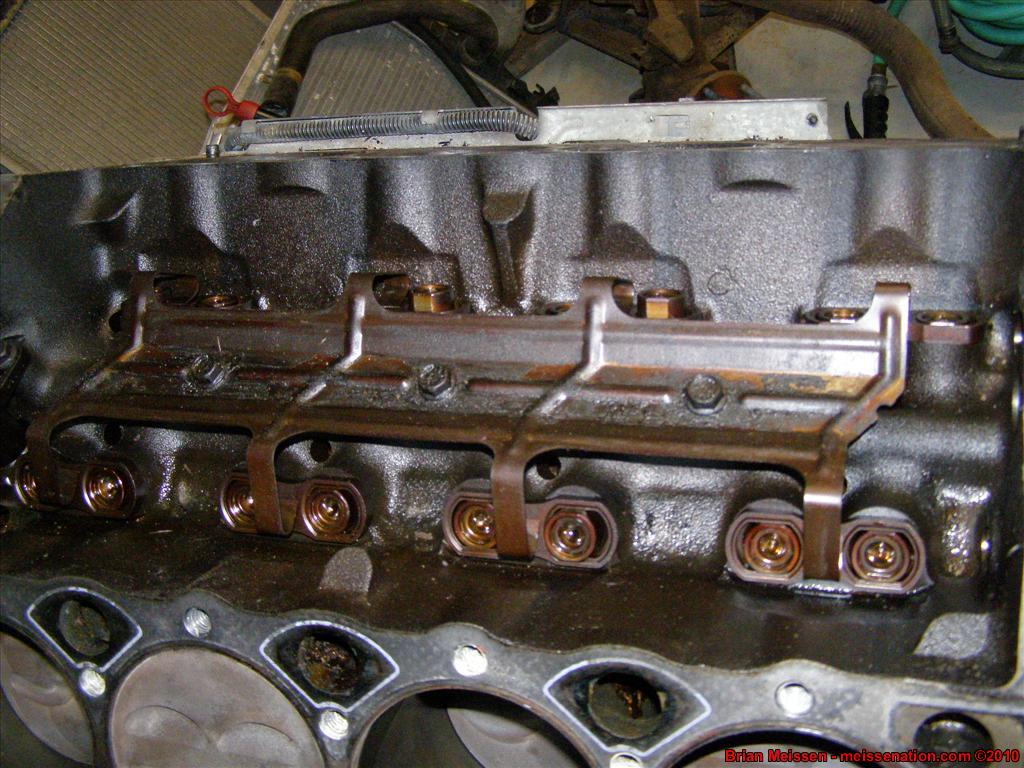
February 7 2009


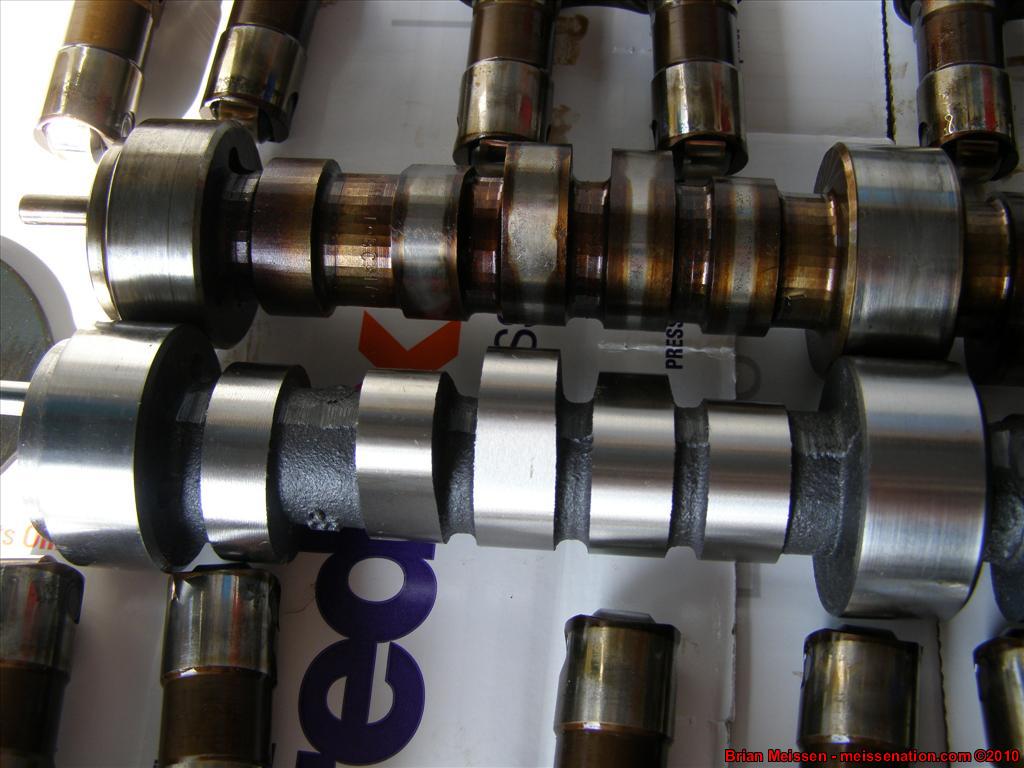
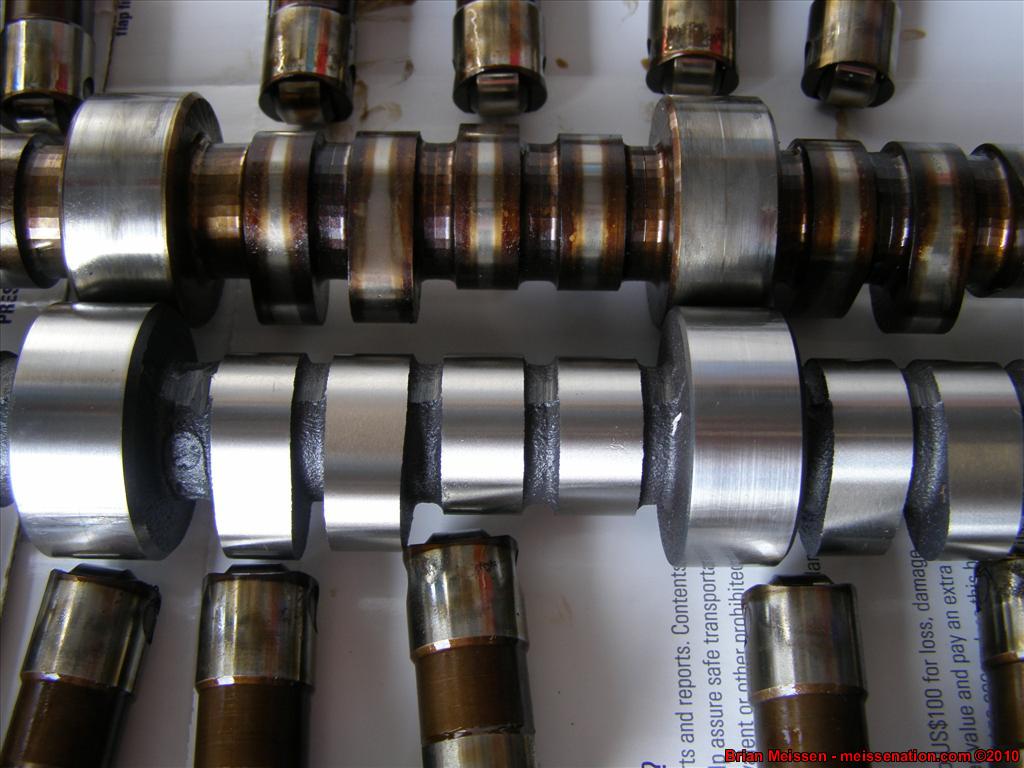
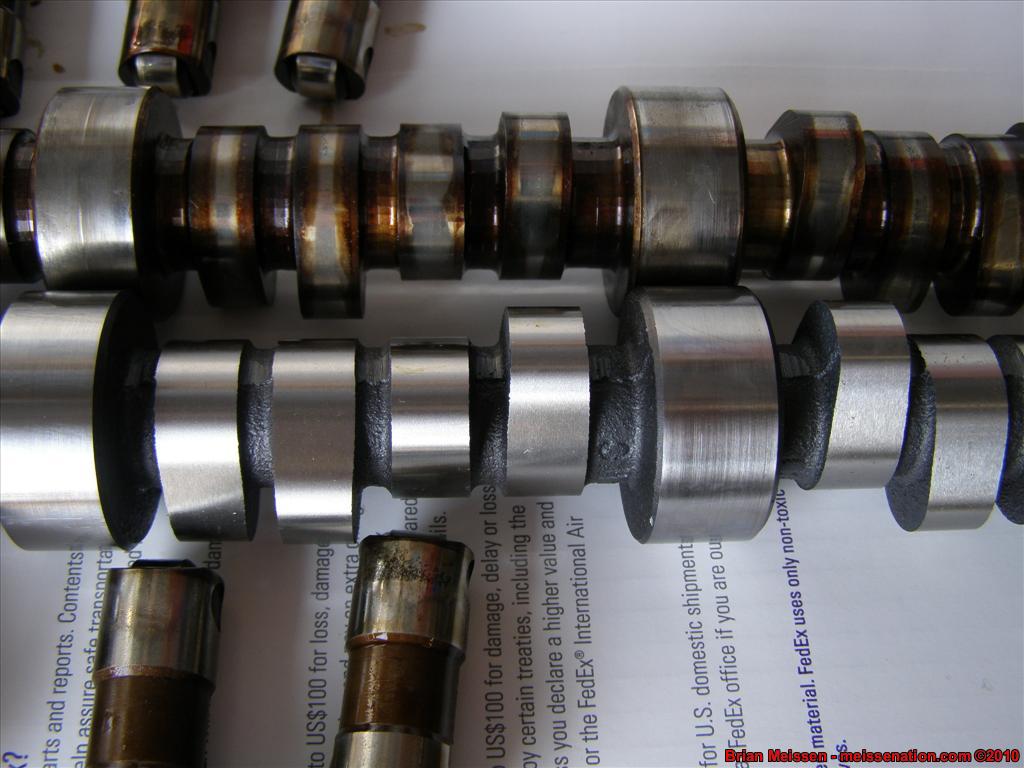

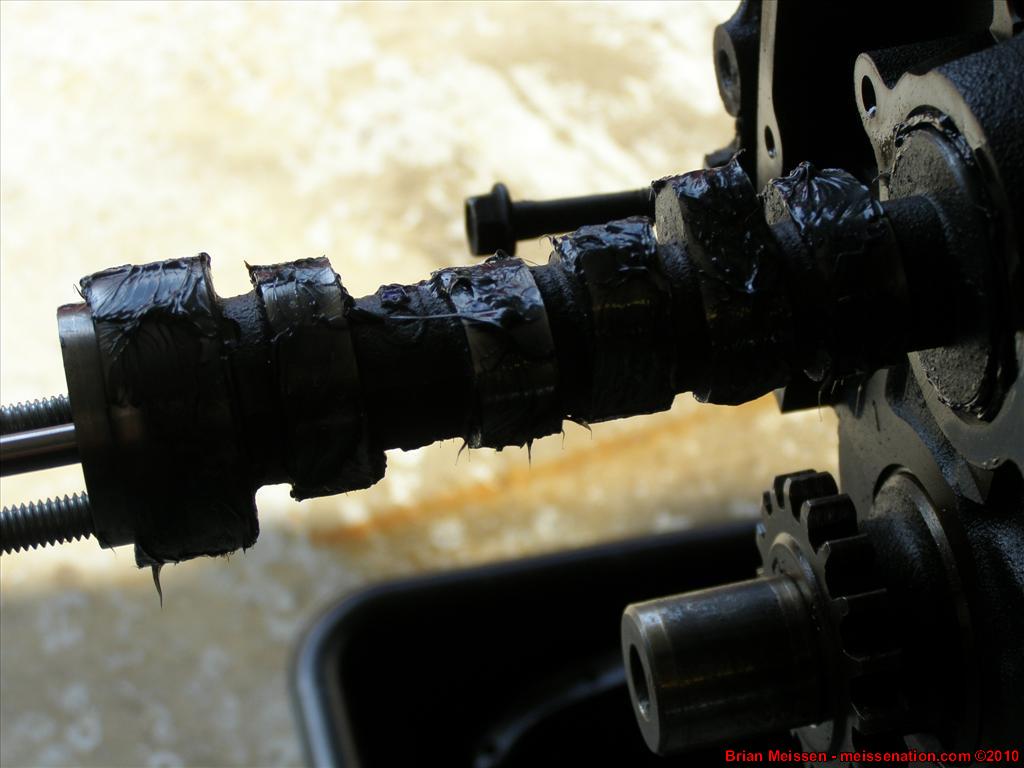
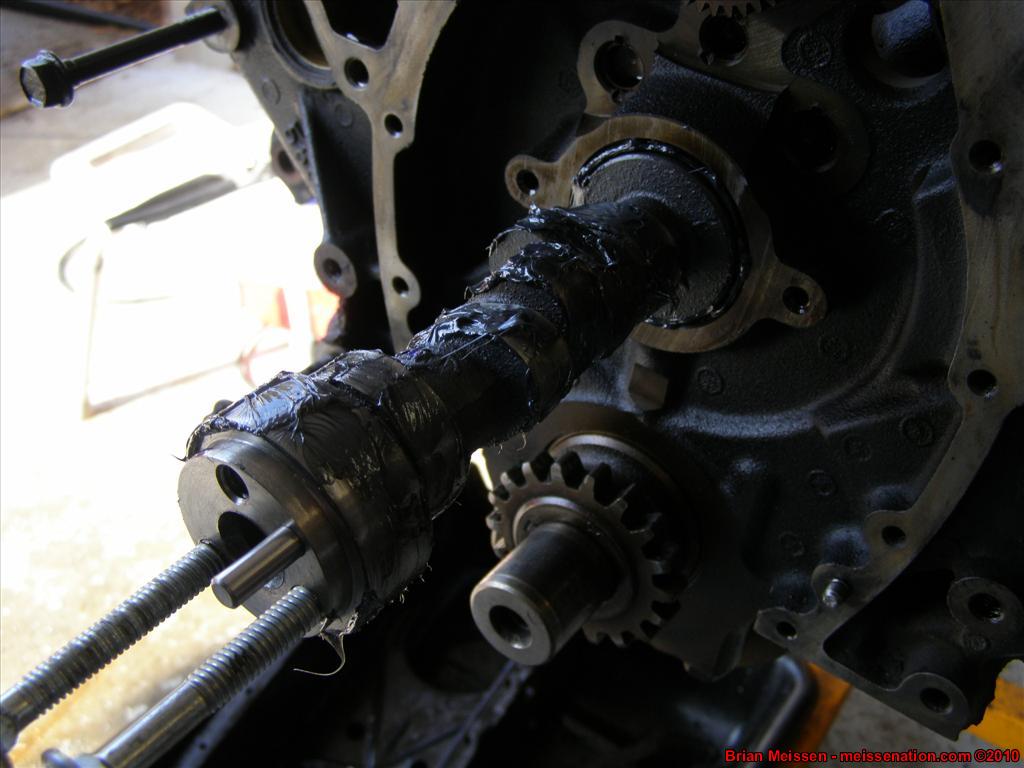
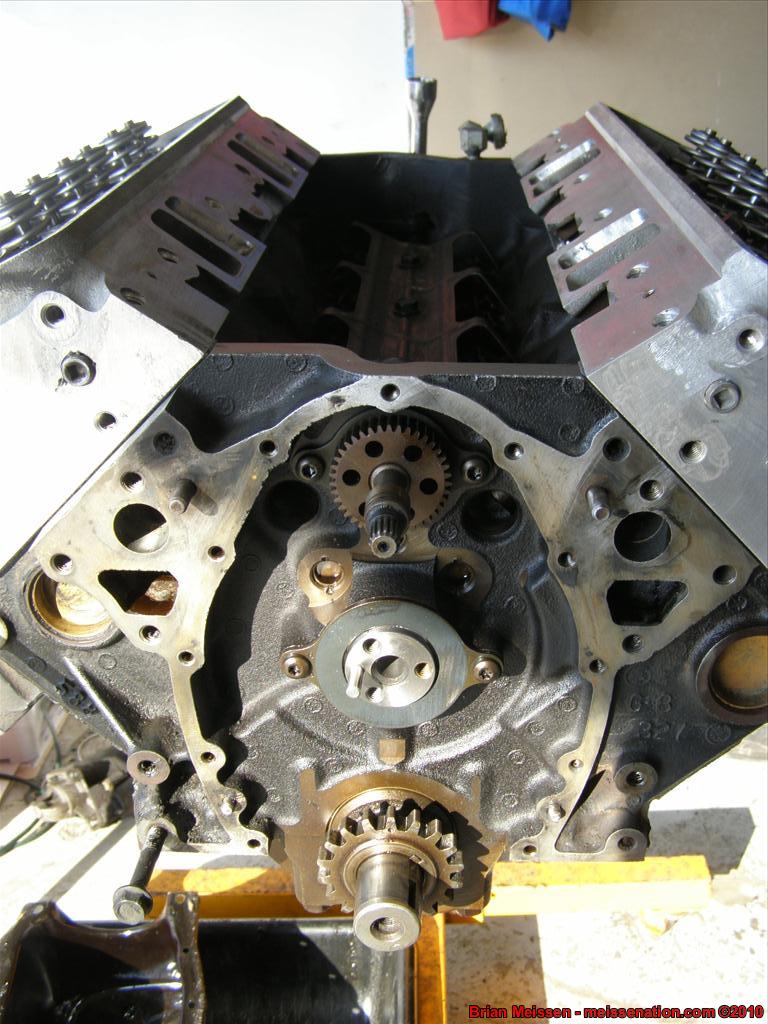
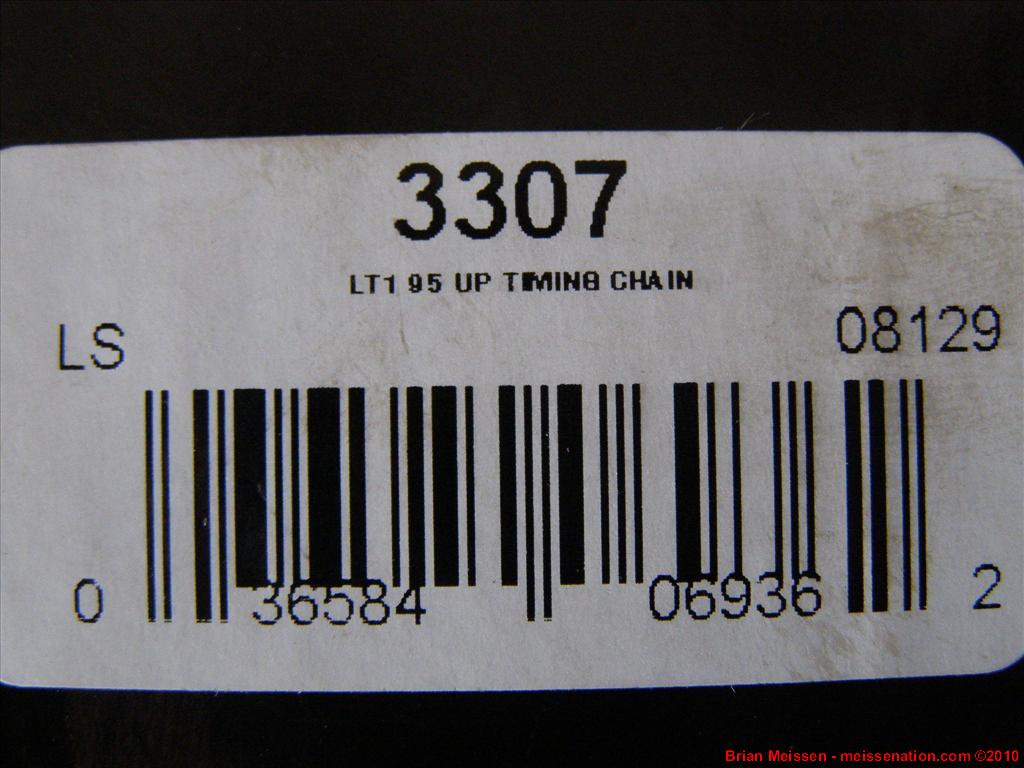
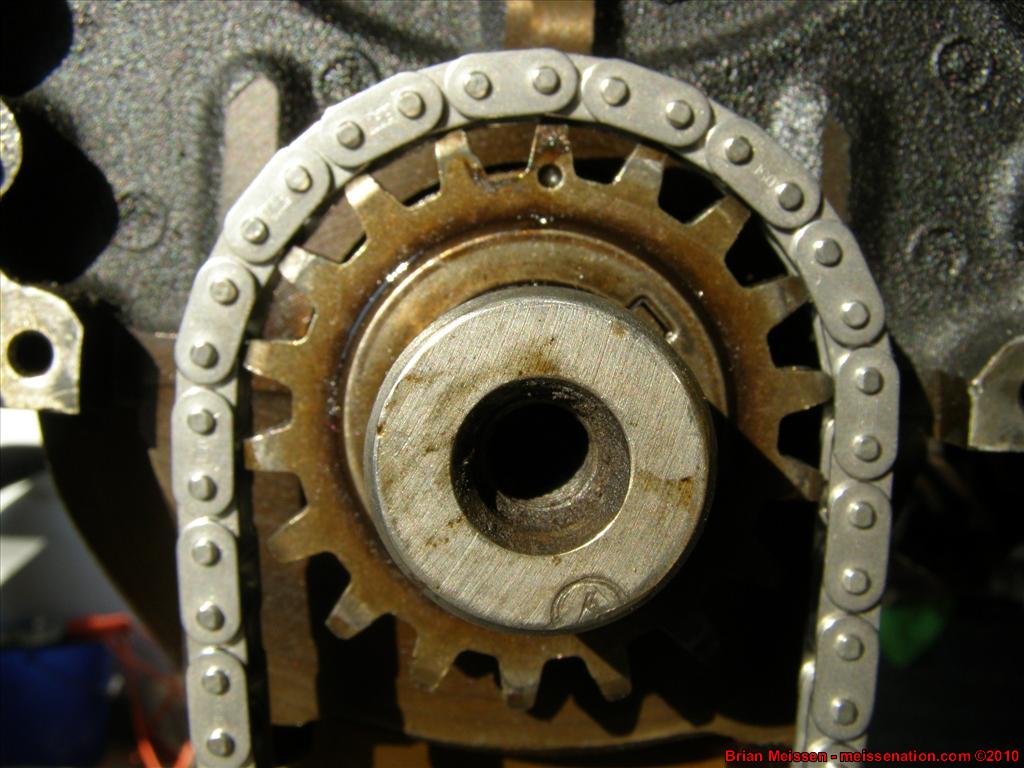

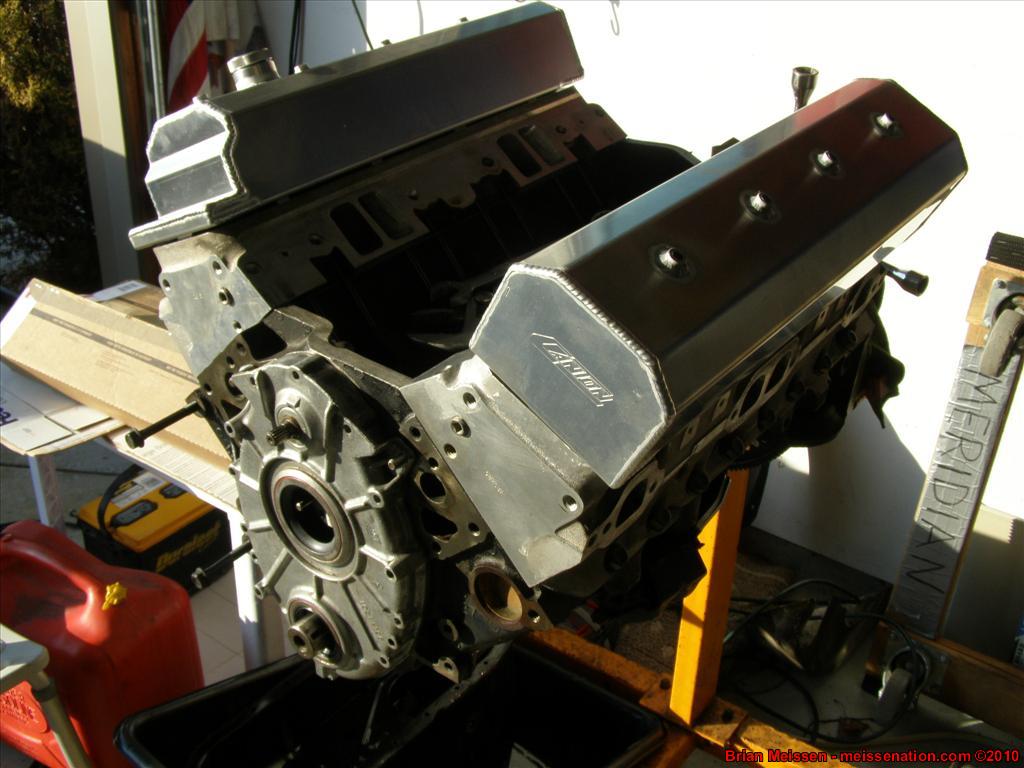
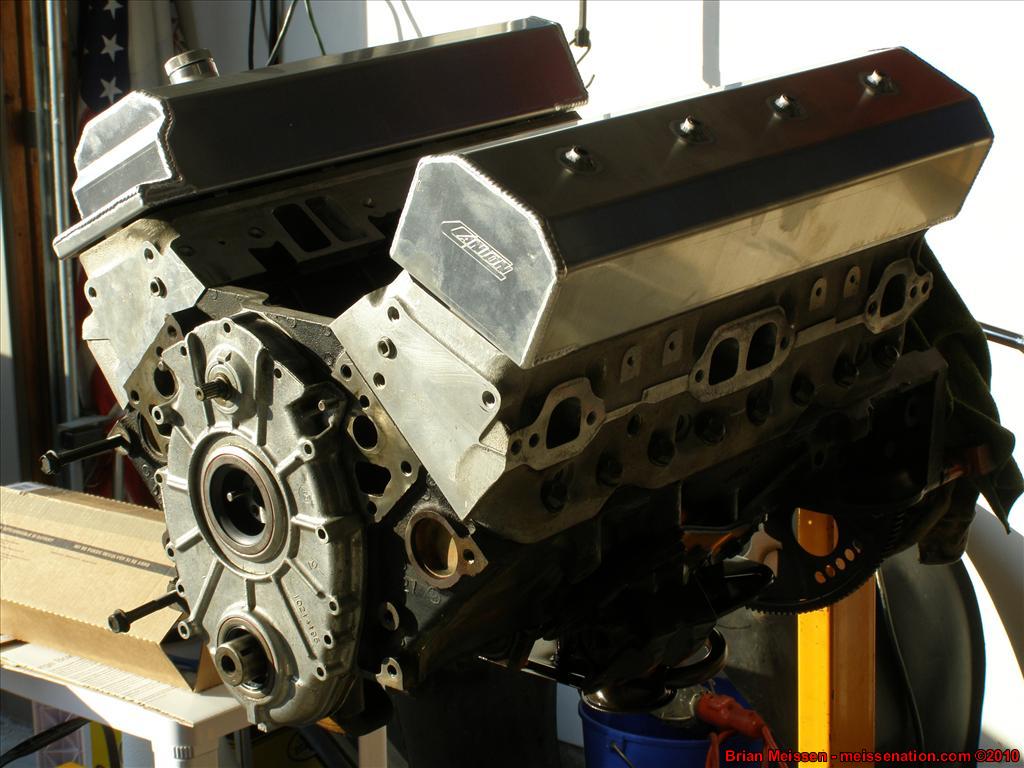
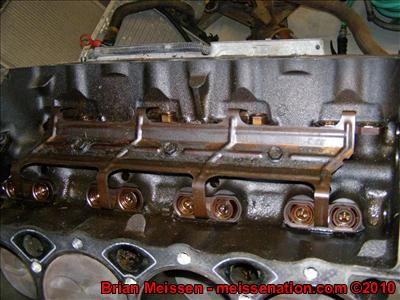
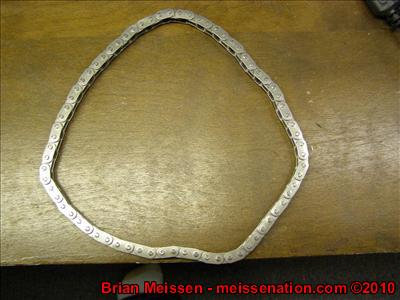
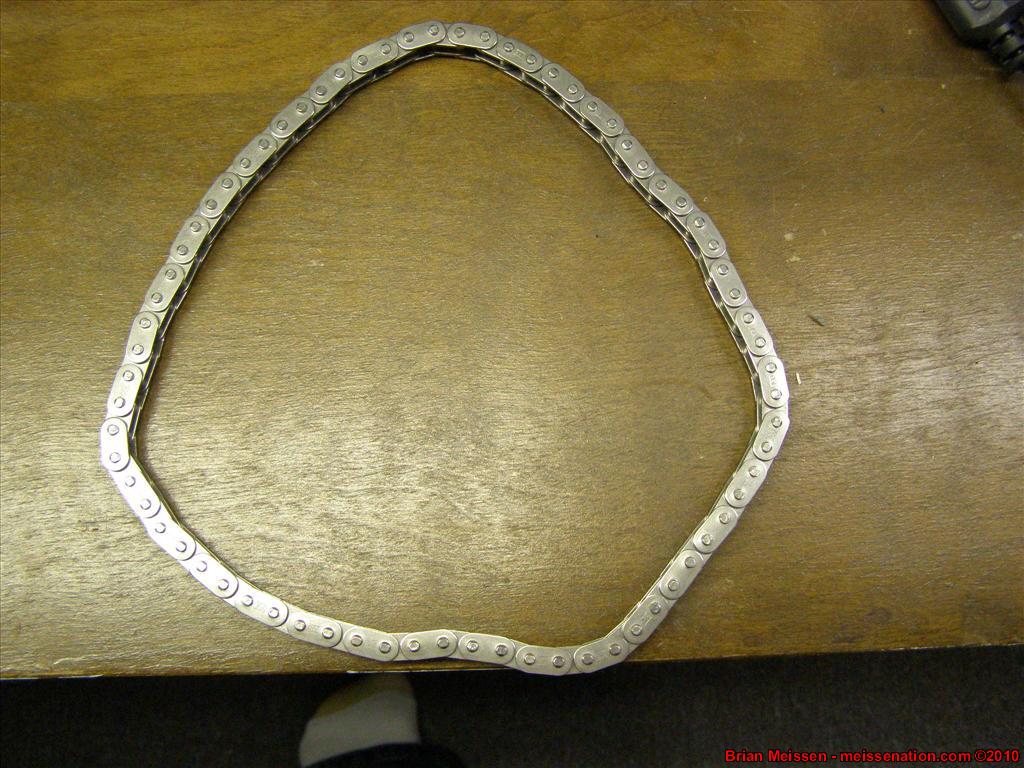
Alright now that the pics are posted - as you can see we got a LOT of work done today! We were especially excited because it was really the first round of "assembly" that we have done so far! Everything leading up to today has been tear down. Today was putting it back together. Everything went pretty smoothly - except the damn timing chain. I got what I thought was for LT1s - even the box says so - but apparently it's the wrong timing chain. - Brian Meissen
Owner, MiFBody.com
Administrator, LTxTech.com
1994 Camaro LT1 Transplant - 357ci LT1, cammed, stalled, and driven.
2022 Camaro LT1 - "Cherry Bomb 2"Michigan FBody Meet & Greet Car Show 2022
June 4th, 2022 - 9am to 3pm!!!
The HUB Stadium, Auburn Hills, MIComment
-
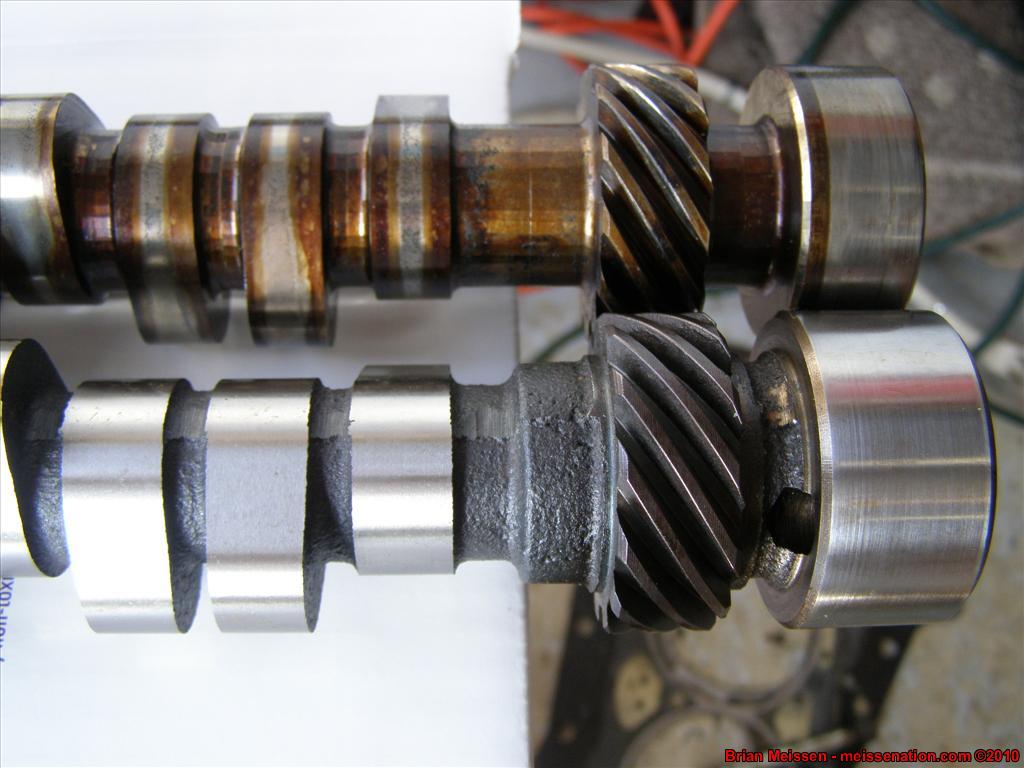
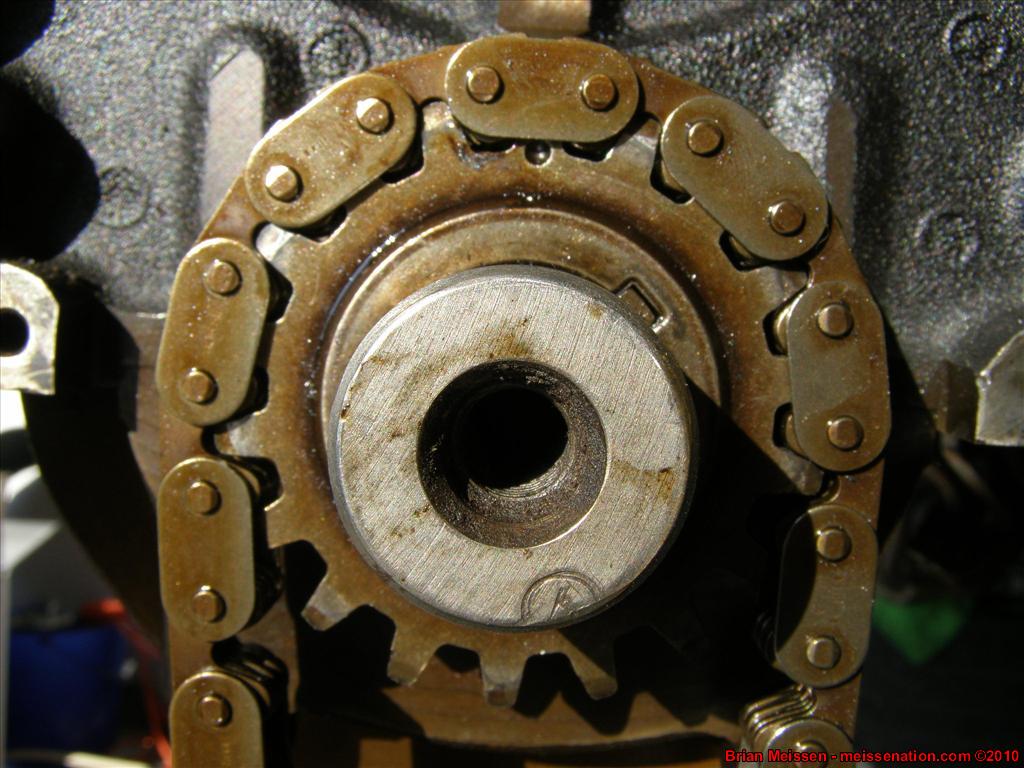
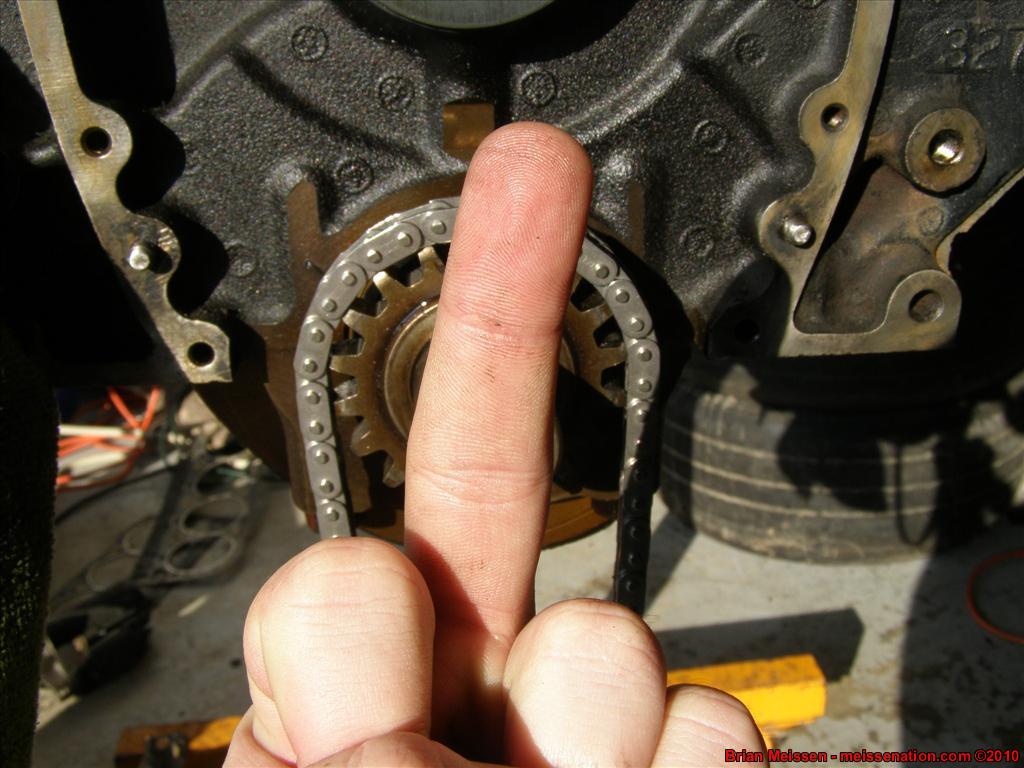
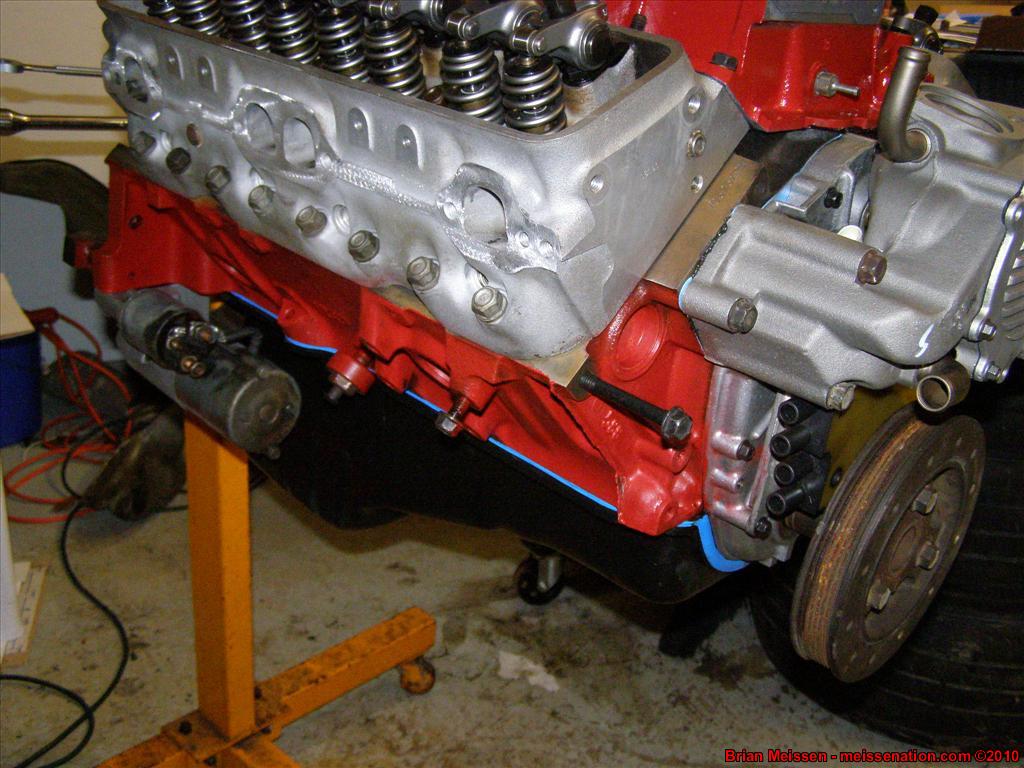
February 8 2009
More progress today!!!!!
Bought a replacement timing chain from Murrays cause we didn't want to wait for shipping. And WOW!!!!! The replacement chain was SO much tighter than the stocker - definitely made me realize how much those stock chains can get loose after awhile.
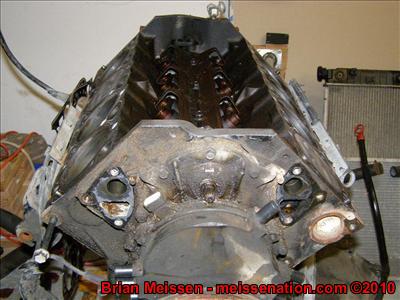
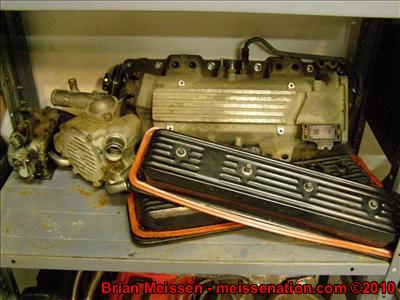
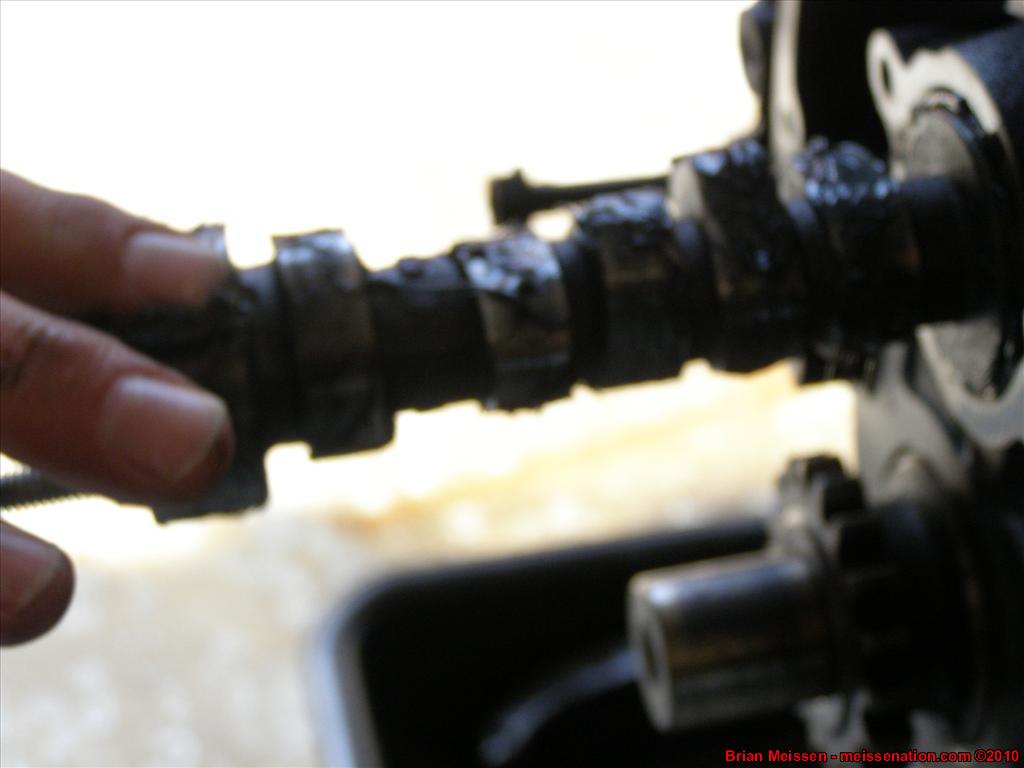
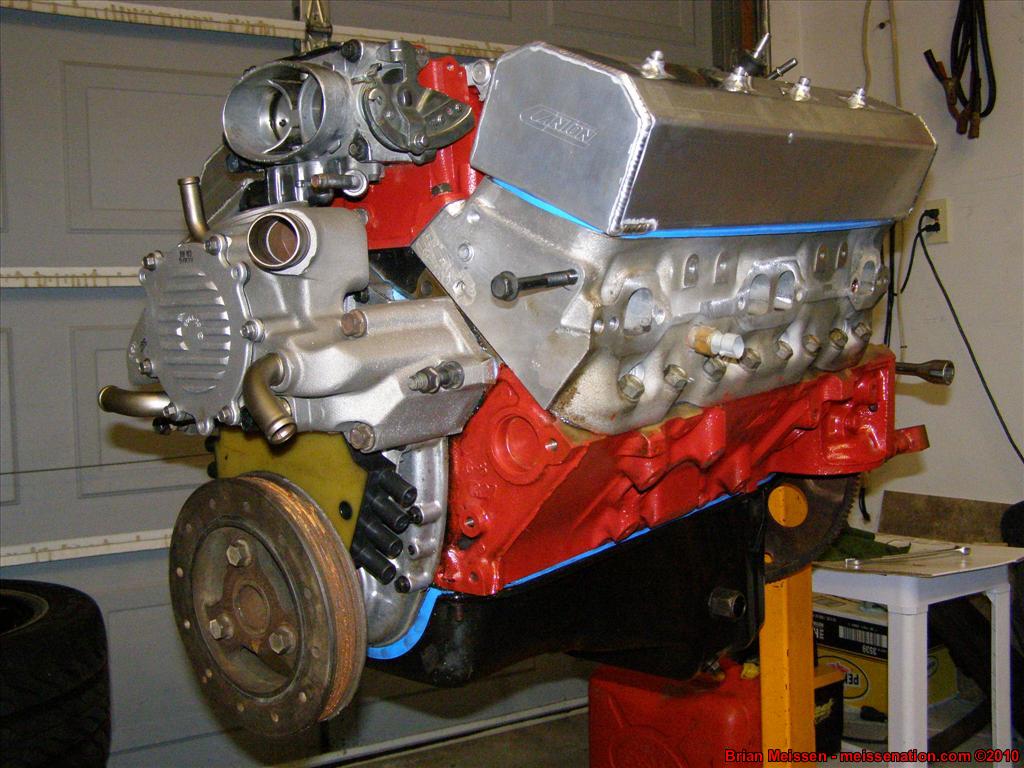
Anyway, once we had the chain on we did the timing cover. Then we installed Joel's Optispark that I bought from him. I printed off the info from Shoebox's website on valve lash so my dad worked on the valve lash (which I didnt realize was so straight forward and easy) while I scrubbed the block down with degreaser. Well, once I got it scrubbed down it just looked too nice to not paint it and make it look better. So, yes, way out of order, and we had to brush on spray paint engine enamel, but all in all it went on OK. I'm definitely going to have to do more coats to really cover the block well.


Oh yeah, there's plenty of work going on inside the engine bay too once I get the car back in the garage. I was listing it all out for Kyle the other night in AIM, still have all this to do and mostly in correct order...Originally posted by 19Xtreme99 View Post
- Finish engine reassembly and build up
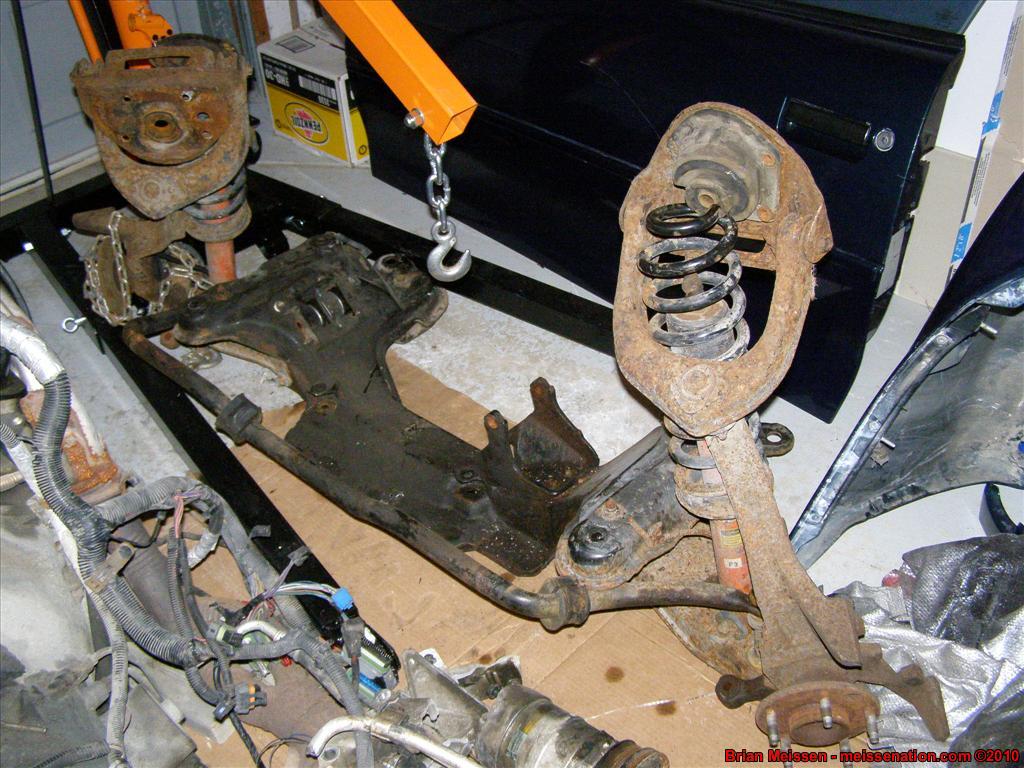
- Wirebrush the Kmember down to clean it up
- Possibly repaint the Kmember to make it look nice and clean
- Get Red Alert back in the garage
- Lift Red Alert up again like it was for the engine pulling party
- Drop v6 k-member from Red Alert
- Swap v6 components to the LT1 kmember
- Drill out broken bolts from floor pan
- POR-15 undercarriage
- Patch holes in engine bay
- POR-15 engine bay
- Repaint engine bay
- Reroute fuel lines and other misc engine bay cleanup
And then.... finally then... I will be ready to schedule the engine install party.
- Brian Meissen
Owner, MiFBody.com
Administrator, LTxTech.com
1994 Camaro LT1 Transplant - 357ci LT1, cammed, stalled, and driven.
2022 Camaro LT1 - "Cherry Bomb 2"Michigan FBody Meet & Greet Car Show 2022
June 4th, 2022 - 9am to 3pm!!!
The HUB Stadium, Auburn Hills, MIComment
-
February 12 2009

 - Brian Meissen
Owner, MiFBody.com
Administrator, LTxTech.com
1994 Camaro LT1 Transplant - 357ci LT1, cammed, stalled, and driven.
2022 Camaro LT1 - "Cherry Bomb 2"Michigan FBody Meet & Greet Car Show 2022
June 4th, 2022 - 9am to 3pm!!!
The HUB Stadium, Auburn Hills, MIComment
-
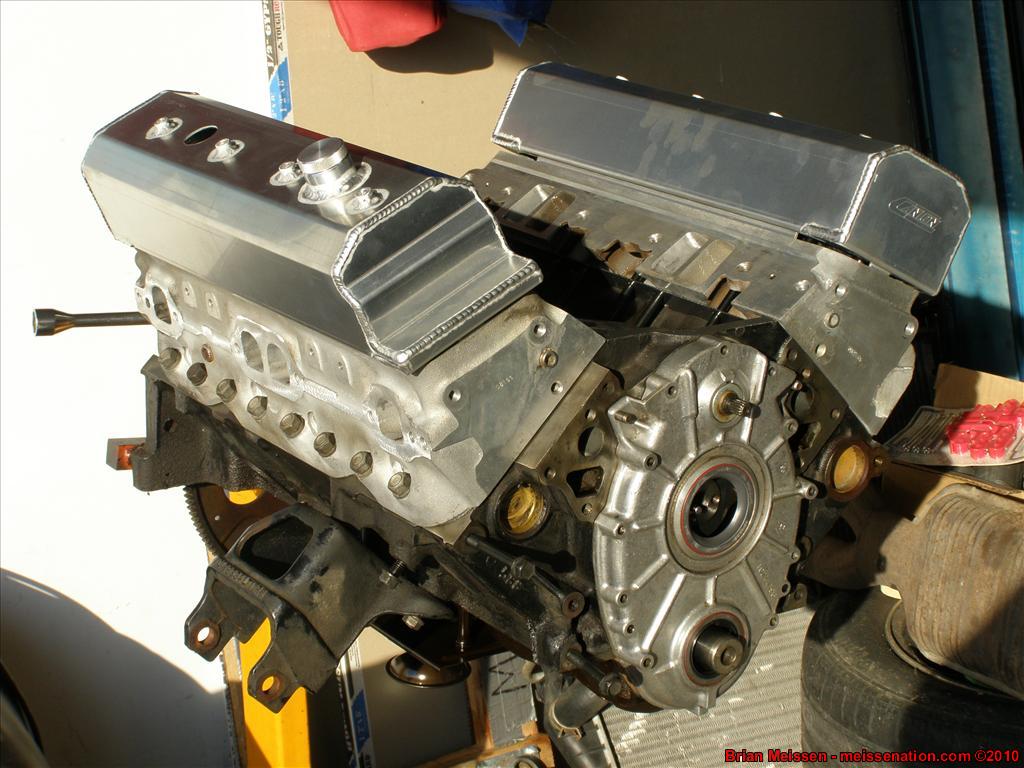
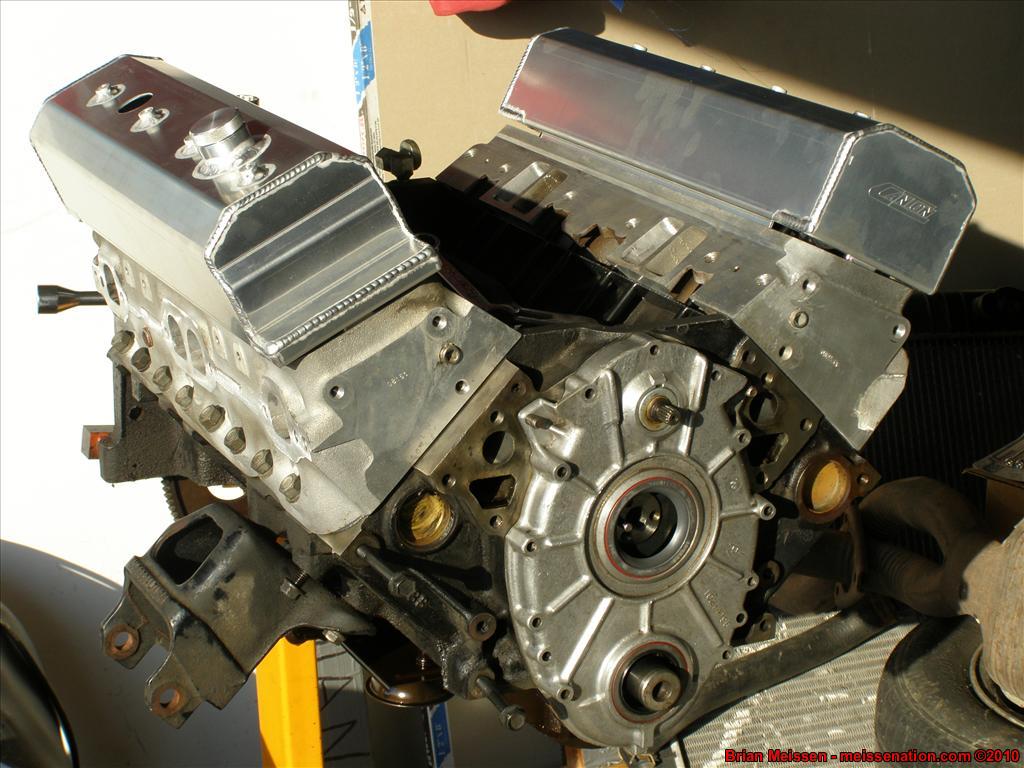
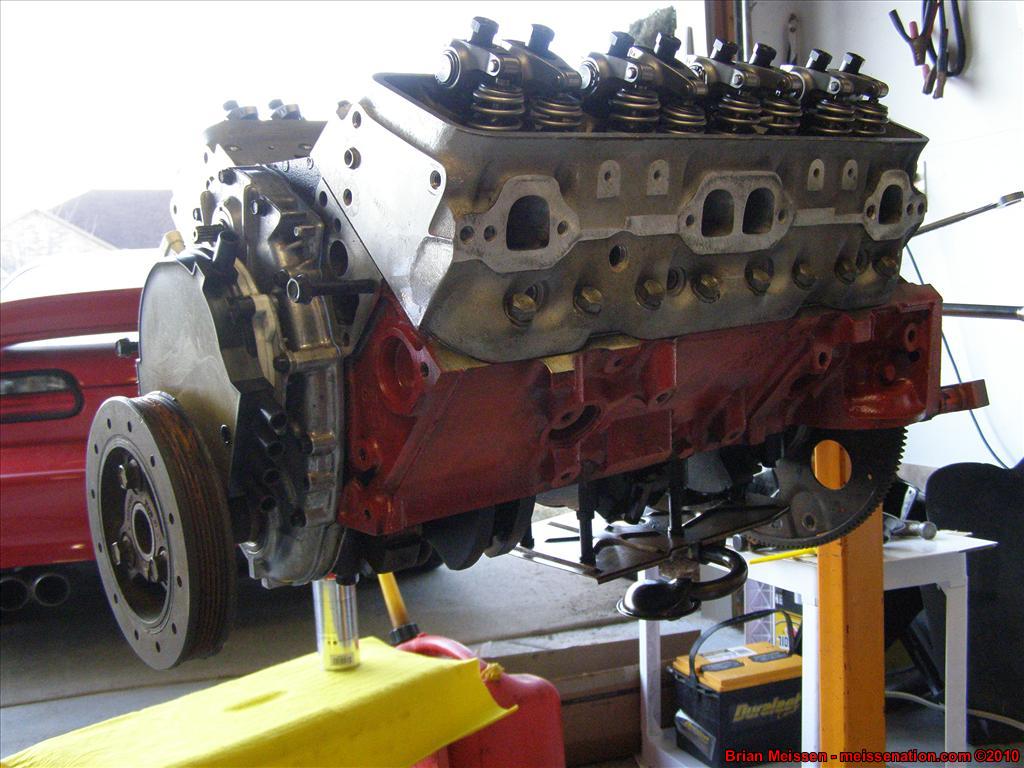
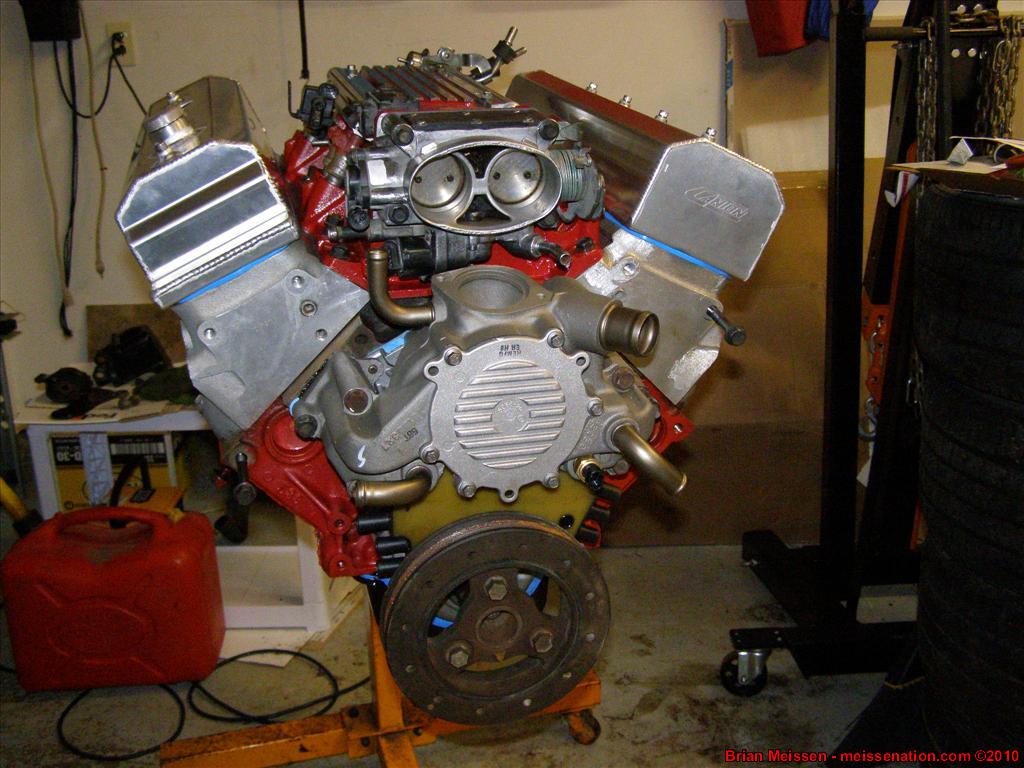
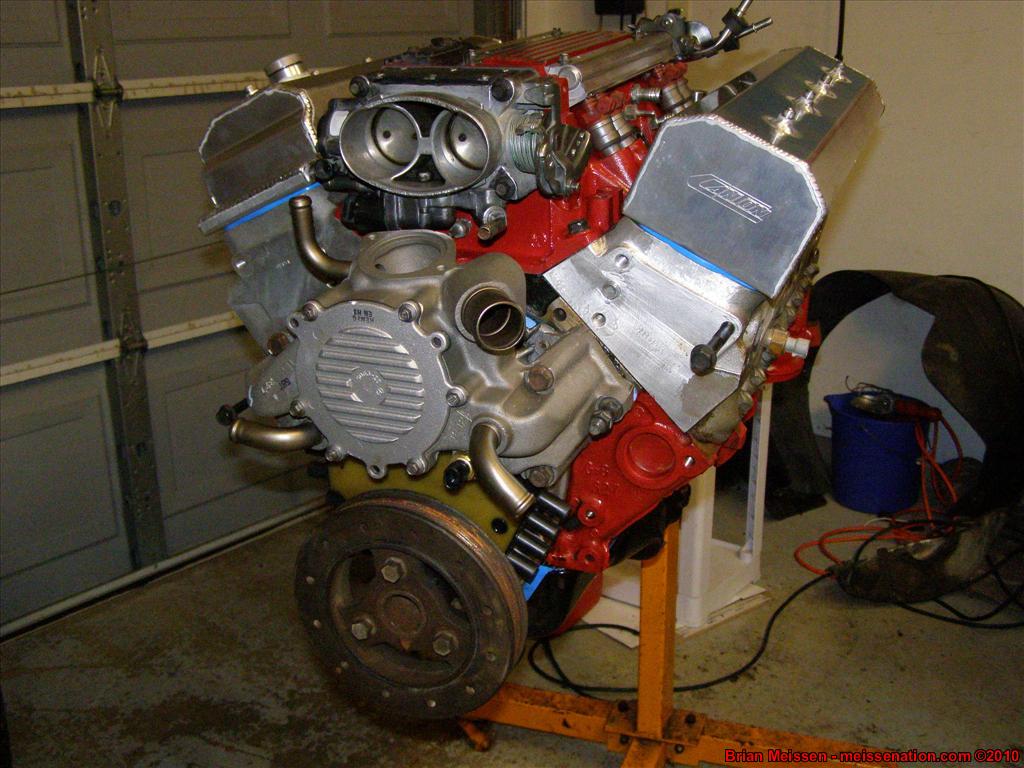
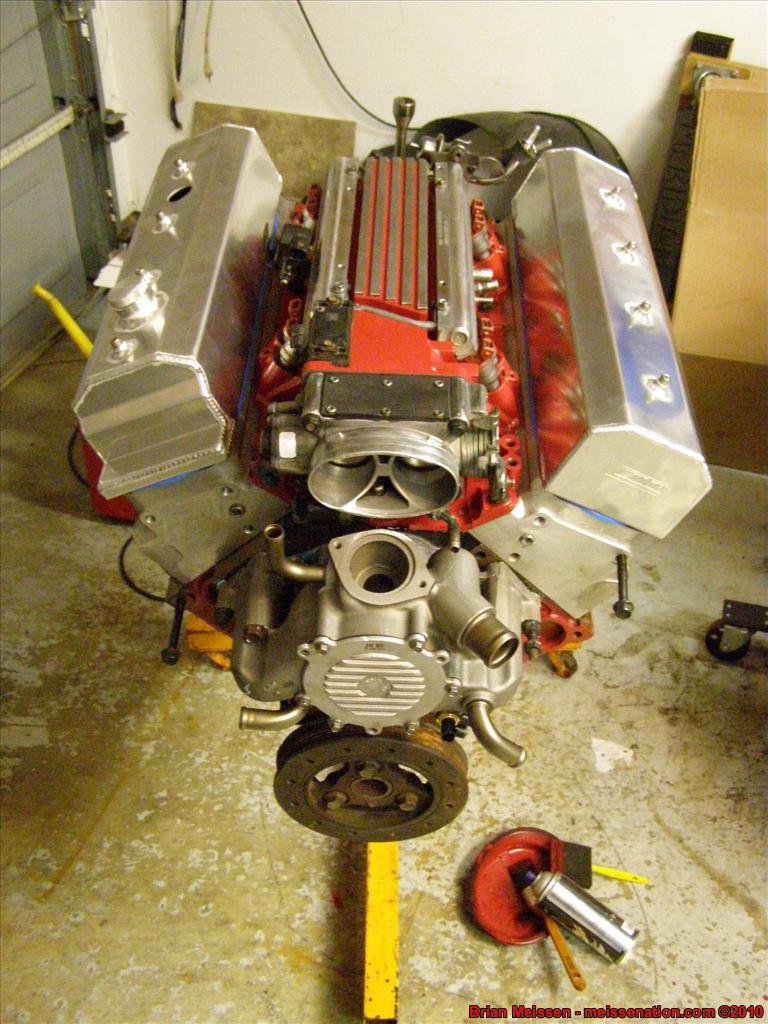
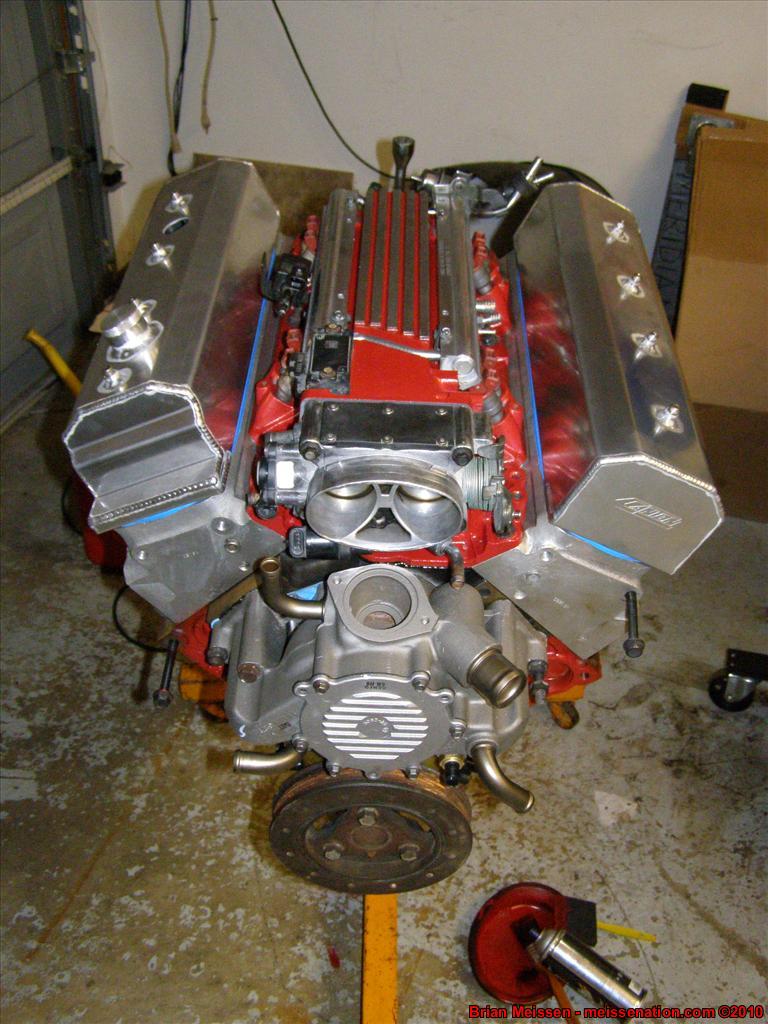
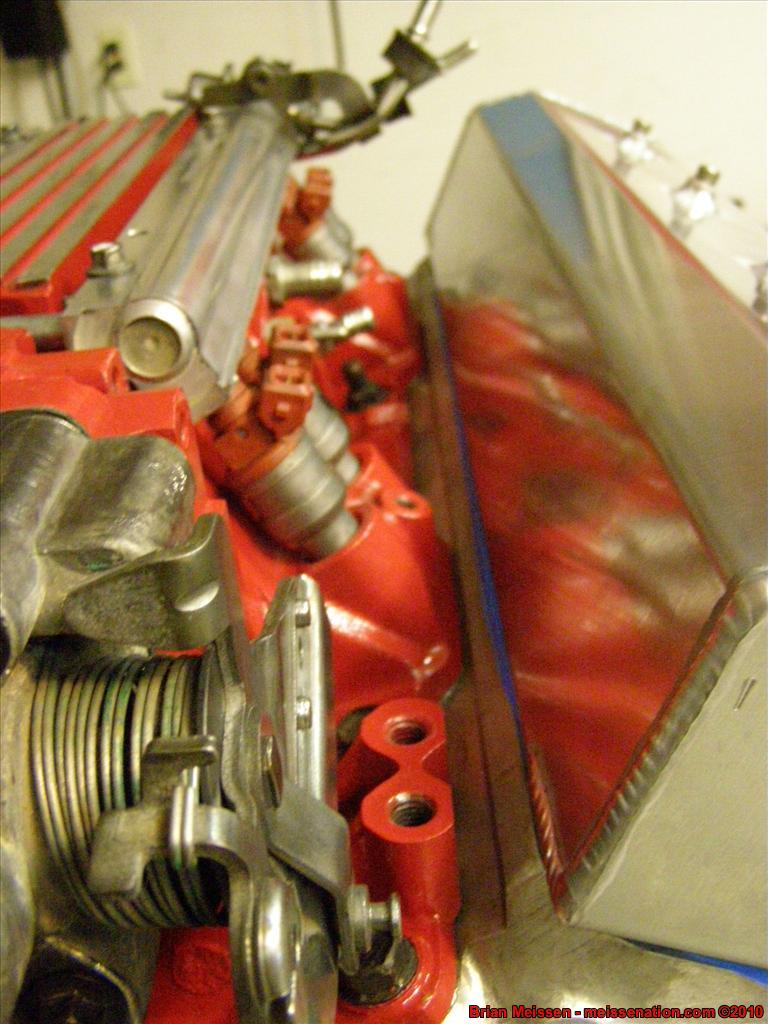
February 13 2009
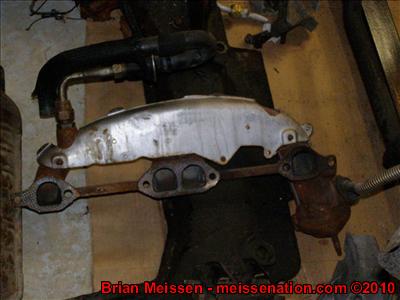
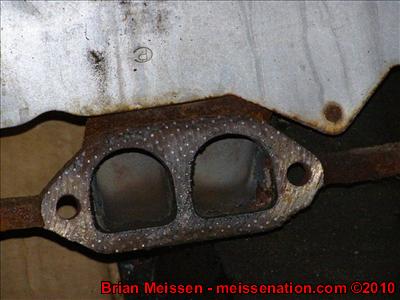
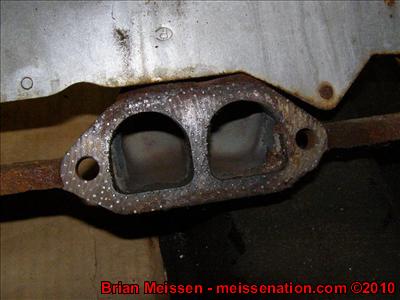
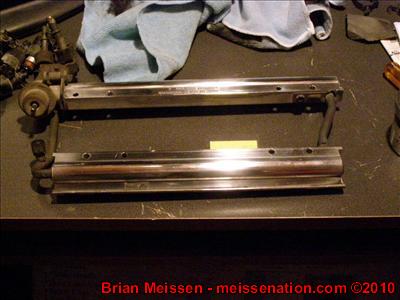
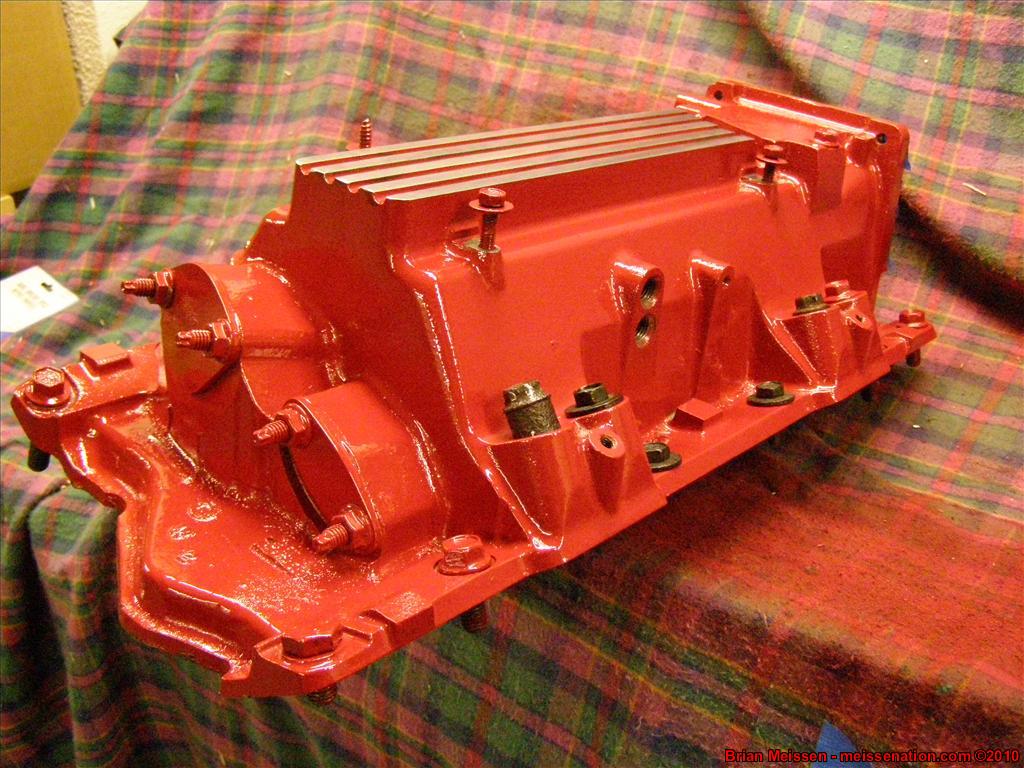
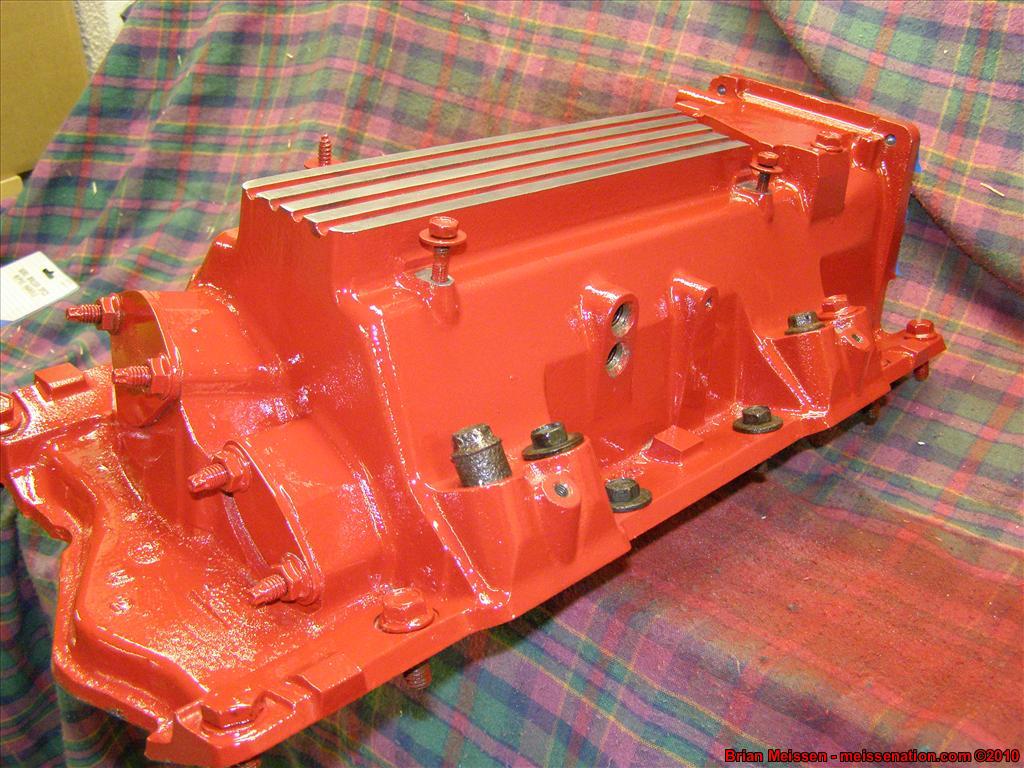
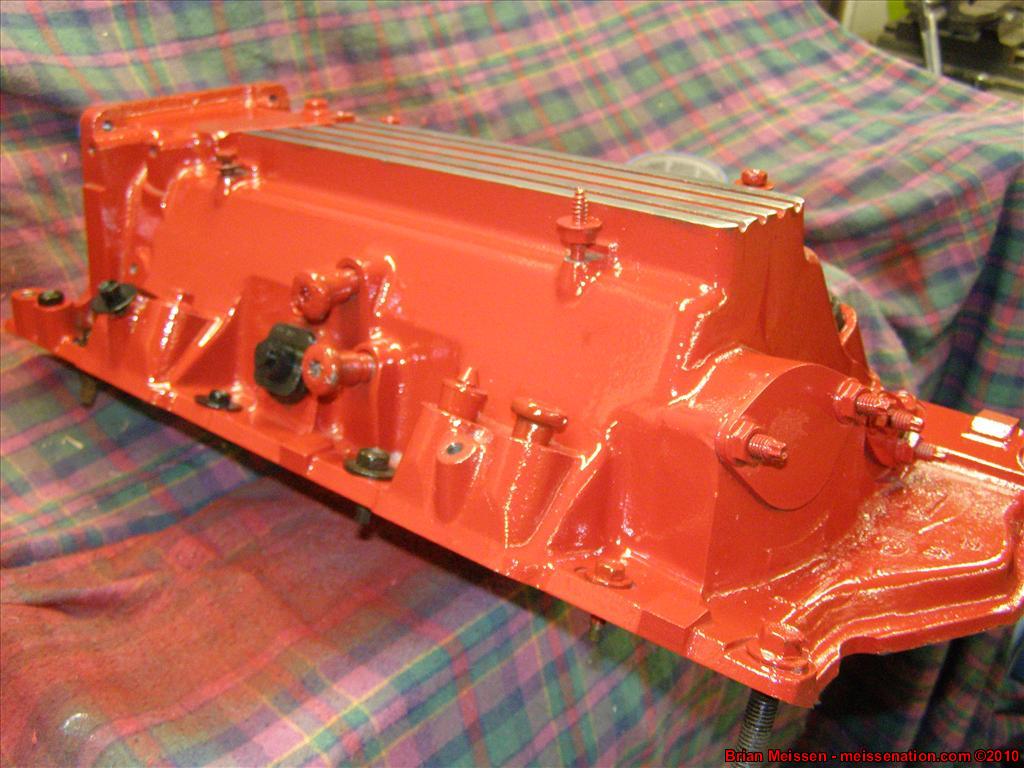
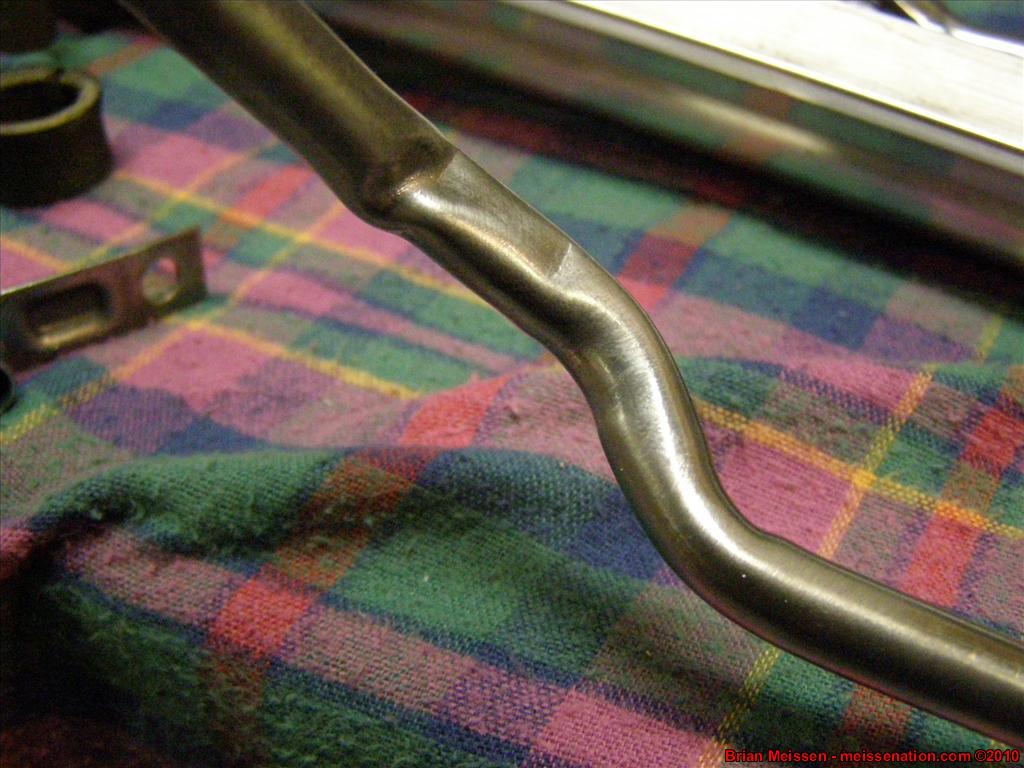
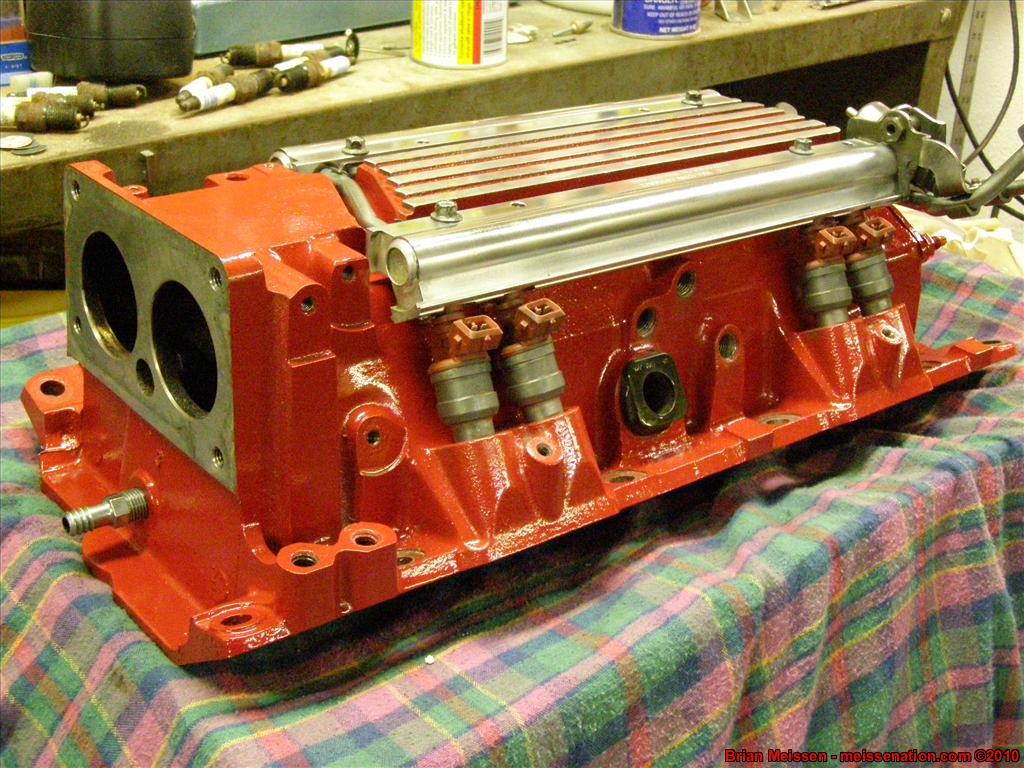
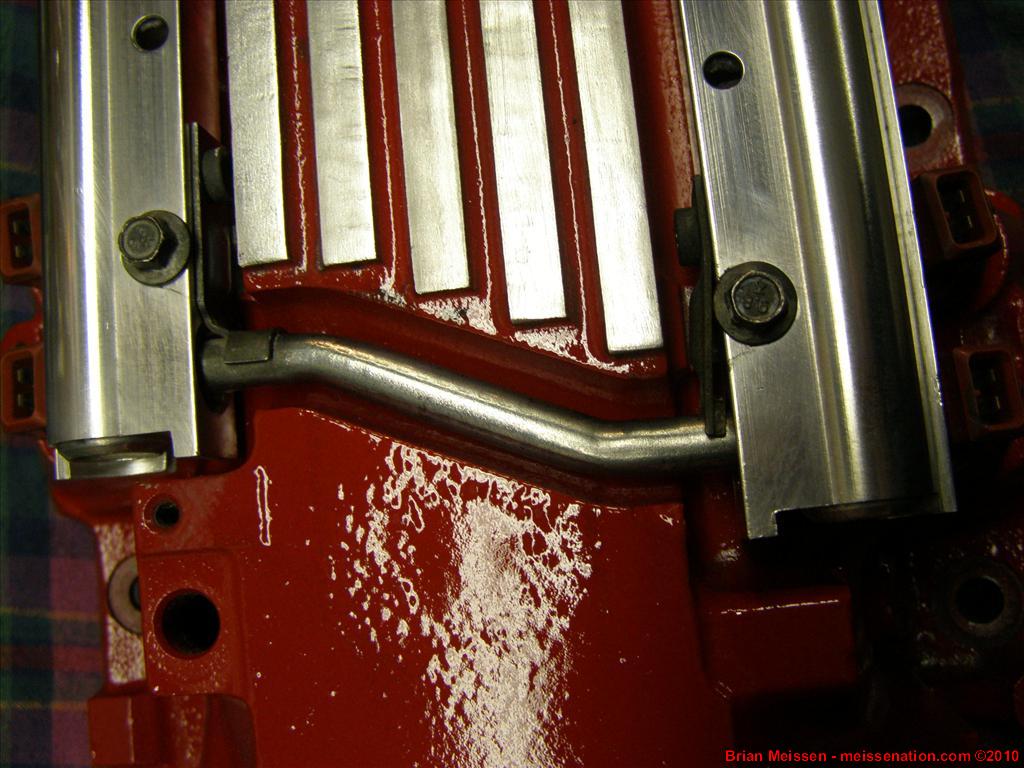
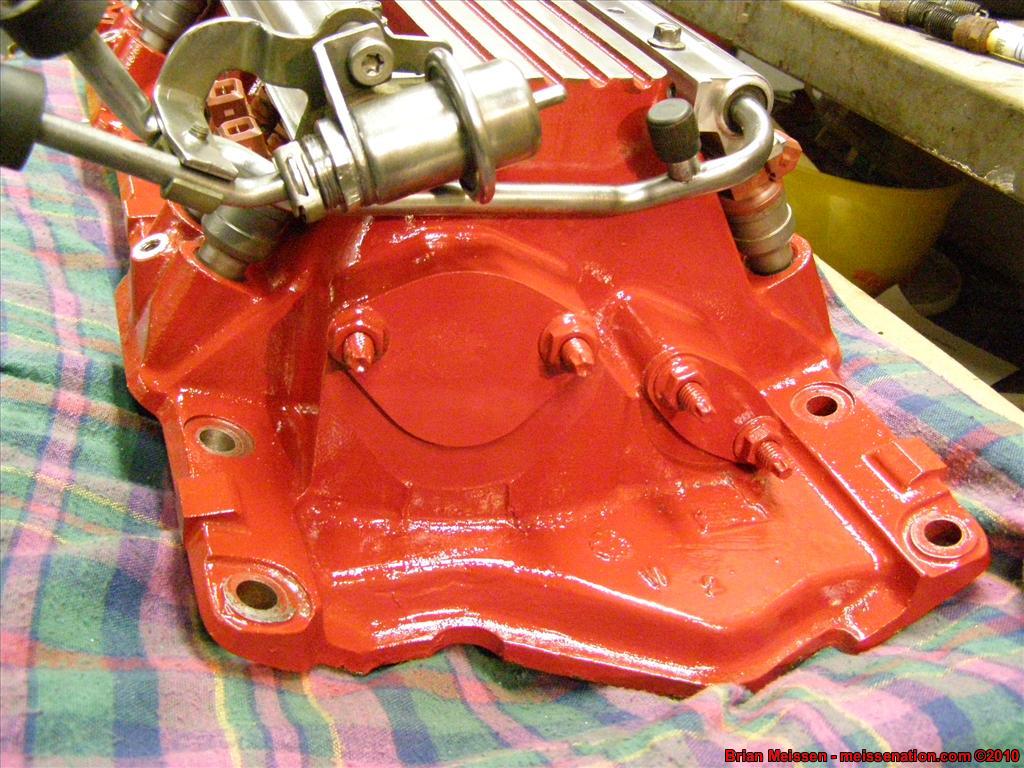
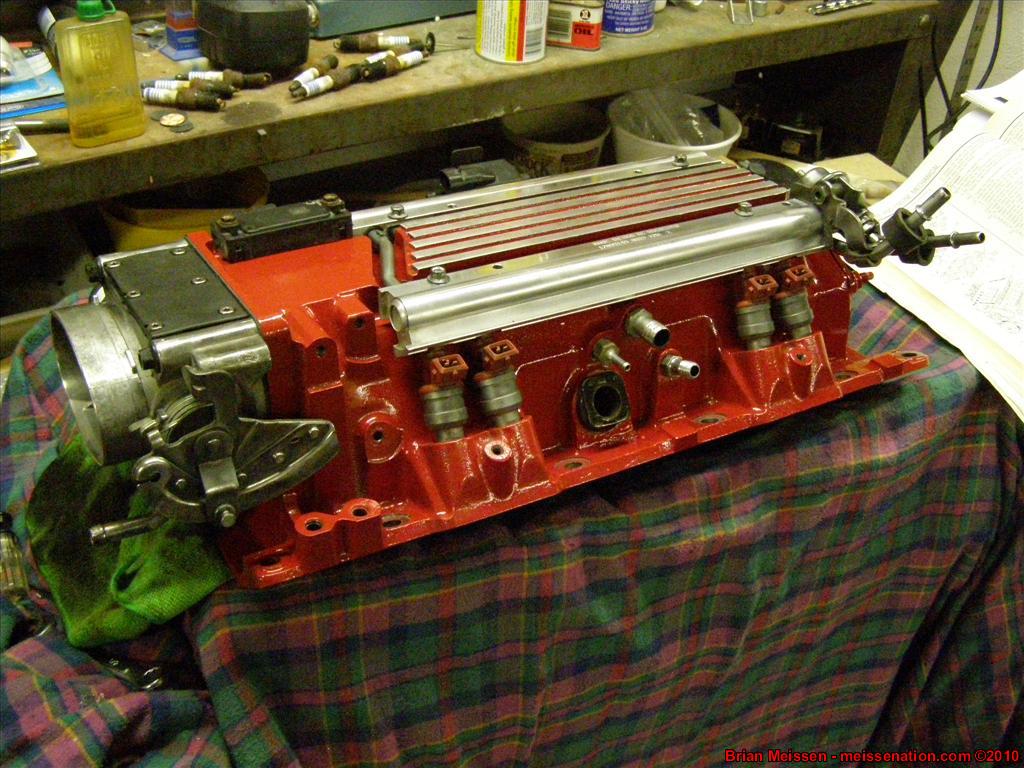
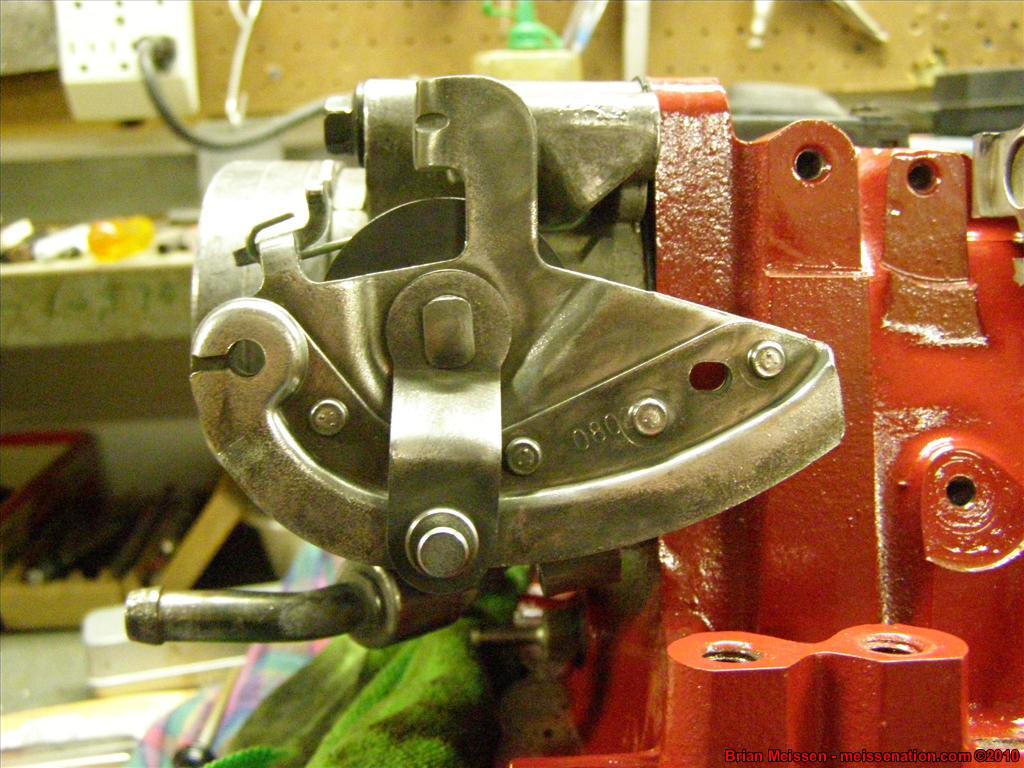
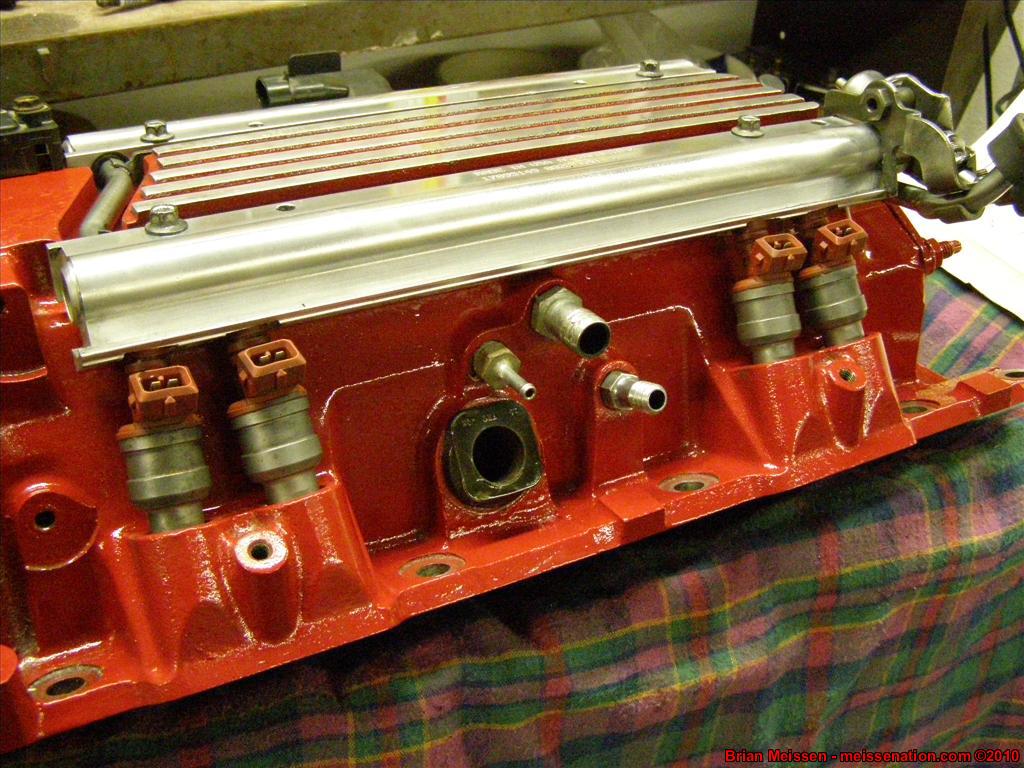
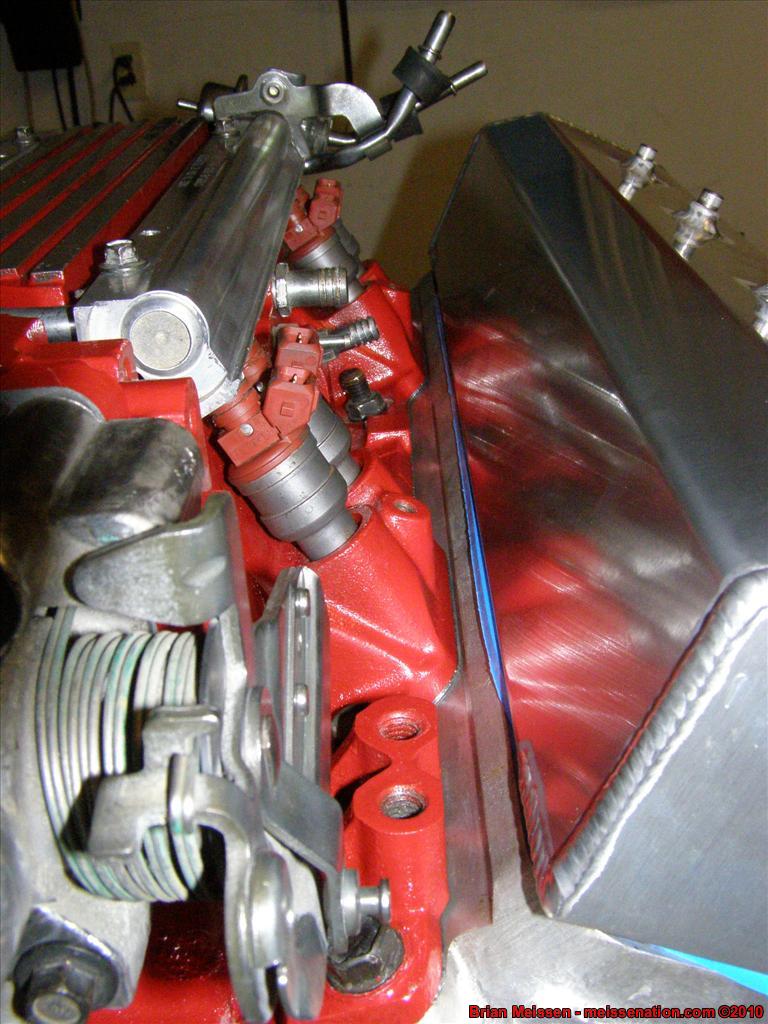
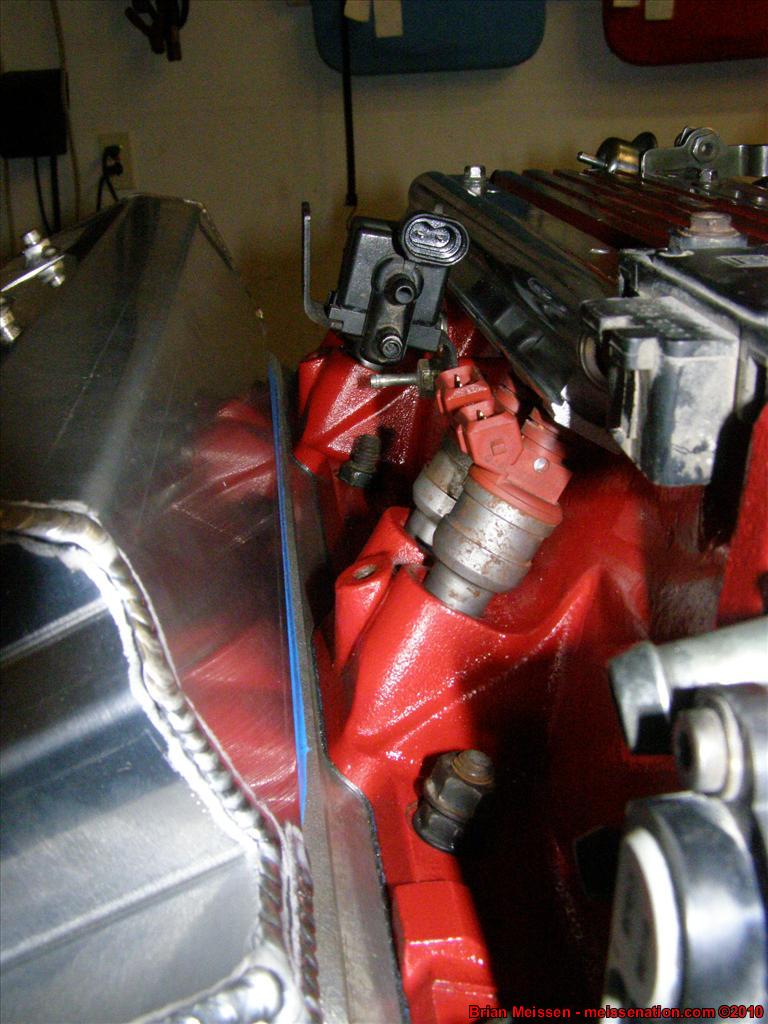
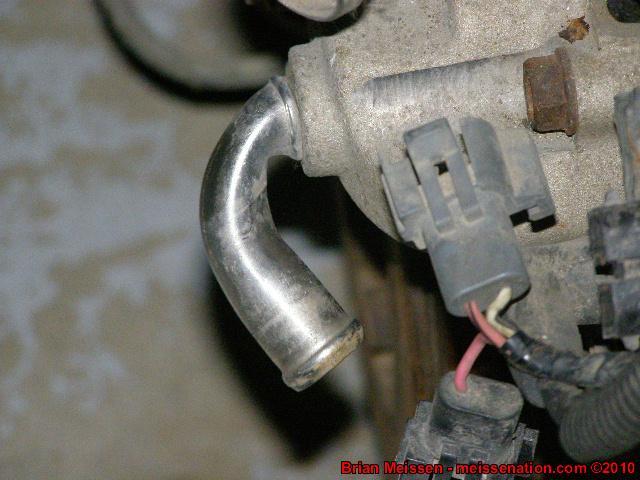
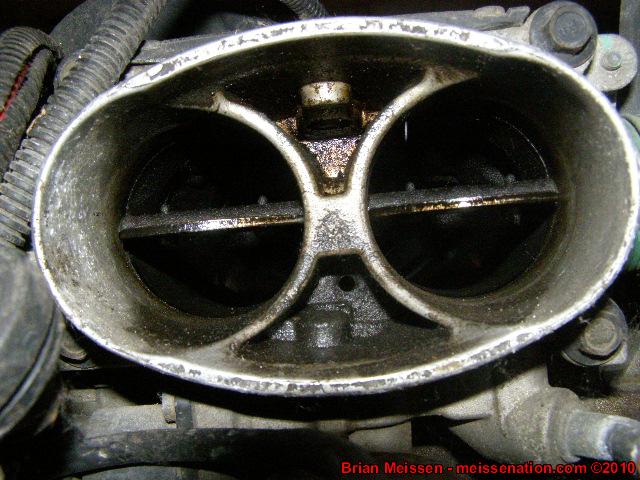
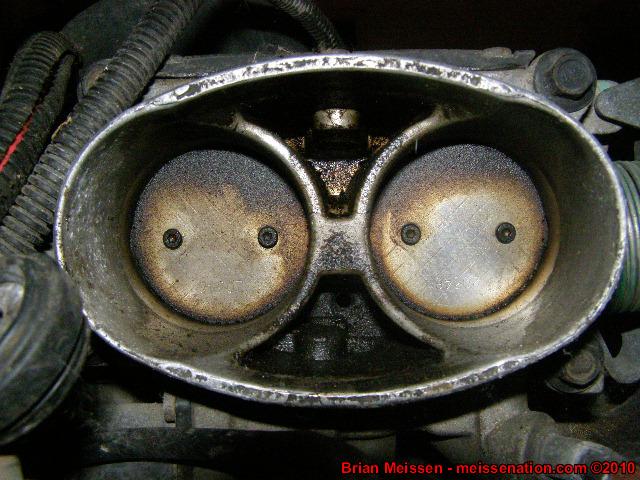
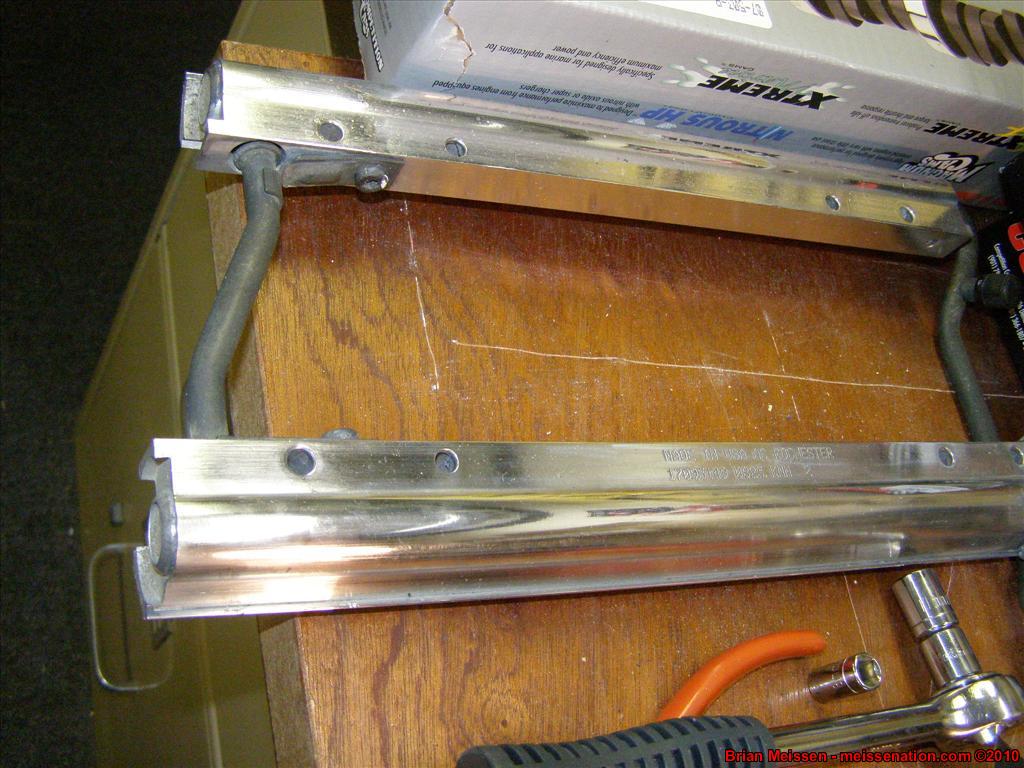
I ABSOLUTELY FREAKING LOVE that wire brush that attaches to my dad's drill press. The first handful of pictures are showing the progress of how nasty the pipes looked and how great they looked when all wire-brushed up. Also, in some of the pics, pay attention to the canister that's attached to the pipes and how clean it looks in the final pics with the intake manifold assembled with the injectors and fuel rails. That wire brush is AMAZING.

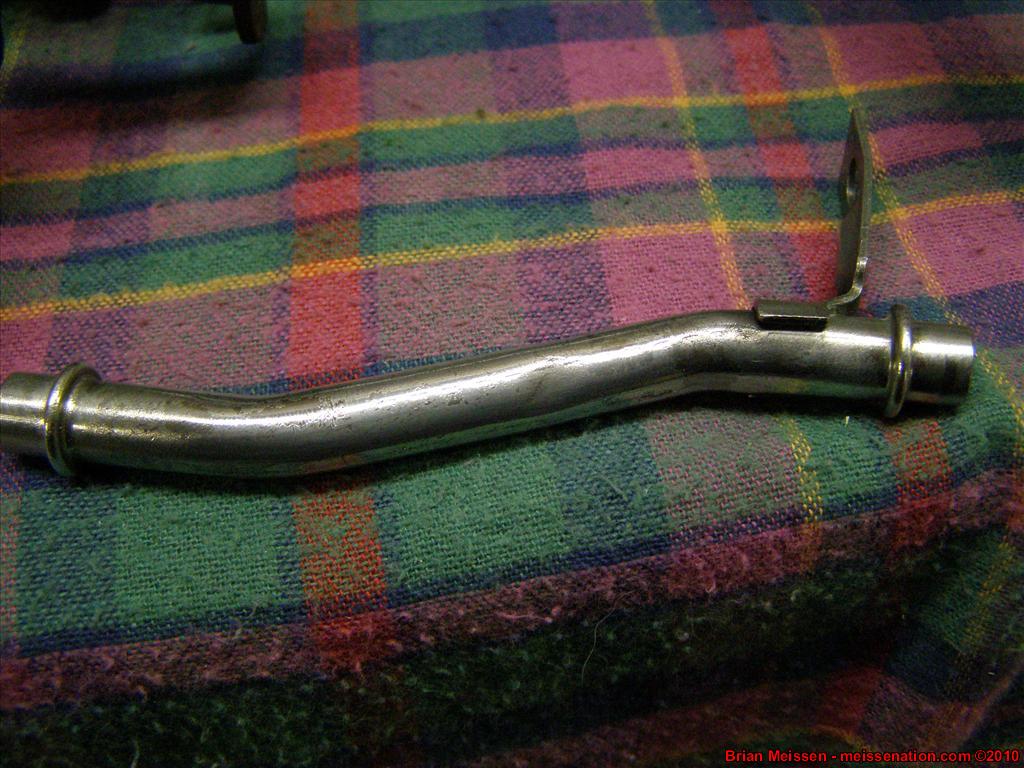


 - Brian Meissen
Owner, MiFBody.com
Administrator, LTxTech.com
1994 Camaro LT1 Transplant - 357ci LT1, cammed, stalled, and driven.
2022 Camaro LT1 - "Cherry Bomb 2"Michigan FBody Meet & Greet Car Show 2022
June 4th, 2022 - 9am to 3pm!!!
The HUB Stadium, Auburn Hills, MIComment
-
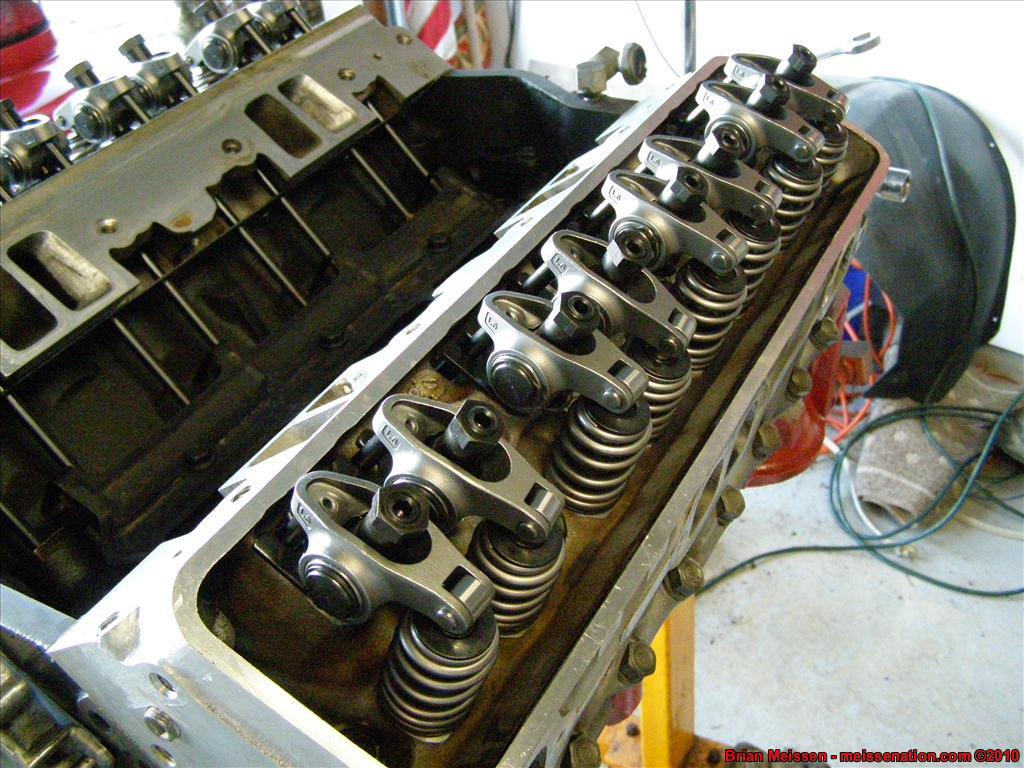
February 14 2009
Well, we got a lot of work done today!!!


So another "WHOOPS!" moment. We turned the engine upside down and unbolted the oil pump cover to get the spring out. Replaced the spring and put the old spring on the windage tray. Bolted the oil pump cover back down and then moved to put the oil pan on. We put the RTV on the oil pan gasket, put the oil pan gasket in place, then fit the oil pan on. It didn't want to go down all the way so we pulled the oil pan back off. While we were looking at it we realized OOPS! I forgot to grab the stock spring off the windage tray. That's not the reason that the oil pan didn't go down correctly, but thank god it didn't the first time or else I'd have put the whole thing back together and there'd be a spring chillin in the oil pan.
Tomorrow's plan is to get my side of the garage cleaned out entirely, then push Red Alert back into the garage. IT'S GETTING CLOSER!!!!!  - Brian Meissen
Owner, MiFBody.com
Administrator, LTxTech.com
1994 Camaro LT1 Transplant - 357ci LT1, cammed, stalled, and driven.
2022 Camaro LT1 - "Cherry Bomb 2"Michigan FBody Meet & Greet Car Show 2022
June 4th, 2022 - 9am to 3pm!!!
The HUB Stadium, Auburn Hills, MIComment


Comment