Welcome to the Michigan FBody Association website.
The Michigan FBody Association is a centralized website for FBody enthusiasts to discuss what's going on in the Michigan area. MiFbody.com was created to allow for an easy one-stop place to find out what's going on in Michigan as far as FBody events, to find out what clubs are available in your immediate area, and for an easy place to post classifieds for items you want to sell! Our goal was to create a more close-knit community of FBody enthusiasts in the state of Michigan, and to bring Camaro and Firebird enthusiasts alike together for some amazing FBody events!
The most important thing to know about the Michigan FBody Association is that we are NOT a club! The Michigan FBody Association is open to everyone, and is a community. Thus, we will have get togethers, casual cruises, events, and such like that, but this is not an exclusive club and it's 100% free to join this site! So what are you waiting for? Register now!
If you have any problems with the registration process or your account login, please contact us!
Decided it was time to repaint the hood louvers.
I bought some 400 grit sandpaper to remove the oxidization and a can of SEM trim black spray paint.
Old louver on the top (with all the oxidization), while the one on the bottom has been prep sanded with 400 grit sandpaper.
I made sure I sanded the edges and the underneath of the louvers so the paint would adhere properly. After I sanded each louver I washed them with some Mothers car wash and thoroughly rinsed them off and let stand to dry.
Paint wise, each louver was sprayed three times - top-to-bottom, bottom-to-top and top-to-bottom again. This way the underside of the louver receives the proper amount of paint.
The outcome.....pretty darn nice. Very happy with the result.
SEM Trim Black (satin finish) $15.00
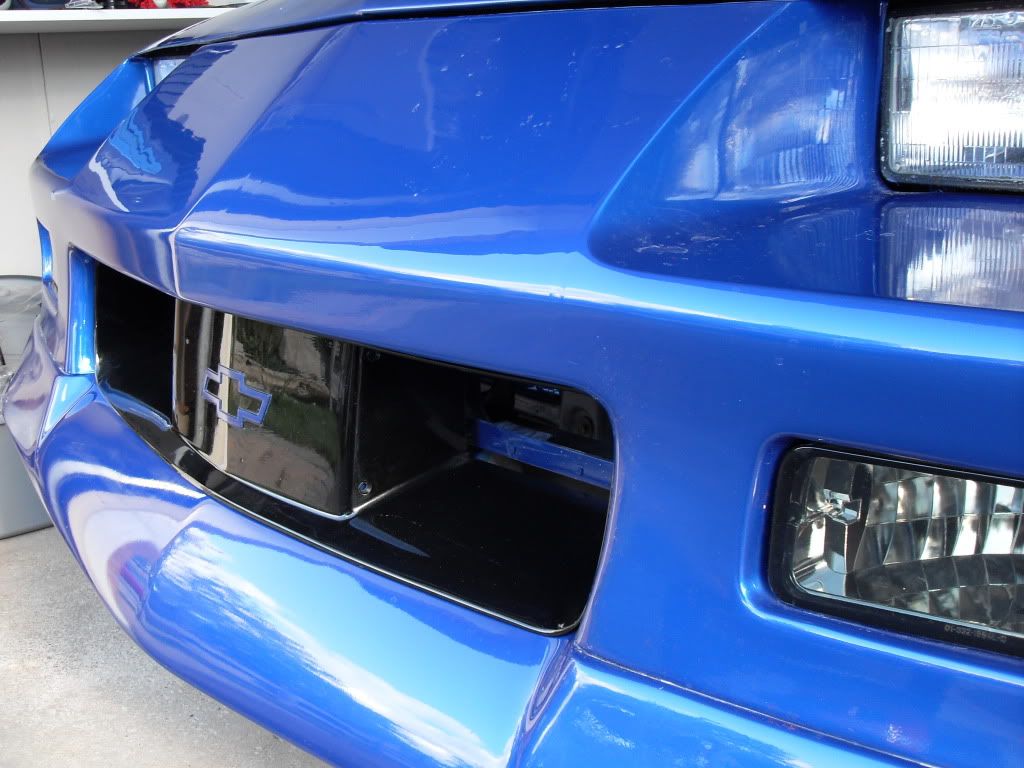
Well I decided it was time to give the front a face lift and make the engine bay nice and pretty.
The old front end had a big crack in it...thanks to a hit and run. Decided it was better to install another cover than to repair the old one. I had the area for the emblem filled in for a smoother look.
Added a NOS grille and clear marker lights but decide not to paint the headlight buckets this time.
Old front end
Donor cover
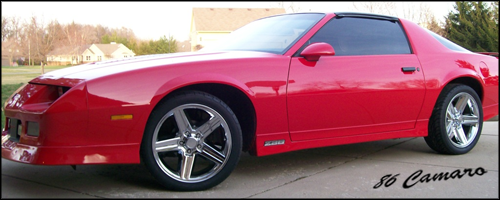
Fresh new look
The old engine bay was a mess of colour. Figured it was time to paint the engine bay to match the outside for that OEM look.
Old engine bay...with a few dabs or POR15
Fresh paint
All in all, I'm pretty happy with the result. The engine bay was painted with a base clear for a little extra shine.
Last edited by The Project; October 15th, 2009, 10:10 AM.
Took it to a shop that does mostly Mustangs Got some extra paint mixed up in a can for touch ups.
Need to get back to buying parts now...first up is some aluminium catch cans for the rad overflow and wiper fluid containers. Trying to tidy up the engine bay to show off the new paint.
Since I welded the holes in the engine bay for the orginal plastic containers, I thought I would get some nice custom aluminum ones from Universal Spinners. They are 3" wide by 9" long. Light and strong. The wiper fluid can has a 1 1/2" Moroso top and cap on it to make pouring the fluid a little easier.
Here are a few shots......
I really like those clear parking lamps without the center divide. I also really like that black grill insert thing with the blue bow tie, might have to copy that one day lol.
Time for an update.......
I've been collecting parts for the engine swap and getting things ready for the spring.
Decided to move the battery to the trunk area (where the spare battery used to go ). Picked up a battery relocation bracket/tray from BMR in nice glossy red.
I will also do the "Big 3" upgrade in 0 gauge replacing the small factory wiring. Also upgrading the starter wire to 0 gauge so the starter gets enough juice. :burnout:
Equipment needed for the Big 3.....50' of 0 gauge wiring, 0 gauge ring terminals (for starter, alternator and block to chassis ground), Stinger 0 gauge ground terminal and two Stinger battery terminals.
 Tweet
Tweet


 Awesome... huge improvement.


Comment