Announcement

Collapse
No announcement yet.

Detailing Processes for Beginners

Collapse
This is a sticky topic.
X
X
Collapse
Who has read this thread:
 
  • Filter
  • Time
  • Show
Clear All
new posts

  • Detailing Processes for Beginners

    There are a ton of threads that crop up almost daily regarding the same few very basic questions as new users join various forums and are unsure of how to care for their new vehicles properly. This results in having information scattered among dozens of threads and general confusion amongst newcomers. This is my attempt to provide a basic overview for getting started in detailing. Below you will find a complete listing of what different products do, when you’d use them, and why. You can find plenty of other articles like this and long-winded videos that will take you forever to watch. But I’m going to make the leap and assume that most of you can read. I try to describe things in laymen’s terms so you may find this easier to grasp than some others.

    My car is dirty. How can I safely clean it?

    My paint/glass feels rough and bumpy. How can I fix that?

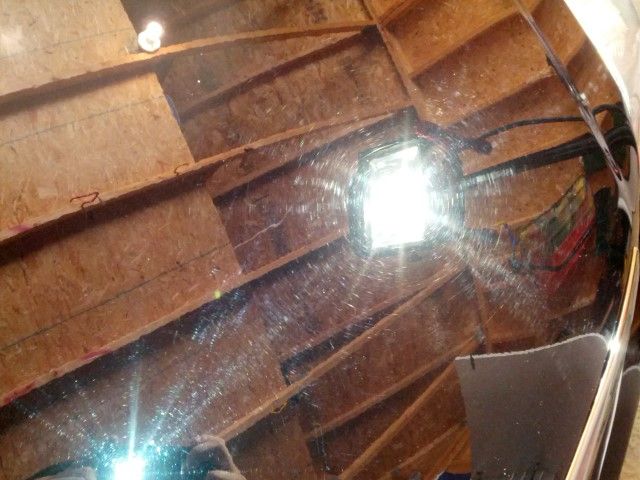
    I have swirls and scratches in my paint. How can I get rid of those?

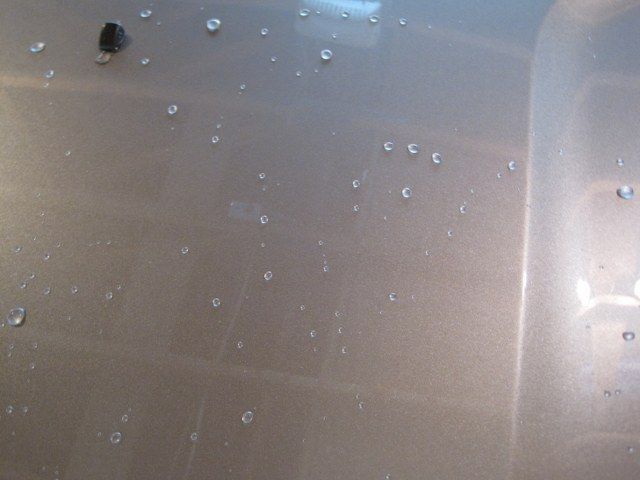
    Water seems to just pool on my paint rather than slide off. Is there anything I can do?

    There seem to be these little brown spots cropping up on my paint. What's the deal?

    ***Please do not request information on specific products in this thread; that’s not the intention. I have another thread specifically for that type of thing, located here. Anything you see in this thread will have a corresponding recommendation in the product thread.***

    If you have any questions, suggestions, things you’d like to see added, please let me know and I’ll see what I can do. This is far from the only way to do things, but it works for me and should give you a great jumping off point.
    Last edited by Matt@Vivid; July 12th, 2013, 11:45 PM.
    sigpic

    Facebook | Website

  • #2
    Maintenance Wash and Dry (when all you’re doing is washing the car)

    Obviously, the most basic step in detailing is the wash. This is the foundation on which everything else is built. Washing a car might seem simple, but this is where 90% of damage occurs. People washing carelessly or improperly cause themselves tons of work later on in paint correction.

    Before you even start to wash, the first step is to thoroughly rinse the car. This removes most loose debris, sand, dirt, etc. The next step in my method is to use a foam gun to apply a layer of soapy foam onto the entire car. Since you’re using a pH neutral soap (You are, aren’t you?), this doesn’t actually “clean” anything. What it does is add a layer of lubricity to the entire vehicle, allowing your mitt to glide across much easier and reducing the chance of marring.


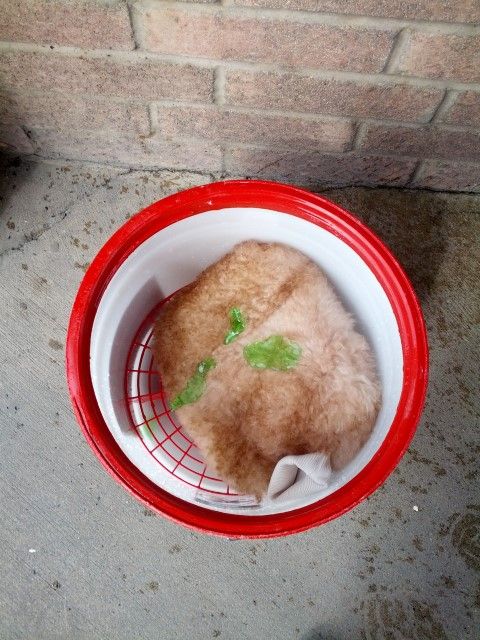
    Most detailers will recommend a two-bucket wash method. What this basically means is that you will have two buckets, each with grit guard inserts. In one bucket you will have your car wash soap and water, in the other just plain water. The idea here is that you will dip your wash media in the soapy bucket, wash a panel, then rinse the wash media off in the plain water bucket before going back to the soapy bucket. This reduces the dirt and grime that is put back in the soapy bucket, and in turn, keeps you from washing the car with dirty water or wash media.


    The next step is to rinse the car. If you don’t know how to rinse a car, please read no further as I cannot help you

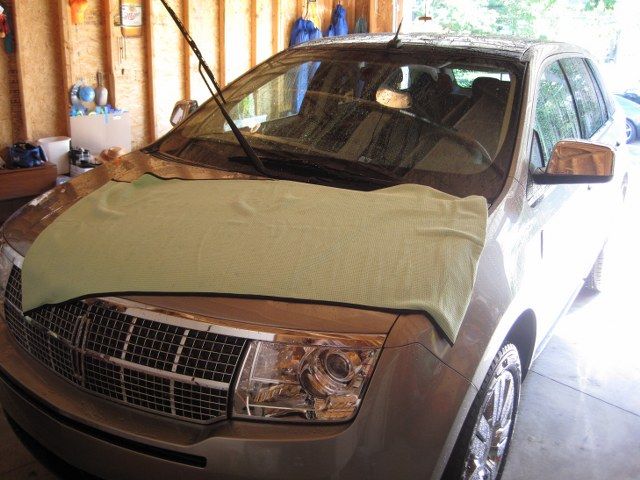
    Next you are presented with the challenge of drying your car. Before you go reaching for a bath towel, please click on the link to the product thread above and select an appropriate towel. There are two acceptable methods for drying a car. The first is air drying. Using something akin to a leaf blower or specific car drying blower, you blast most of the water off the surface and out of crevices. All that is then left is to wipe the car down with detail spray to eliminate any spots or left over water droplets.

    The other method is to towel dry. I firmly stand behind my opinion that towel drying is absolutely fine when you do it PROPERLY. My method is to mist the entire vehicle with detail spray (note the word mist, not slather, soak, or drench), then carefully lay the towel on the paint and drag it across. You don’t want to apply any pressure or go rubbing the towel every which way across the paint. A gentle pull of the towel across the paint will remove most of the water, then flipping to a dry side of the towel will leave a streak-free finish.


    Tips:
    -Always wash in shade, when paint is cool
    -Wash wheels and tires first, with separate wash media and bucket
    -Each time you put your wash media into either bucket, rub it against the grit guard to release as much dirt from it as possible.
    -Try not to allow soap or water to dry on the car before you are ready to completely dry the vehicle
    -When using a quality soap, it’s almost always better to leave the soap on the entire vehicle until you’re reading to rinse, instead of rinsing as you go. This helps keep water spots at bay.
    -Divide the car into halves vertically. Wash around the top half of the car first, then go around the vehicle again getting the bottom half. This helps in avoiding spreading contamination from the dirty bottom half to the top.
    -Use a sheeting rinse to remove most of the water prior to drying. Google or YouTube that if you’re not sure.
    -Apply a LIGHT mist of detail spray around the entire car before towel drying. This adds lubricity and reduces water spotting.

    Strip Wash

    If you’re planning on going on with claying and polishing, etc., you want to perform a strip wash. The idea here is to rid the car of any existing wax or sealant and provide a clear surface of bare paint on which to work.

    The procedure is EXACTLY the same as above, except you’ll use a different soap. While quality car wash soaps are specifically designed to be pH neutral so as not to strip wax, here you want something aggressive enough to actually cut through the wax.

    You have a couple options. I use Dawn dish soap in my wash bucket. This cuts through wax, grease, whatever might be on your paint. When used only occasionally, there is no risk of damage to your plastics, rubbers, or paint- regardless of what the Chicken Littles will tell you. Your other option is to mix a few ounces of an All-Purpose Cleaner in with your normal car wash soap. This does the same job.

    There are also dedicated strip washes, but I don’t recommend spending the money on them.
    Last edited by Matt@Vivid; July 12th, 2013, 04:17 PM.
    sigpic

    Facebook | Website

    Comment


    • #3
      Claying

      So we all hear about claying, but what the heck is it? I know this was one of the most bizarre ideas I’d ever heard when I first got into this, so don’t feel alone in thinking you’re crazy for rubbing Play-Doh on your paint.

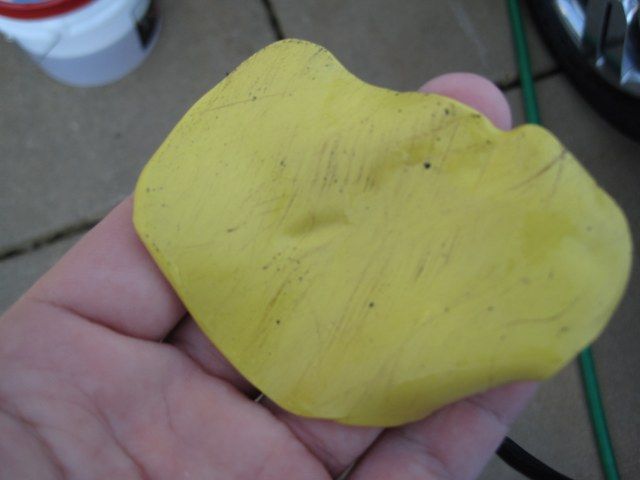
      A claybar is exactly what it sounds like. It’s a small bar of clay that is intended to pull up embedded contaminants in your paint that washing leaves behind. Clay can also be used for water spot removal, removal of paint transfer, tar removal, bug removal, etc. The idea here is that the tackiness of the clay grabs the contaminants and pulls them into the clay itself, leaving behind smooth paint.

      Why is this important? Well, contaminants in your paint can sometimes lead to damage down the road. A smooth surface will also sheet water better and reflect light better.

      When do you need to clay, and how often do you need to re-do it? Well, you need to clay when you need to clay. There’s no schedule for it. If you take a thin plastic baggy and put your hand in it, then rub it across clean paint, you will be able to feel bumps and junk on the paint. The baggy increases your tactile sensitivity. So if you feel any bumps, you should clay. If it’s smooth, you can skip claying. As a general rule, I recommend most people check their paint at least quarterly, and clay at least semi-annually. This varies widely based on car usage, storage type, environment, etc.

      So the procedure is pretty simple with clay. You’ll take a section of your claybar (divide it into 1/4s or 1/2s), flatten it in your hand, then spray some lubricant onto a small section and begin to rub the clay across the surface. You can go up and down, side to side, in circles, spell your girlfriend’s name, whatever. The clay should slide easily over the paint. If it’s grabbing, you need more lubricant. Don’t be afraid to use a little pressure, but don’t start grunting like a teenage girl playing tennis. Check the surface of the clay frequently. When you start to see contaminants in the clay, fold the clay over onto itself to present a clean surface. When you finish a section, wipe off the lubricant with a waffle weave or plush microfiber towel, whichever gets your motor running.


      Tips:
      -Always work on cool paint, in the shade
      -Carry a roll of painters tape with you. Put a small piece near each blemish and scratch you come across if you intend to proceed with paint correction after. This saves you tons of time hunting for scratches later on.
      -Don’t bother drying your car before claying. It’s a waste of time. Pull your car into the garage after your wash and go to town.
      -Sometimes clay takes a few tries to finish the job. If you’re seeing some progress with paint transfer removal, don’t be afraid to wipe it off and go again, and again. Most people give up too quickly with clay.
      -Don’t forget to clay your glass! Glass often needs claying up to twice as often as paint.
      Last edited by Matt@Vivid; July 12th, 2013, 04:18 PM.
      sigpic

      Facebook | Website

      Comment


      • #4
        Decontamination

        So you’ve washed and clayed your car. Your arm feels like it’s going to fall off from rubbing that damn claybar in every nook and cranny on your car. Your paint looks gleaming. It’s clean, right?

        Probably not.

        Hidden within the paint are millions of iron particles just waiting to start causing rust spots. They’re like little ferrous ninjas, hiding and biding their time, laughing at you. They need to die, agreed?

        So you might be thinking that this is a problem for older cars. Your car is brand new, just picked it up from the dealer yesterday and you ordered it from the factory. It’s fine, you say. No. Cars sit on railyards between the time they are finished and the time they are shipped. They then often travel by rail to a truckyard, then by truck to your dealer. All of these places are high in iron fallout. The trains themselves kick up tons of it, the factories likely spew it out, and even most car brakes kick out metallic shavings into the air. I highly recommend EVERY new car be treated for iron contamination, at least once. After that, if you keep up with maintenance very well, you might be fine to do it once every few years.

        Well how do we remove them? It’s actually super easy and one of the cooler processes in detailing. First you’ll need an iron decon product. Iron-X is basically the gold standard, but others exist. This is the Iron-X process, in a nutshell:

        -Wash, clay, and dry car
        -Always work in shade on cool paint
        -Get yourself a bucket of clean water and a detailing sponge
        -Spray your Iron-X on a section and let it dwell for a few minutes (don’t let it dry)
        -Take your damp sponge and massage it into the paint.
        -Let it dwell for another minute or so before liberally and thoroughly rinsing it off the car

        On lighter colors, you can see the Iron-X turning purple as it reacts with the ferrous contaminants. On darker colors, it’s still doing the same thing, it’s just hard to see.


        Last edited by Matt@Vivid; July 12th, 2013, 04:19 PM.
        sigpic

        Facebook | Website

        Comment


        • #5
          Polishing

          First off, what is polishing? Polishing is, by definition, the use of ever-diminishing sized abrasives to level clear coat, eliminating scratches/swirls and restoring a smooth surface from which shine is derived. Polish is NOT something you apply to the car like a wax- even though a few car care companies sell products labeled as such (Turtle Wax, Nu Finish, even Zaino).

          So when would polishing come in handy? I like to think of polishing as having two uses. The first is to remove swirls and scratches that you can see in the paint. The second is to restore luster to the paint. Each is actually doing the same thing, just on a different scale. They’re both leveling the clear, the first just does it more to remove visible scratches, the second does it less to remove microscopic scratches, known as marring or haze. For paint to reflect perfectly, it must have a completely smooth surface. So, really, it’s all scratch removal, just on different scales.

          I’m going to completely skip hand polishing because it’s useless. Yep, I said it. For you to get any sort of noticeable results in any sort of reasonable timeframe, you need a machine polisher. Essentially, you need a polisher, pads, backing plate, and polishes. Please check the product guide linked above for specifics.

          So you’re all geared up and ready to go, how do you do it? Well, the first thing you need to do is get over your fear. I understand you’re standing over your brand new $30k+ investment with power tools and you’re feeling like those swirls aren’t such a big deal. I know it’s scary, but knock it off. With modern DA polishers and polishes, you’d really have to actually try to harm your paint. They are incredibly safe and remove miniscule amounts of clearcoat with each pass.

          Once you’ve convinced your balls to descend again, it’s time to get to work. You’ll have to experiment with polisher speed, arm speed, etc. dependent on your paint, your equipment and your surroundings, but here are a few general starting points:

          -Don’t work too big of an area. Work in 2’x2’ sections. Focus on getting each one perfect before you move on. Baby steps
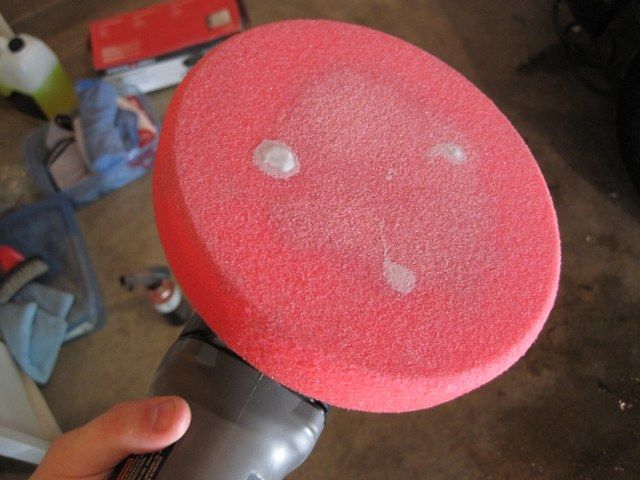
          -Prime your pad first. Apply about 6-10 pea-sized drops of polish to the pad and work in with your hands
          -For each 2’x2’ section, generally you want to use about 3 pea-sized drops of polish.
          -With a PC, generally you want to stay around speed 5 for most polishing.
          -Work in cross-hatch patterns. Go back and forth horizontally, then vertically.
          -Use very slow arm speed. Something like 1’’ per second is about where you want to be. It’s not a race.
          -Relax, and take breaks. This is a long process and you’re often in uncomfortable positions. Step back often and let your hands get feeling back in them and your back to stop breathing fire. Failure to do so will result in you subconsciously rushing to get finished.
          -Check your work early and often in sunlight. What looks good in the garage might not be good in the sun.
          -Make sure your pads are clean. When they get clogged with polish, it’s time to grab a new one.
          -Most importantly, don’t expect perfection the first time around. Don’t get discouraged. This takes time to dial in your technique and really perfect it. I’ve logged hundreds, if not thousands, of hours on my polisher and I still don’t always get it right the first time. Your first time, shoot for something like 70% correction.


          Last edited by Matt@Vivid; July 12th, 2013, 04:21 PM.
          sigpic

          Facebook | Website

          Comment


          • #6
            Paint Protection (LSPs)

            Now that you have your paint completely clean, immaculately polished and shiny, we should probably do something to help keep it that way, huh? Enter LSPs (last-step products). LSPs can be further divided into two categories- sealants and waxes (yes, there are coatings, too, but if you’re at that stage you shouldn’t be reading this article). Each has their own merits and drawbacks, but both serve the same purpose- to protect the paint from the elements. LSPs are NOT intended to add shine; that is not their primary objective.

            When applying any LSP to bare paint, i.e. after polishing or claying, it’s good practice to perform an IPA wipedown to ensure a clean surface. This involves taking diluted isopropyl alcohol and spritzing it on the paint, then wiping off with a microfiber towel. This will remove any polishing oils or left over waxes or sealants from the paint. Obviously, skip this step if you are just adding another layer of wax or sealant and want to keep what’s already there.

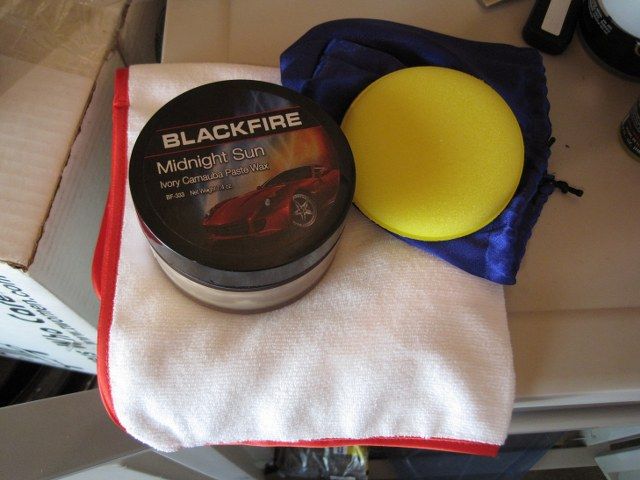
            Waxes- Generally comprised of natural materials, commonly including carnauba, a wax can take the form of a paste, liquid, or spray. Waxes are generally noted for their slightly warmer look as compared to a sealant. The drawback is that they don’t last as long. You can generally expect anywhere from 1-3 months of protection from a wax, depending on the wax you use and the conditions to which your vehicle is subjected.

            To apply a wax, paste or liquid, apply a small amount to a foam applicator pad. Apply a thin, even layer to the paint by hand, using a crosshatch pattern to ensure coverage. Waxes do not need to cure or haze, so you can immediately buff off each section after application (always check manufacturer directions to see if they recommend something different).


            Sealants- Sealants are the synthetic counterparts of wax. They tend to last much longer, at least six months generally, at the expense of not quite looking as warm. Sometimes sealants can give a slightly “plastic-y” look to the very discerning eye.

            Application of sealants is quite a bit more varied depending on the particular sealant you’ve chosen. In general, you would apply a very thin layer of sealant to the car, preferably by machine for thin, uniform coverage, then wait 30 minutes or so for it to haze. After that, you are free to buff off the haze with a microfiber towel. Most sealants need to cure for at least 12 hours before anything else can be layered over top. This is very important for best results.


            Spray Waxes/Sealants- Nowadays, you can find some fantastic LSPs in spray form. These go on super quick and easy, but generally don’t last quite as long. The application is usually the same for most. Spritz a small amount on a section, spread with a microfiber towel, and buff off. Very simple, but check the directions of the product you’re using for variations.

            Tips:
            -Don’t work in sun or on warm paint.
            -Sealants can be layered for additional durability. Generally two coats is optimal.
            -There is no real benefit to layering a wax. The only possible benefit is that the second coat will cover any spots you missed the first time.
            -You can layer waxes over sealants, but NOT sealants over waxes. Recommended: sealant->sealant->wax
            -When water is not beading tightly on the paint, it’s time for another LSP application. Anything more often than that is just throwing product away.


            Last edited by Matt@Vivid; July 12th, 2013, 04:22 PM.
            sigpic

            Facebook | Website

            Comment


            • #7
              Reserved
              Last edited by Matt@Vivid; July 12th, 2013, 04:23 PM.
              sigpic

              Facebook | Website

              Comment


              • #8
                Nice write up! I am going to save this one, plan on buying a detailing kit this winter.. Thanks!!!
                sigpic
                U.S. Army 1983-2005
                11.20@122.37 1.51 60'

                Originally posted by WMCCjames

                "Plans Subject to change upon Sobering up"

                Comment


                • #9
                  Thanks for taking the time to write all this. I have a question. Do the synthetic sealants remove as well with the dawn or should you use something else? Also. Isn't quick detailed a synthetic sealant as well ?


                  Sent from my iPhone using Tapatalk
                  sigpic
                  Turbo Charged LS1/T56

                  Comment


                  • #10
                    Originally posted by WMCCjames View Post
                    Thanks for taking the time to write all this. I have a question. Do the synthetic sealants remove as well with the dawn or should you use something else? Also. Isn't quick detailed a synthetic sealant as well ? Sent from my iPhone using Tapatalk
                    Yes, Dawn should remove either a sealant or a wax. If not, you may need to clay to remove, or even a light polish. Generally, when you want to remove the wax, it is to then do a full detail, so by the time you strip, clay, and polish, you can be assured you've got a clean surface. There are coatings which would be exceptions, but that's a little advanced for the intention of this thread

                    As for Quick Detailers being synthetic sealants, the answer is: sometimes. A true QD will not be a sealant. It won't provide any sort of protection. That being said, there are many spray waxes/sealants as well as QD/spray wax/sealant hybrids out there that function as both a QD and also leave a layer of protection.
                    sigpic

                    Facebook | Website

                    Comment


                    • #11
                      Great write up!

                      quick question.. What is your opinion on this product? http://www.carbrite.com/products/Ext...olishes/Sleek/

                      a few friends went in on a bottle of car brite sleek. In my experience, this is some of the best stuff I've used. Just curious what you think.
                      Last edited by ruckusz28; July 13th, 2013, 07:25 AM.

                      Comment


                      • #12
                        Originally posted by ruckusz28 View Post
                        Great write up!

                        quick question.. What is your opinion on this product? http://www.carbrite.com/products/Ext...olishes/Sleek/

                        a few friends went in on a bottle of car brite sleek. In my experience, this is some of the best stuff I've used. Just curious what you think.
                        Never heard of it.
                        sigpic

                        Facebook | Website

                        Comment


                        • #13
                          +1 on this post. Thanks Matt!!

                          Comment


                          • #14
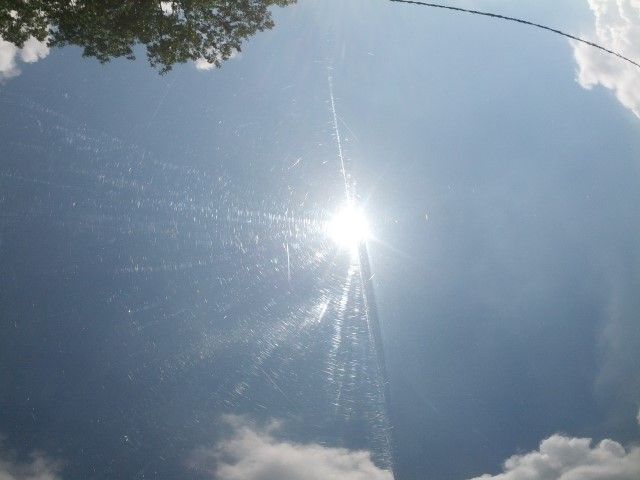
                            From a process standpoint, what's your opinion on claybarring or polishing glass like the windshield? I either have a ton of little nicks in my glass or I have a bunch of crap embedded in it - the windshield almost glitters (for lack of a better way to explain it) when the sun hits the glass at the right angle when I'm driving. I also have something that sprayed onto the glass and I haven't been able to get it off yet - I don't know if it etched or it's just really stuck on, but no amount of regular scrubbing has gotten it off and I'm afraid of taking a razor to the windshield for fear of making it worse or gouging. Lastly, if "yea" (rather than "nay") to claybarring glass -- (and I apologize, since this is product specific) do you think the speedy claybar towel thing would work on glass?

                            Sitting at a show today, I realize I've REALLY neglected my paint. Tons of marring, swirls, ect. I really need to devote a weekend with my porter cable on my car.
                            - Brian Meissen
                            Owner, MiFBody.com
                            Administrator, LTxTech.com


                            1994 Camaro LT1 Transplant - 357ci LT1, cammed, stalled, and driven.
                            2022 Camaro LT1 - "Cherry Bomb 2"
                            Michigan FBody Meet & Greet Car Show 2022
                            June 4th, 2022 - 9am to 3pm!!!
                            The HUB Stadium, Auburn Hills, MI

                            Comment


                            • #15
                              What is your opinion of foam lance vs foam injection?
                              Also, what would you recommend for a wax for a black cobalt? I have tried the turtle wax black box, and meg's Ultimate, both of which are difficult to get good results with.
                              1996 Trans Am WS6 - long term project


                              Comment

                              Working...
                              X