 Tweet
Tweet
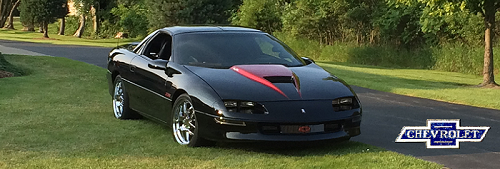
My apologies if this would have been better as supplemental to an existing thread.
Anyway, in getting her ready for the season, I decided to stop procrastinating and change the plugs and wires. I've read (and could see) what a pain it would be. However, I've always done my own on other cars so I wanted to take a shot. Besides, a few scraped knuckles is always worth saving a few hundred bucks.
It took me about 5 hours total. I was going slow and careful, and I probably removed a few things that I won't next time. I used the NGK TR55 and upgraded to MSD plug wires while I was at it. The OEM plugs are supposed to 100K mile plugs (which everyone knows is a load of crap), and mine had about 60K miles on 'em.
The difference was very noticeable. It was worth all the harsh language I used working on #8. That one really lives up to its reputation.
Well, it's not much of a victory story, but I thought I would share in case anyone else was contemplating going to a shop. It's certainly doable and was actually a bit easier than I thought it would be.


Comment