Welcome to the Michigan FBody Association website.
The Michigan FBody Association is a centralized website for FBody enthusiasts to discuss what's going on in the Michigan area. MiFbody.com was created to allow for an easy one-stop place to find out what's going on in Michigan as far as FBody events, to find out what clubs are available in your immediate area, and for an easy place to post classifieds for items you want to sell! Our goal was to create a more close-knit community of FBody enthusiasts in the state of Michigan, and to bring Camaro and Firebird enthusiasts alike together for some amazing FBody events!
The most important thing to know about the Michigan FBody Association is that we are NOT a club! The Michigan FBody Association is open to everyone, and is a community. Thus, we will have get togethers, casual cruises, events, and such like that, but this is not an exclusive club and it's 100% free to join this site! So what are you waiting for? Register now!
If you have any problems with the registration process or your account login, please contact us!
I still have to do the MPH needle which I'm completely stumped as to how to reinstall accurately considering it just "rests" on the clear bezel piece until I start moving. Without the bezel in place, I don't know where to line the needle up. Still gotta figure that out.
hey B, how hard was this to do? do you need to pull the dash out to get at the gauges, i really want to do this, except get white face gauges and replace the bulbs with green leds for now
Brian could it be that it spun like further down? I know there is like only one way to put these on or I think that;s how it was on my camaro with the mph at least, but if it was spun to far that would then prevent you to put on the needle, sounds simple i know and i could be completely wrong but just thought i would try ha, they look great either way!
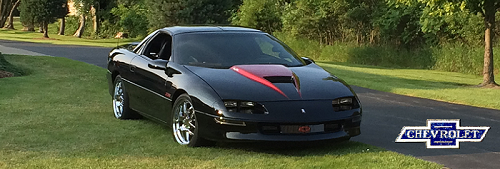
1978 Chevy Malibu Classic: 350 Crate Swap, Turbo 350 Transmission, Flowtech Full length Headers, Flowmaster 40's Mufflers, Tru-Dual Exhaust, Goodmark 2in Cowl Hood, Northern Autoparts Racing Aluminum Radiator, Jasper Pearl Paint Job, Billet Specialities Vintec Wheels 1994 Chevy Camaro: Sold
hey B, how hard was this to do? do you need to pull the dash out to get at the gauges, i really want to do this, except get white face gauges and replace the bulbs with green leds for now
Make sure whatever you get replaces the gauge face and doesn't just stick over stock. I've done it both ways and what you stick over stock will not show the green LEDs correctly because there's a blue film behind the stock gauge face.
It's not really too hard to do... though a little time consuming. For my 97+ dash, I just had to drop the knee bolster, pop the gauge surround bezel out, and then unscrew the 4 bolts to the gauge cluster. But then the hard/time consuming part - I have to lower my steering column to get enough room to get the gauge cluster out. It's two 13mm nuts that are in a position just perfectly to make it impossible to use a socket on.
yikes, you have to remove your needles to install those? Not sure on the 6 Liter ones, My white gauges were a very durable vinyl/plastic that did not stretch at all, the holes were just big enough to get around the needle base on one half and the get it over the over half, cant see behind the needles anyway. Gives them an orange glow around the needle base as well. Had mine installed in like 2 minutes after getting the bezel out.
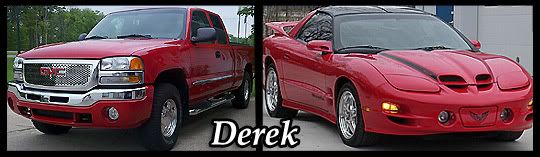
-Derek-
1999 Pontiac Trans Am Ram Air- Lots of Boltons..
Make sure whatever you get replaces the gauge face and doesn't just stick over stock. I've done it both ways and what you stick over stock will not show the green LEDs correctly because there's a blue film behind the stock gauge face.
It's not really too hard to do... though a little time consuming. For my 97+ dash, I just had to drop the knee bolster, pop the gauge surround bezel out, and then unscrew the 4 bolts to the gauge cluster. But then the hard/time consuming part - I have to lower my steering column to get enough room to get the gauge cluster out. It's two 13mm nuts that are in a position just perfectly to make it impossible to use a socket on.
does 6litereaters replace the whole gauge face or no? lol go figure u cant get a socket where it needs to be on a camaro


 Tweet
Tweet


Comment